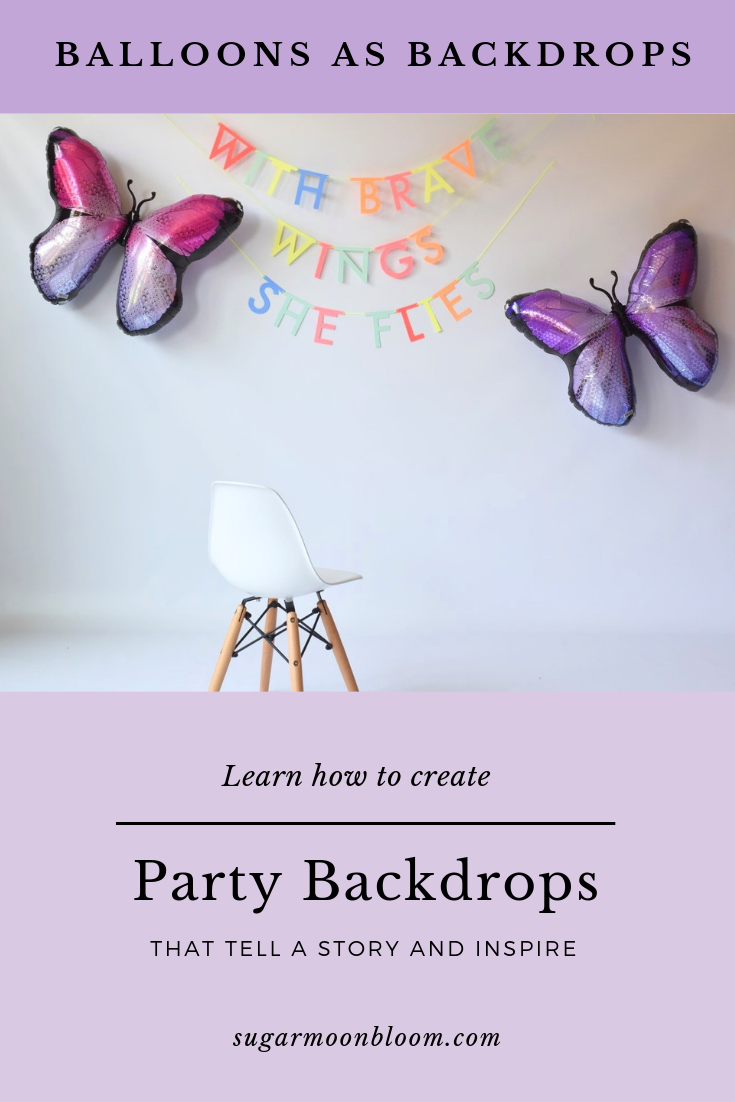
How to: Style Party Backdrops with Balloons

Some of the links you’ll find in this post are affiliate links which help support my blog.
take your party up a notch by using balloons as your party backdrop and tell the story of your theme!
Balloons are the quintessential party decor, showcase your party theme by making a creative backdrop using Mylar foil balloons. No helium, no problem! A big part of event planning is finding ways to make the day of your event easier, so eliminating one extra trip to the party store on the day of to get helium is a win-win in my book. Buy one of those helium tanks before the party to blow up any latex balloons and you’ll be well on your way to celebrating with ease.
When styling party backdrops I often don’t use helium filled balloons for my main design. Helium actually makes the balloons harder to work with since they are trying to float and you want them to stay in one place. I fill the balloons up with air and attach them with tape to the wall or backdrop. Get the how-to and see all the supplies you need below!
Designing Backdrops with Air Filled Balloons
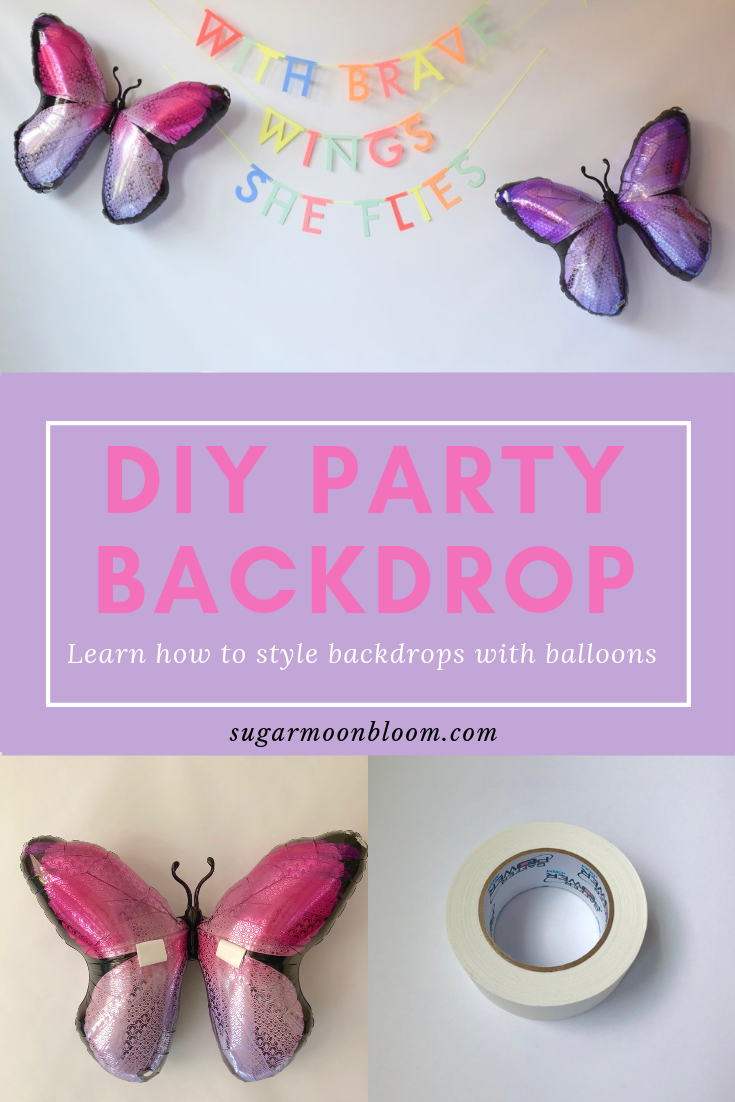
Materials:
Mylar foil balloons of your choice to showcase your party theme (find them in the shop!)
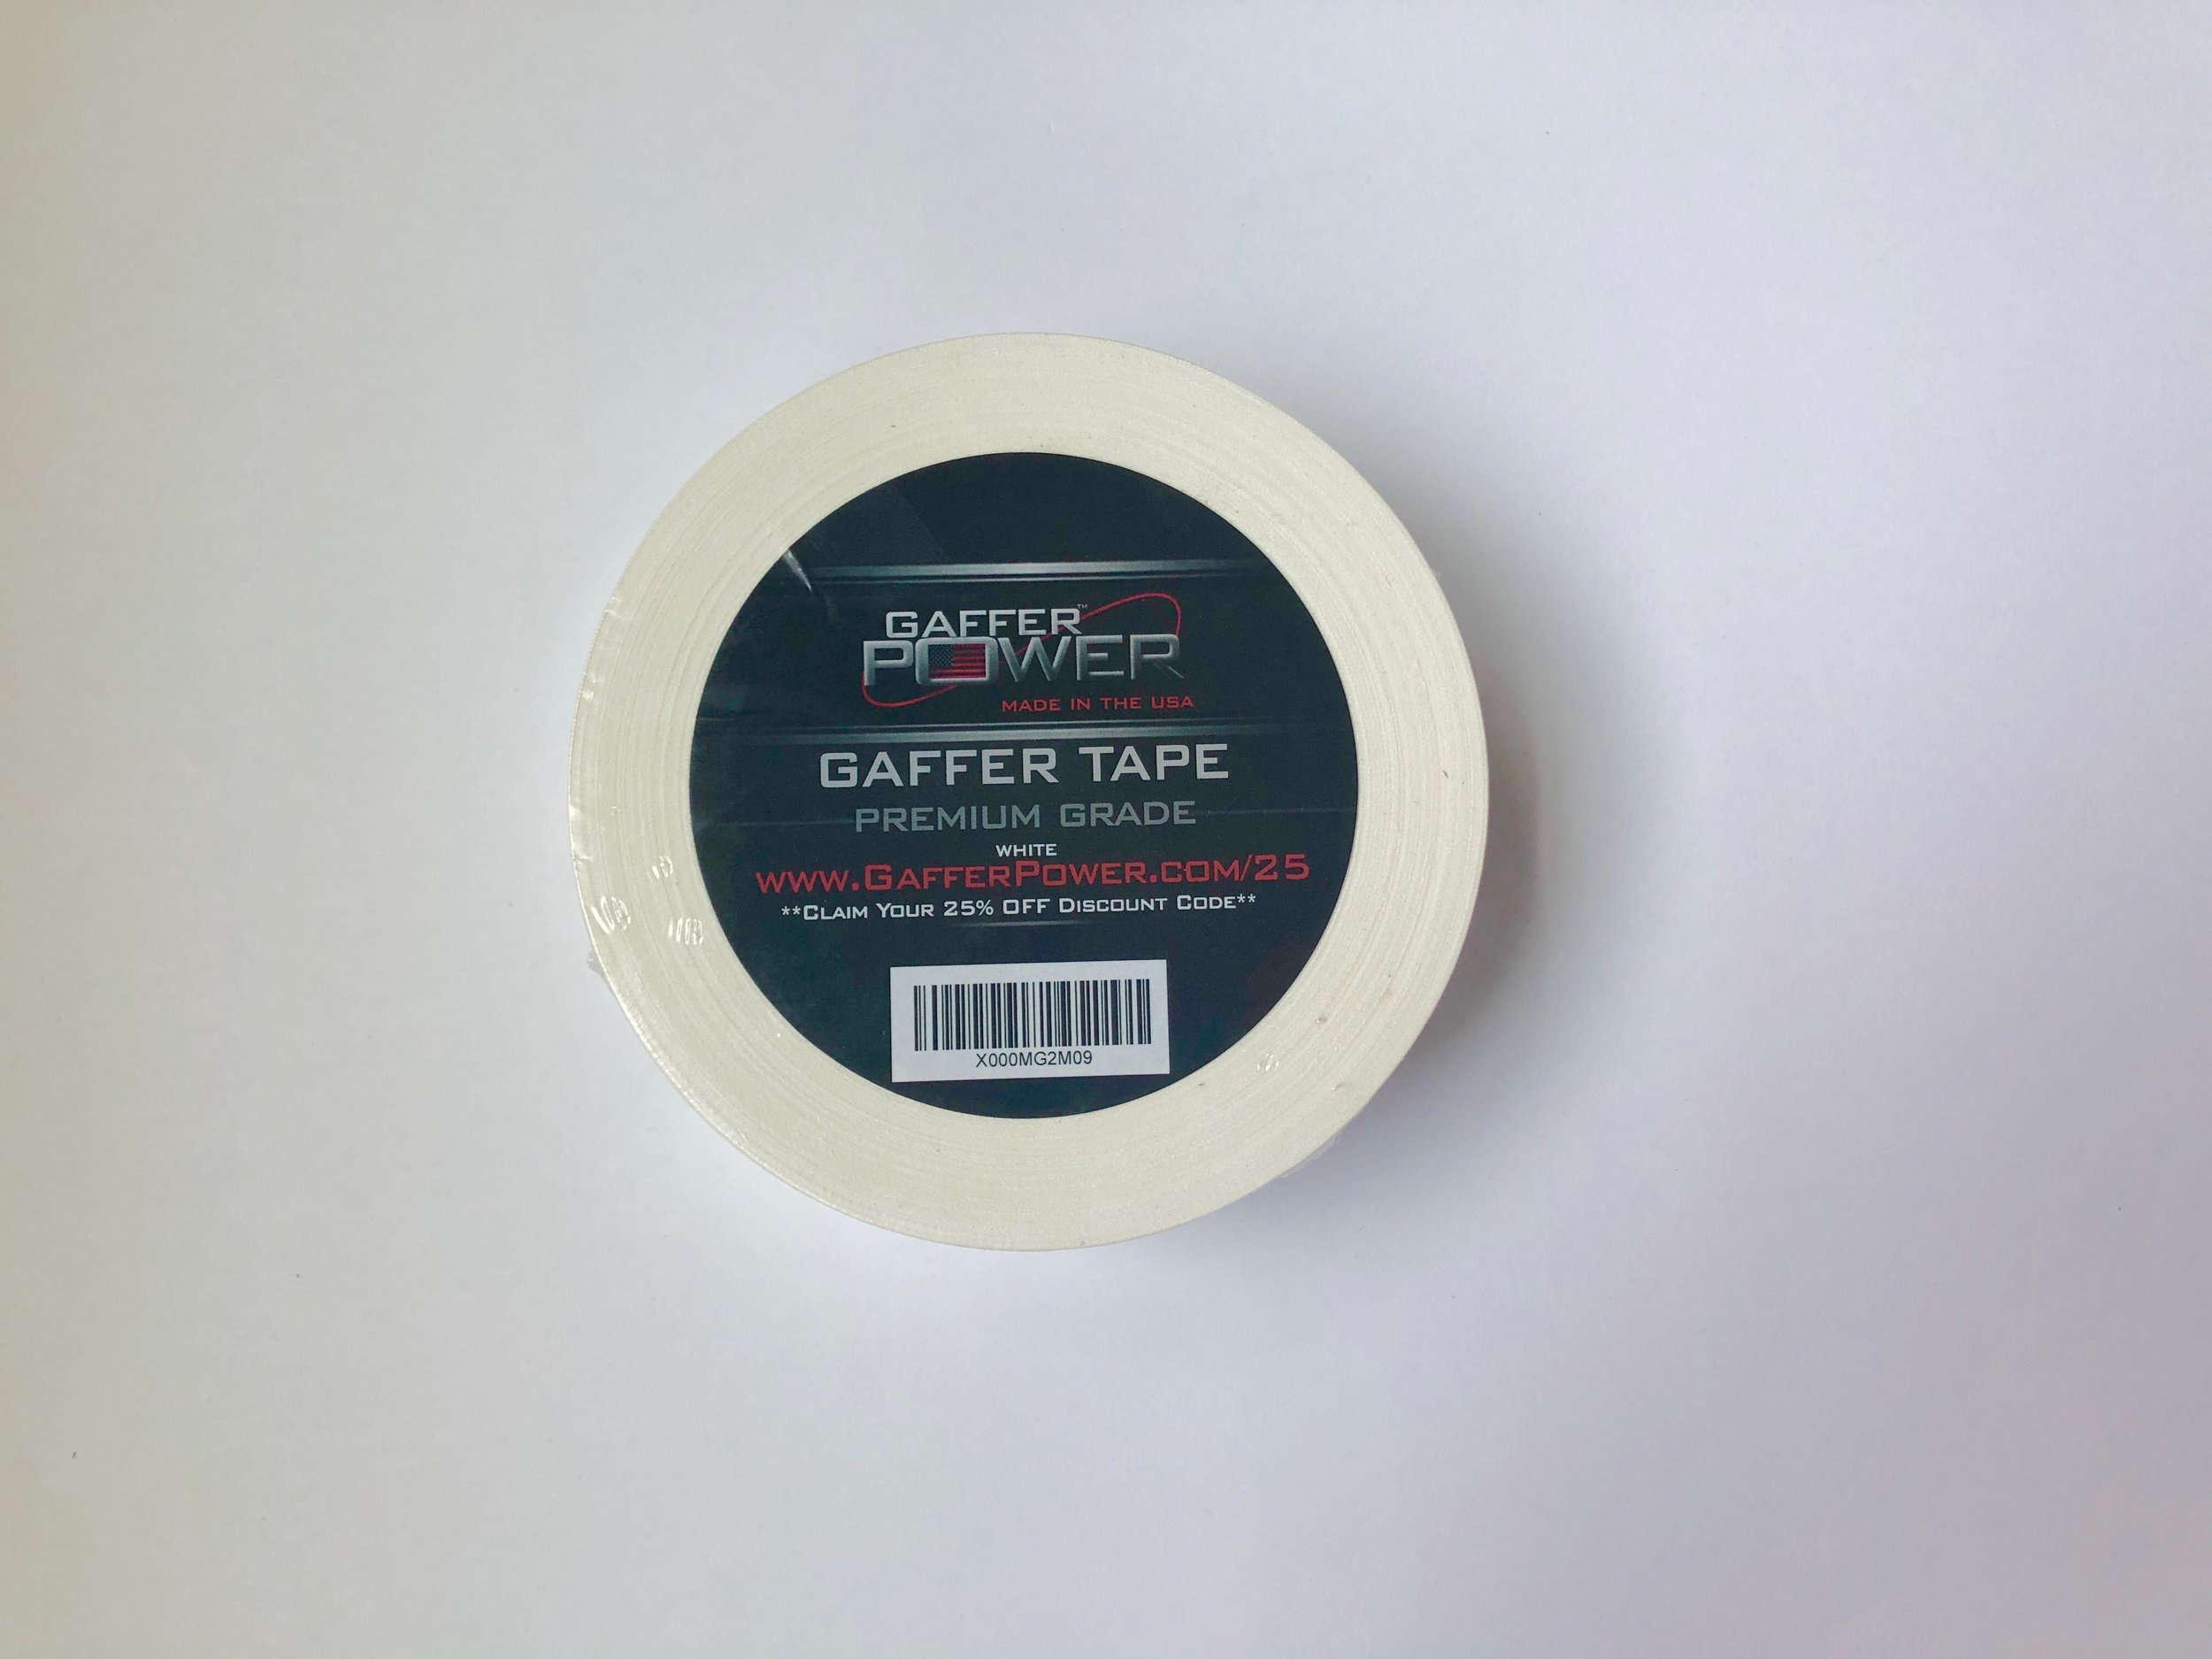
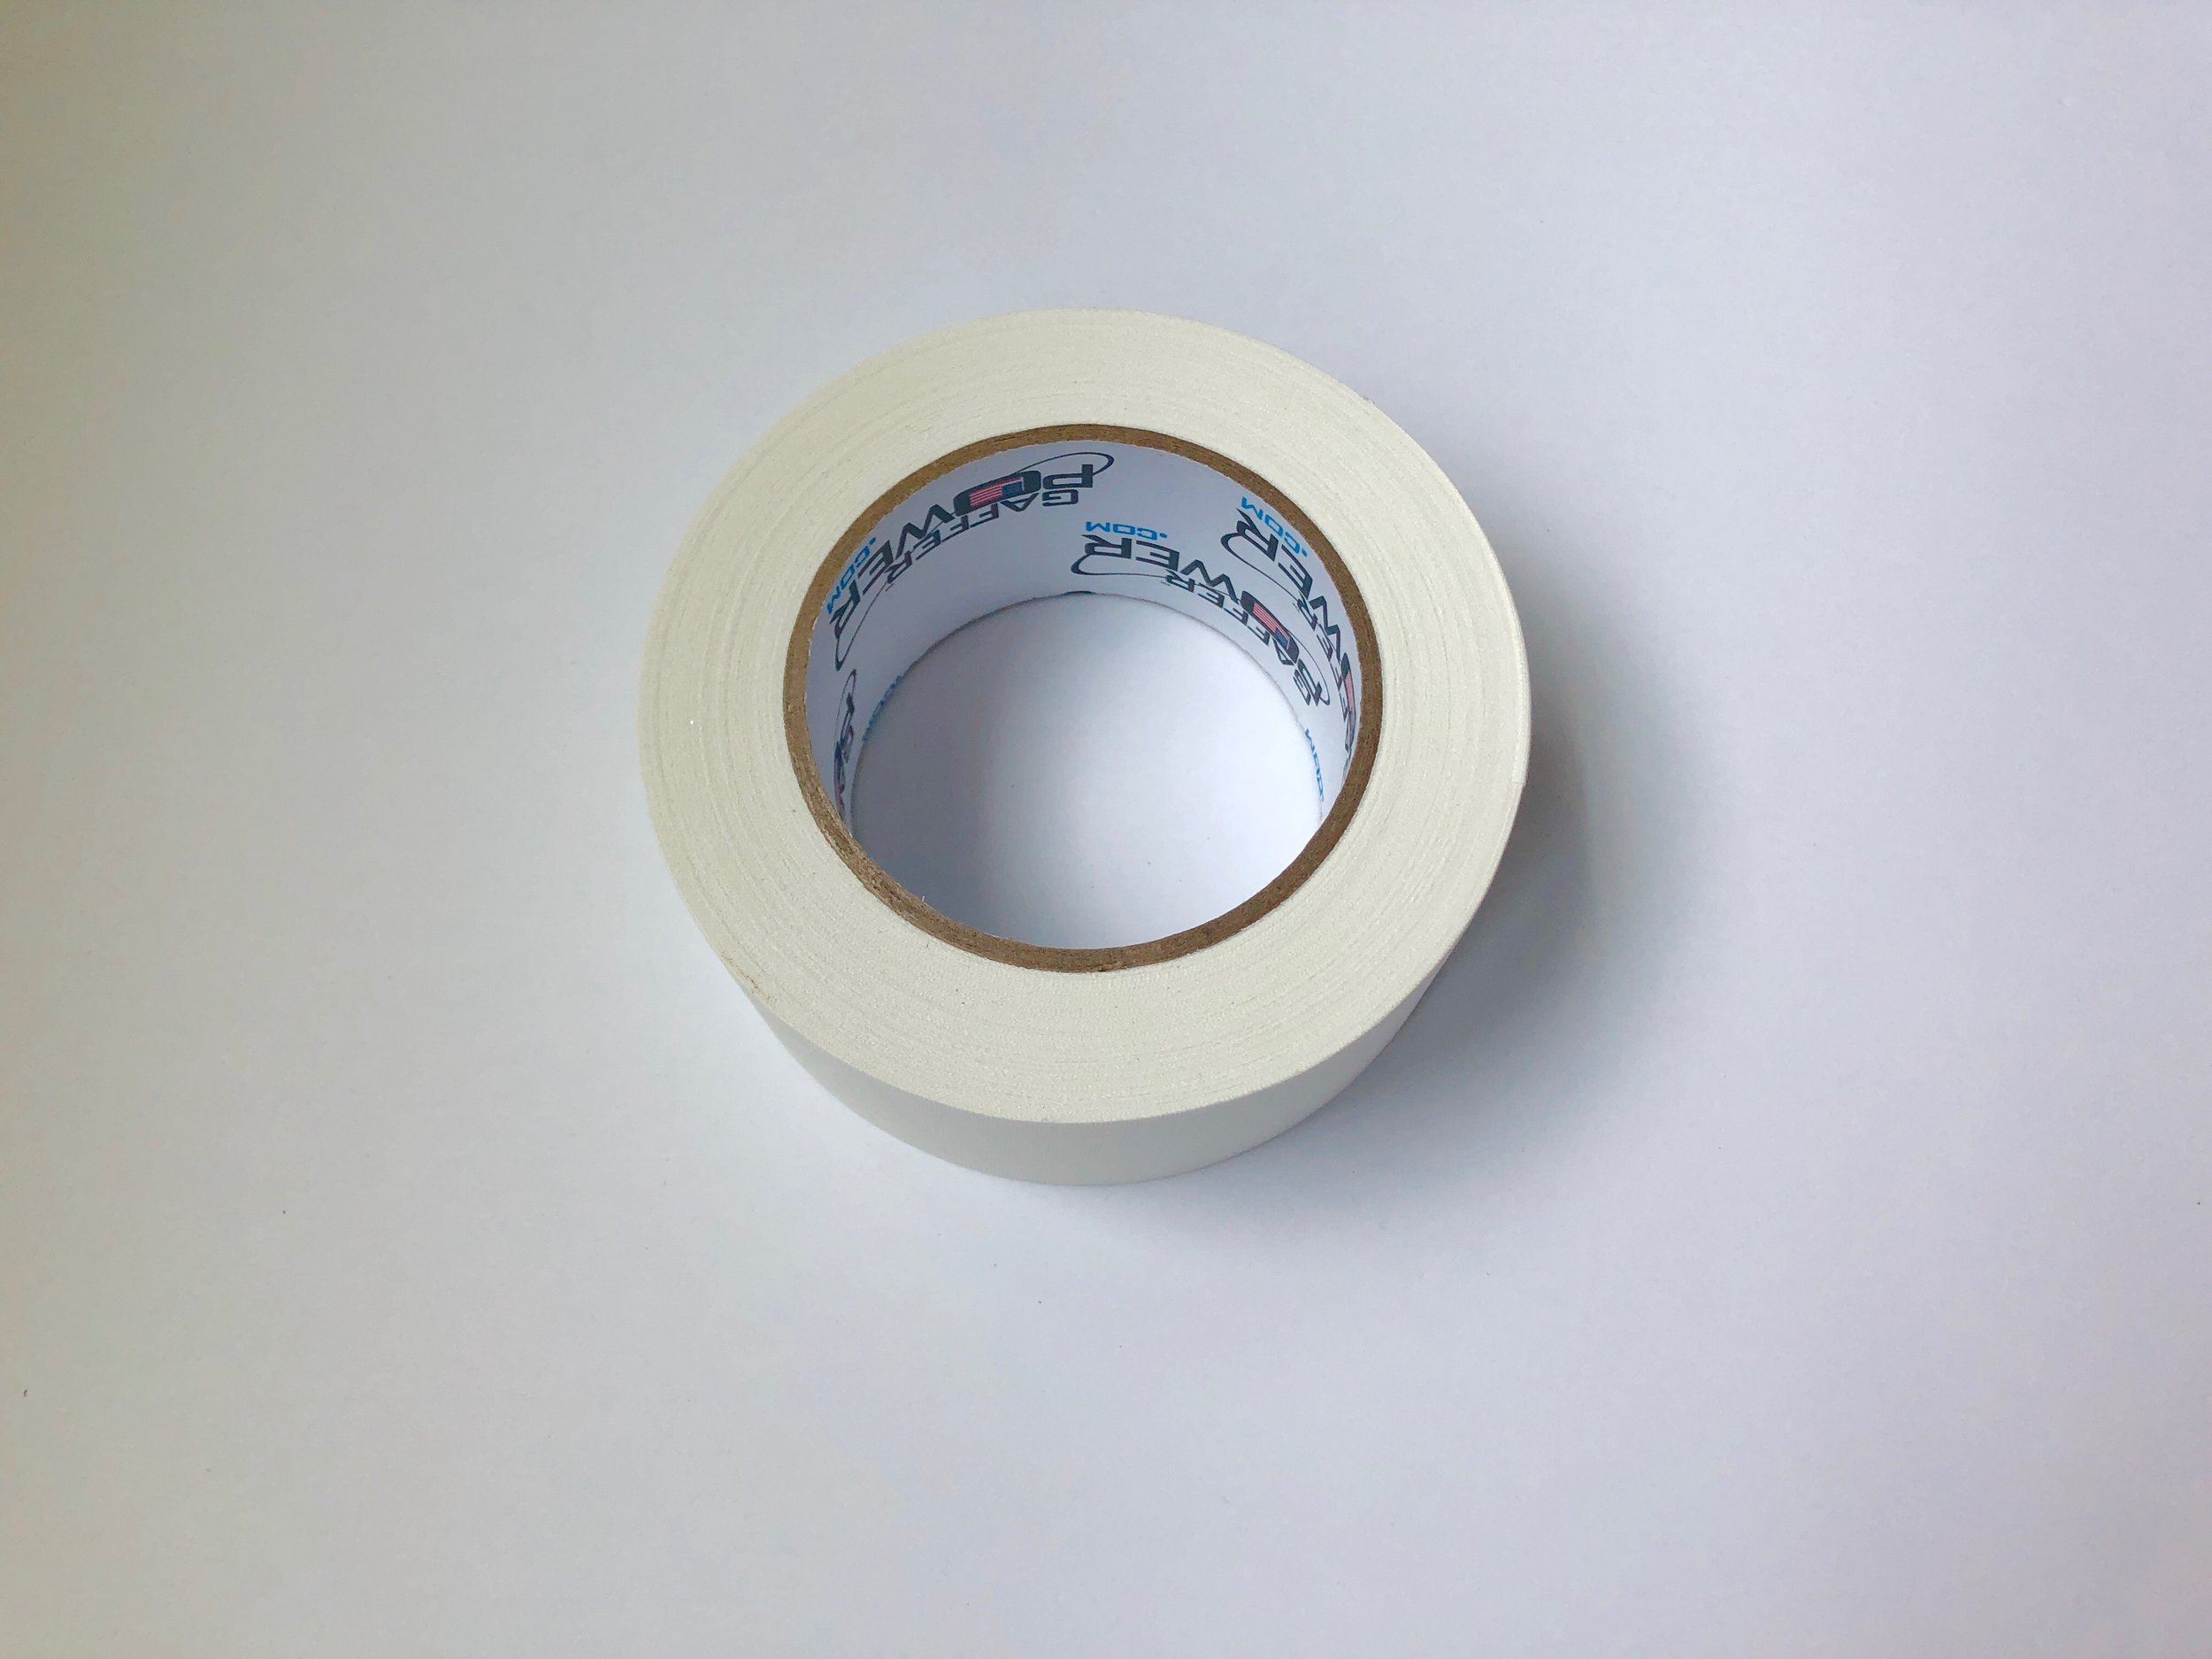
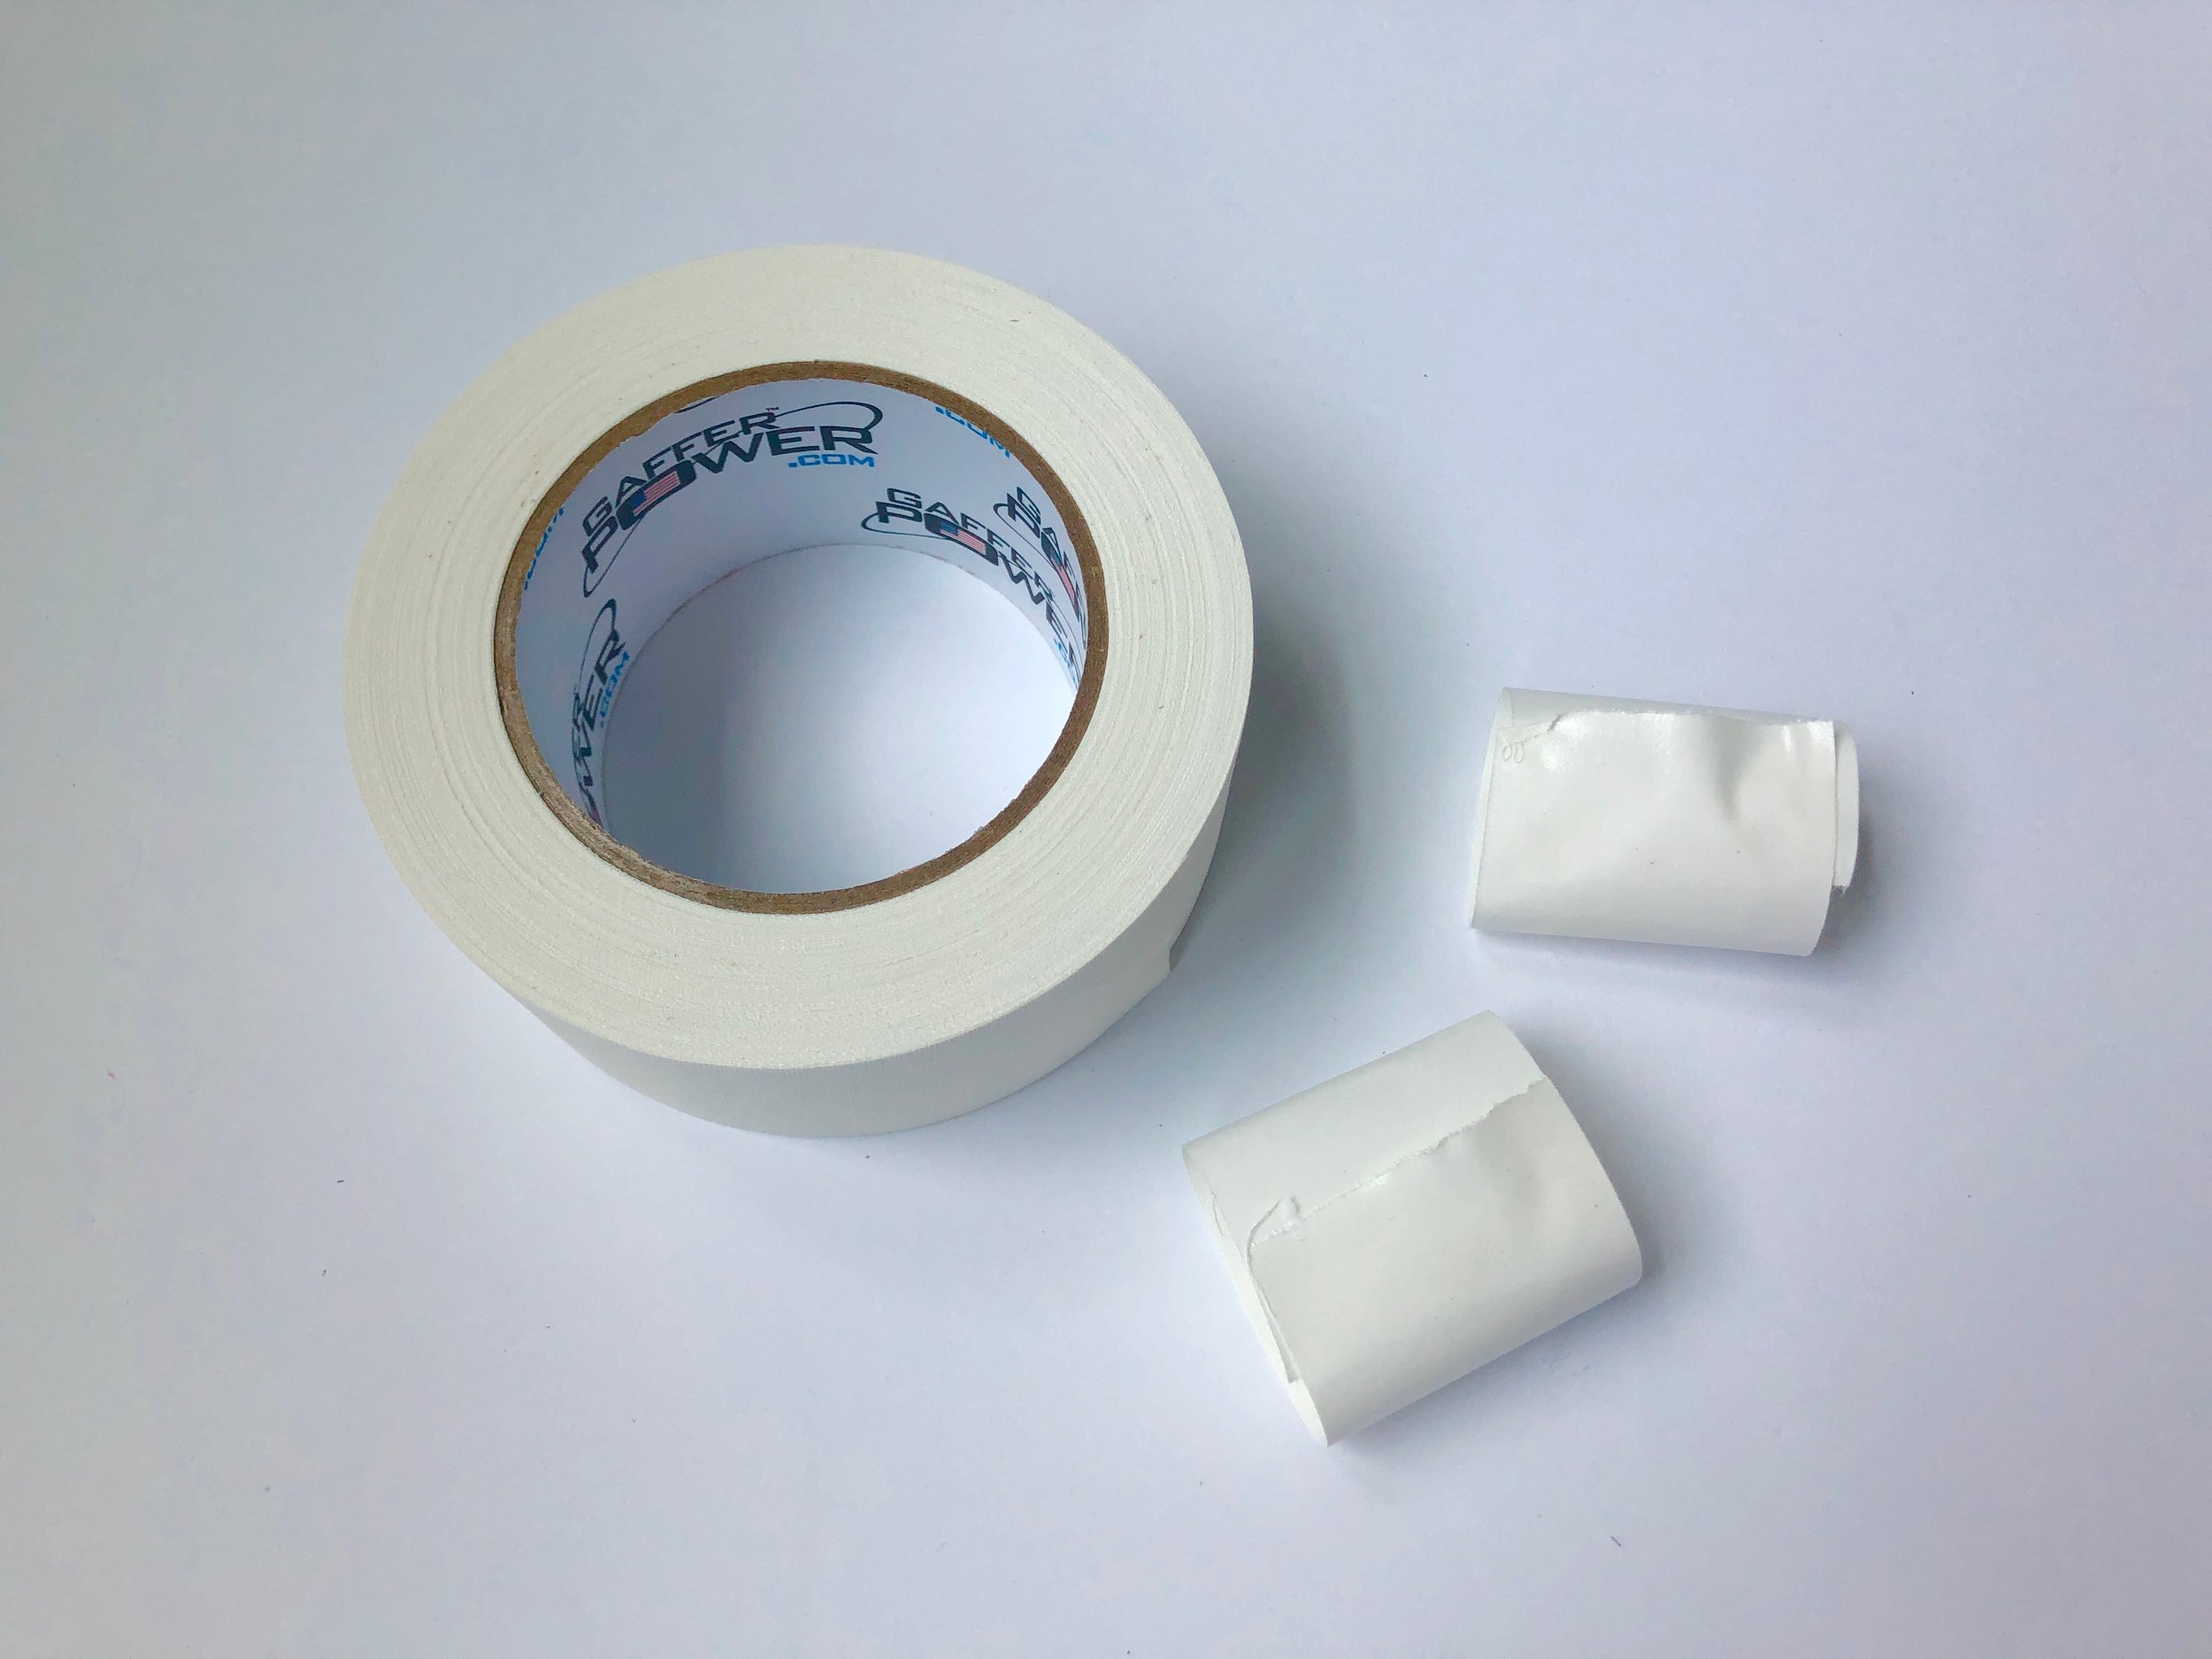
Gaffer Tape (find it on Amazon)
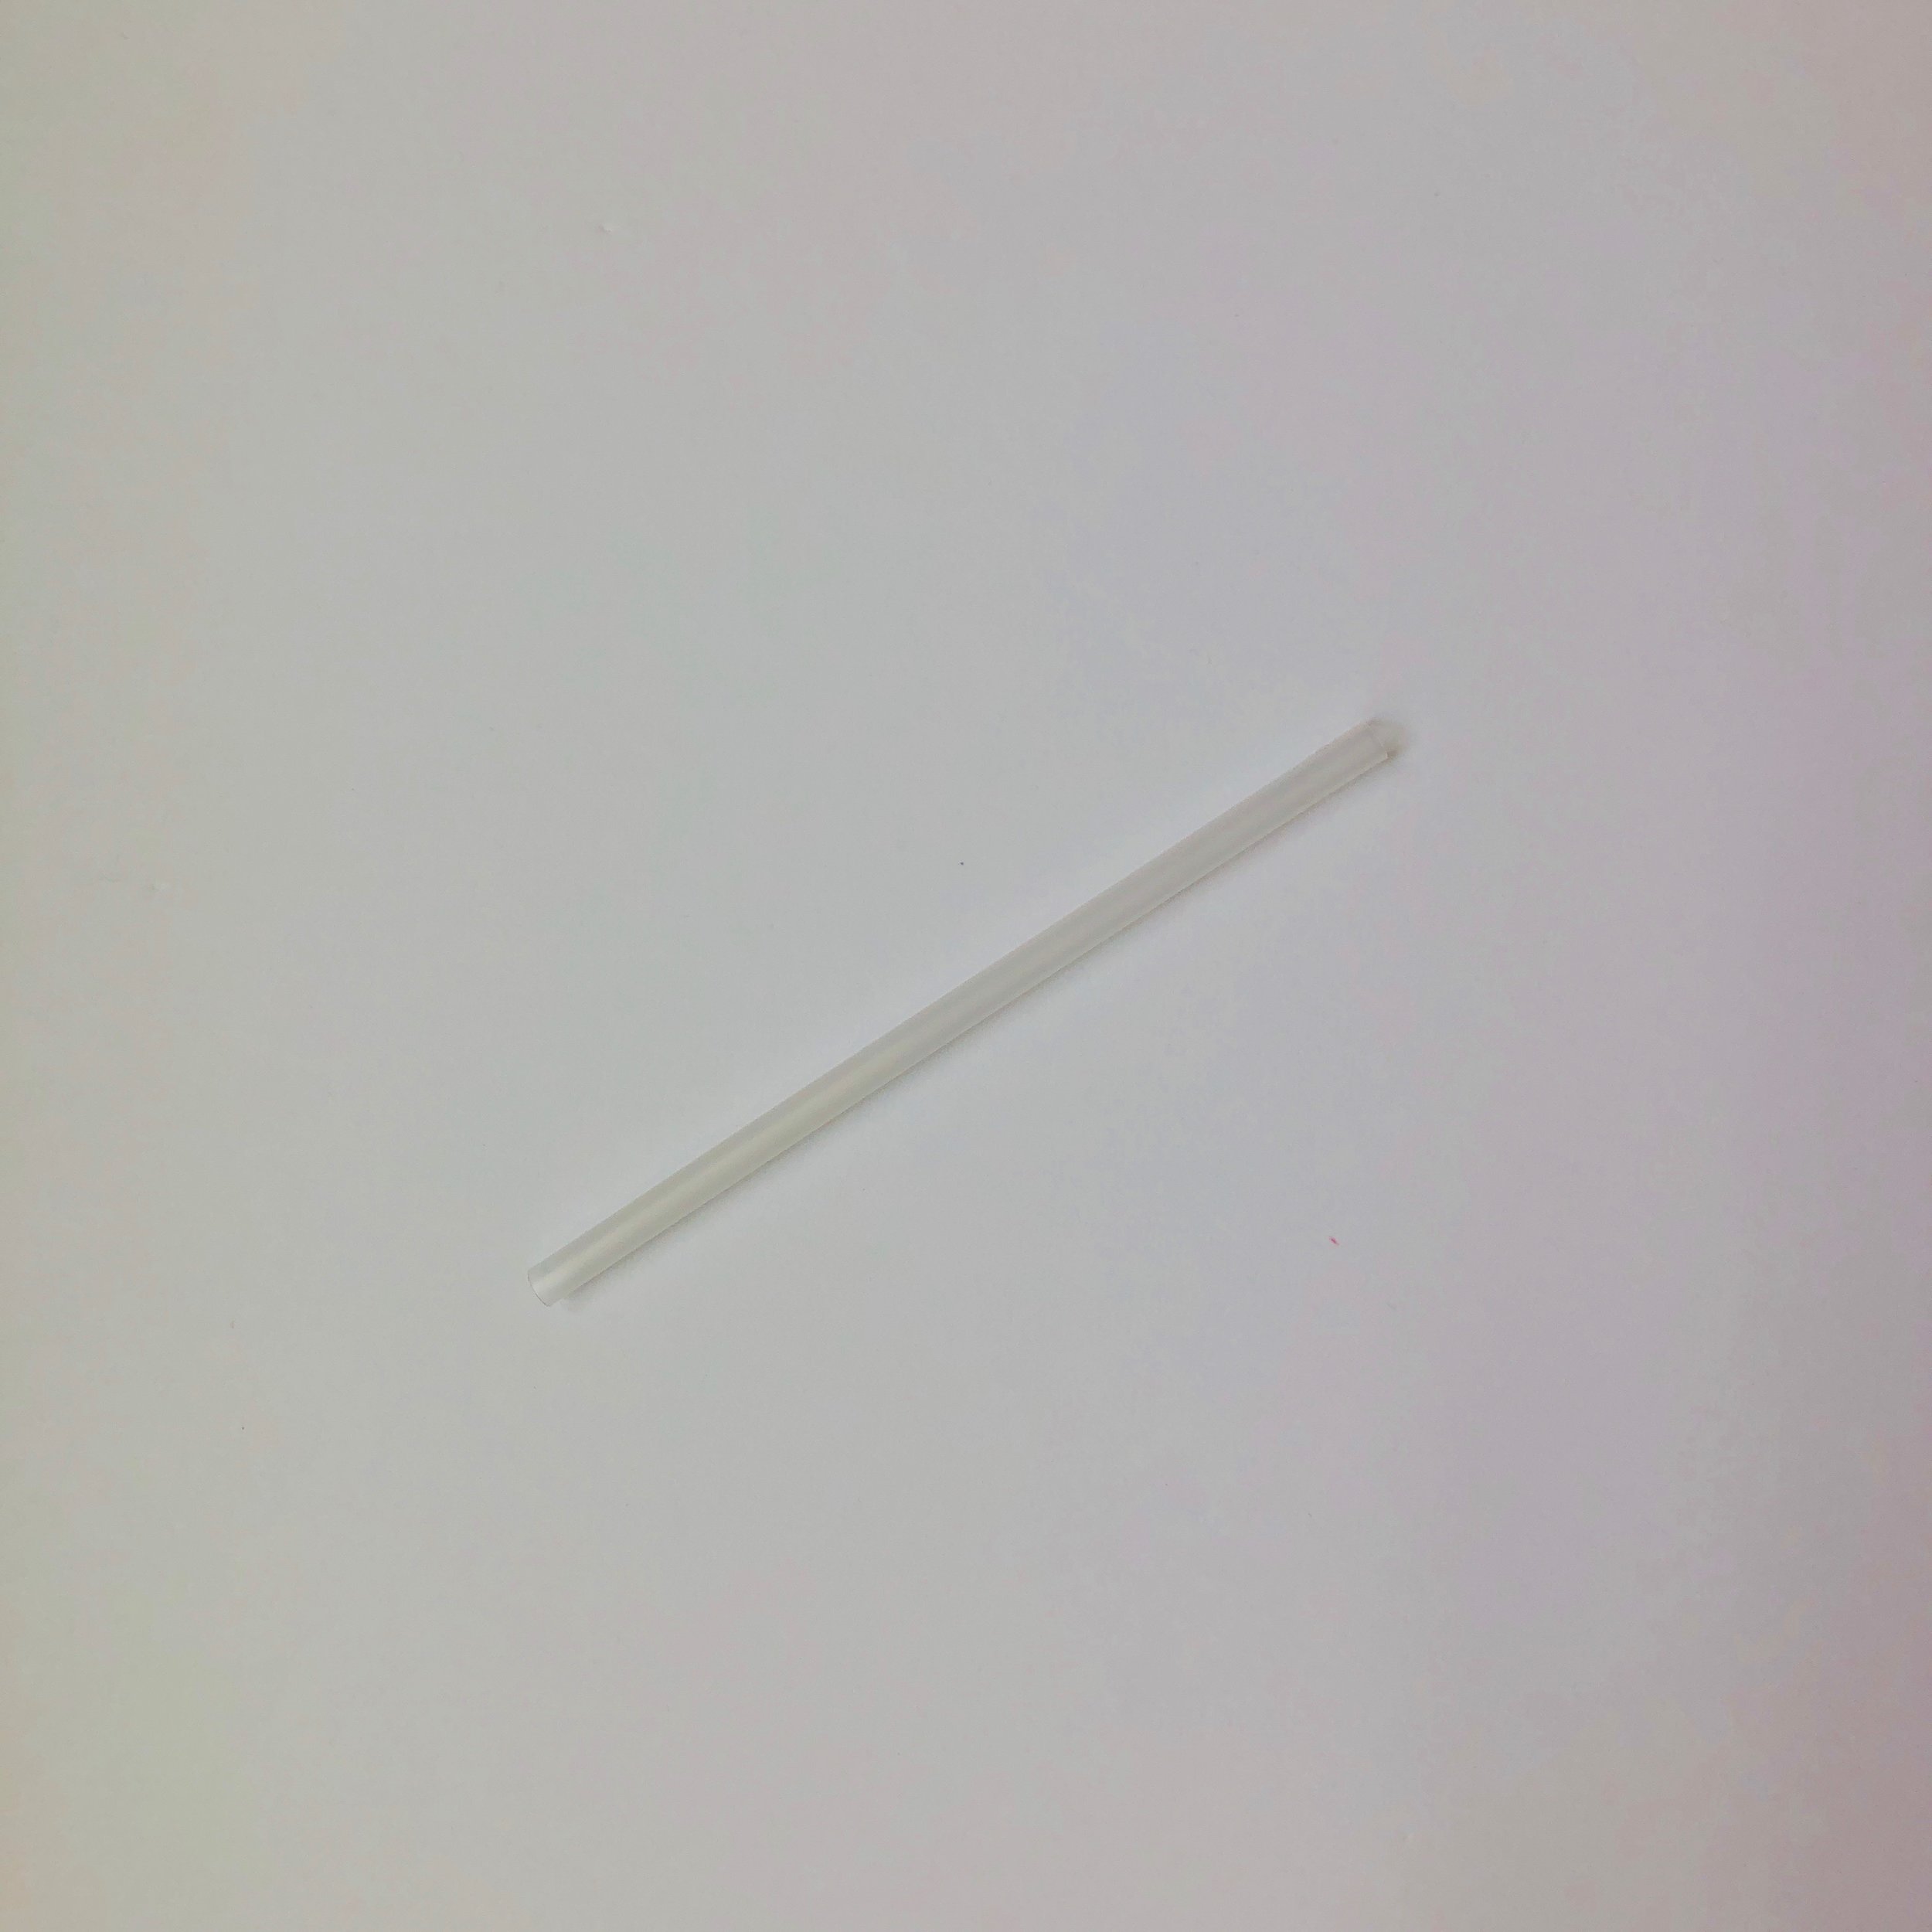
A straw (a sturdy harder straw works best, the ones that come with letter balloons work well)
Scotch tape (if you have it on hand, or you can use Gaffer tape)
Instructions:
Tip before you start! Gaffer tape is much easier to work with if you tear it instead of cutting it with scissors, it’s actually fun to work with. It’s super sticky and it’s hands down my favorite craft tape because it holds so well without damaging items that it’s taped to.
1. Take some time to look for Mylar balloons that match your event theme and dream up a creative way of showcasing the theme on a wall or backdrop. Think of it like you’re telling a story with balloons — this part is my favorite!
2. Next sketch out your ideas on paper, where will the balloons go, where will the banners, and additional decor go? Map out the placement of all your decor on your wall or backdrop.
3. When working with additional party decor, think about your design and what items need to be placed first, second, third and so forth. Since I used a letter garland in my design (which I wanted to be the focal point of my backdrop) I needed to make sure it was added first and placed right in the middle of the wall. I then added the butterfly balloons on each side of the banner to create balance.
4. Once you’ve brainstormed some backdrop ideas, found, bought and received the balloons that coordinate with your party theme and figured out the story you want to tell with your backdrop design, get your straw to start filling them up with air (see step 5 before you start!). Do this early in your party-planning process because if anything goes wrong with the balloon you still have time to order a replacement. Insider tip! Whenever relying on a decor item as your main display such as balloons, always try things out early so there are no surprises too close to your event date. Remember, we want joy and ease, not stress and overwhelm. Double checking things early and making sure everything is working the way it’s suppose to is my number one tip for throwing a stress-free party because it allows you to figure out any issues with lots of time on your side and it allows you to change ideas if absolutely needed for whatever reason. With events unforeseen things can happen so double check important aspects of your party.
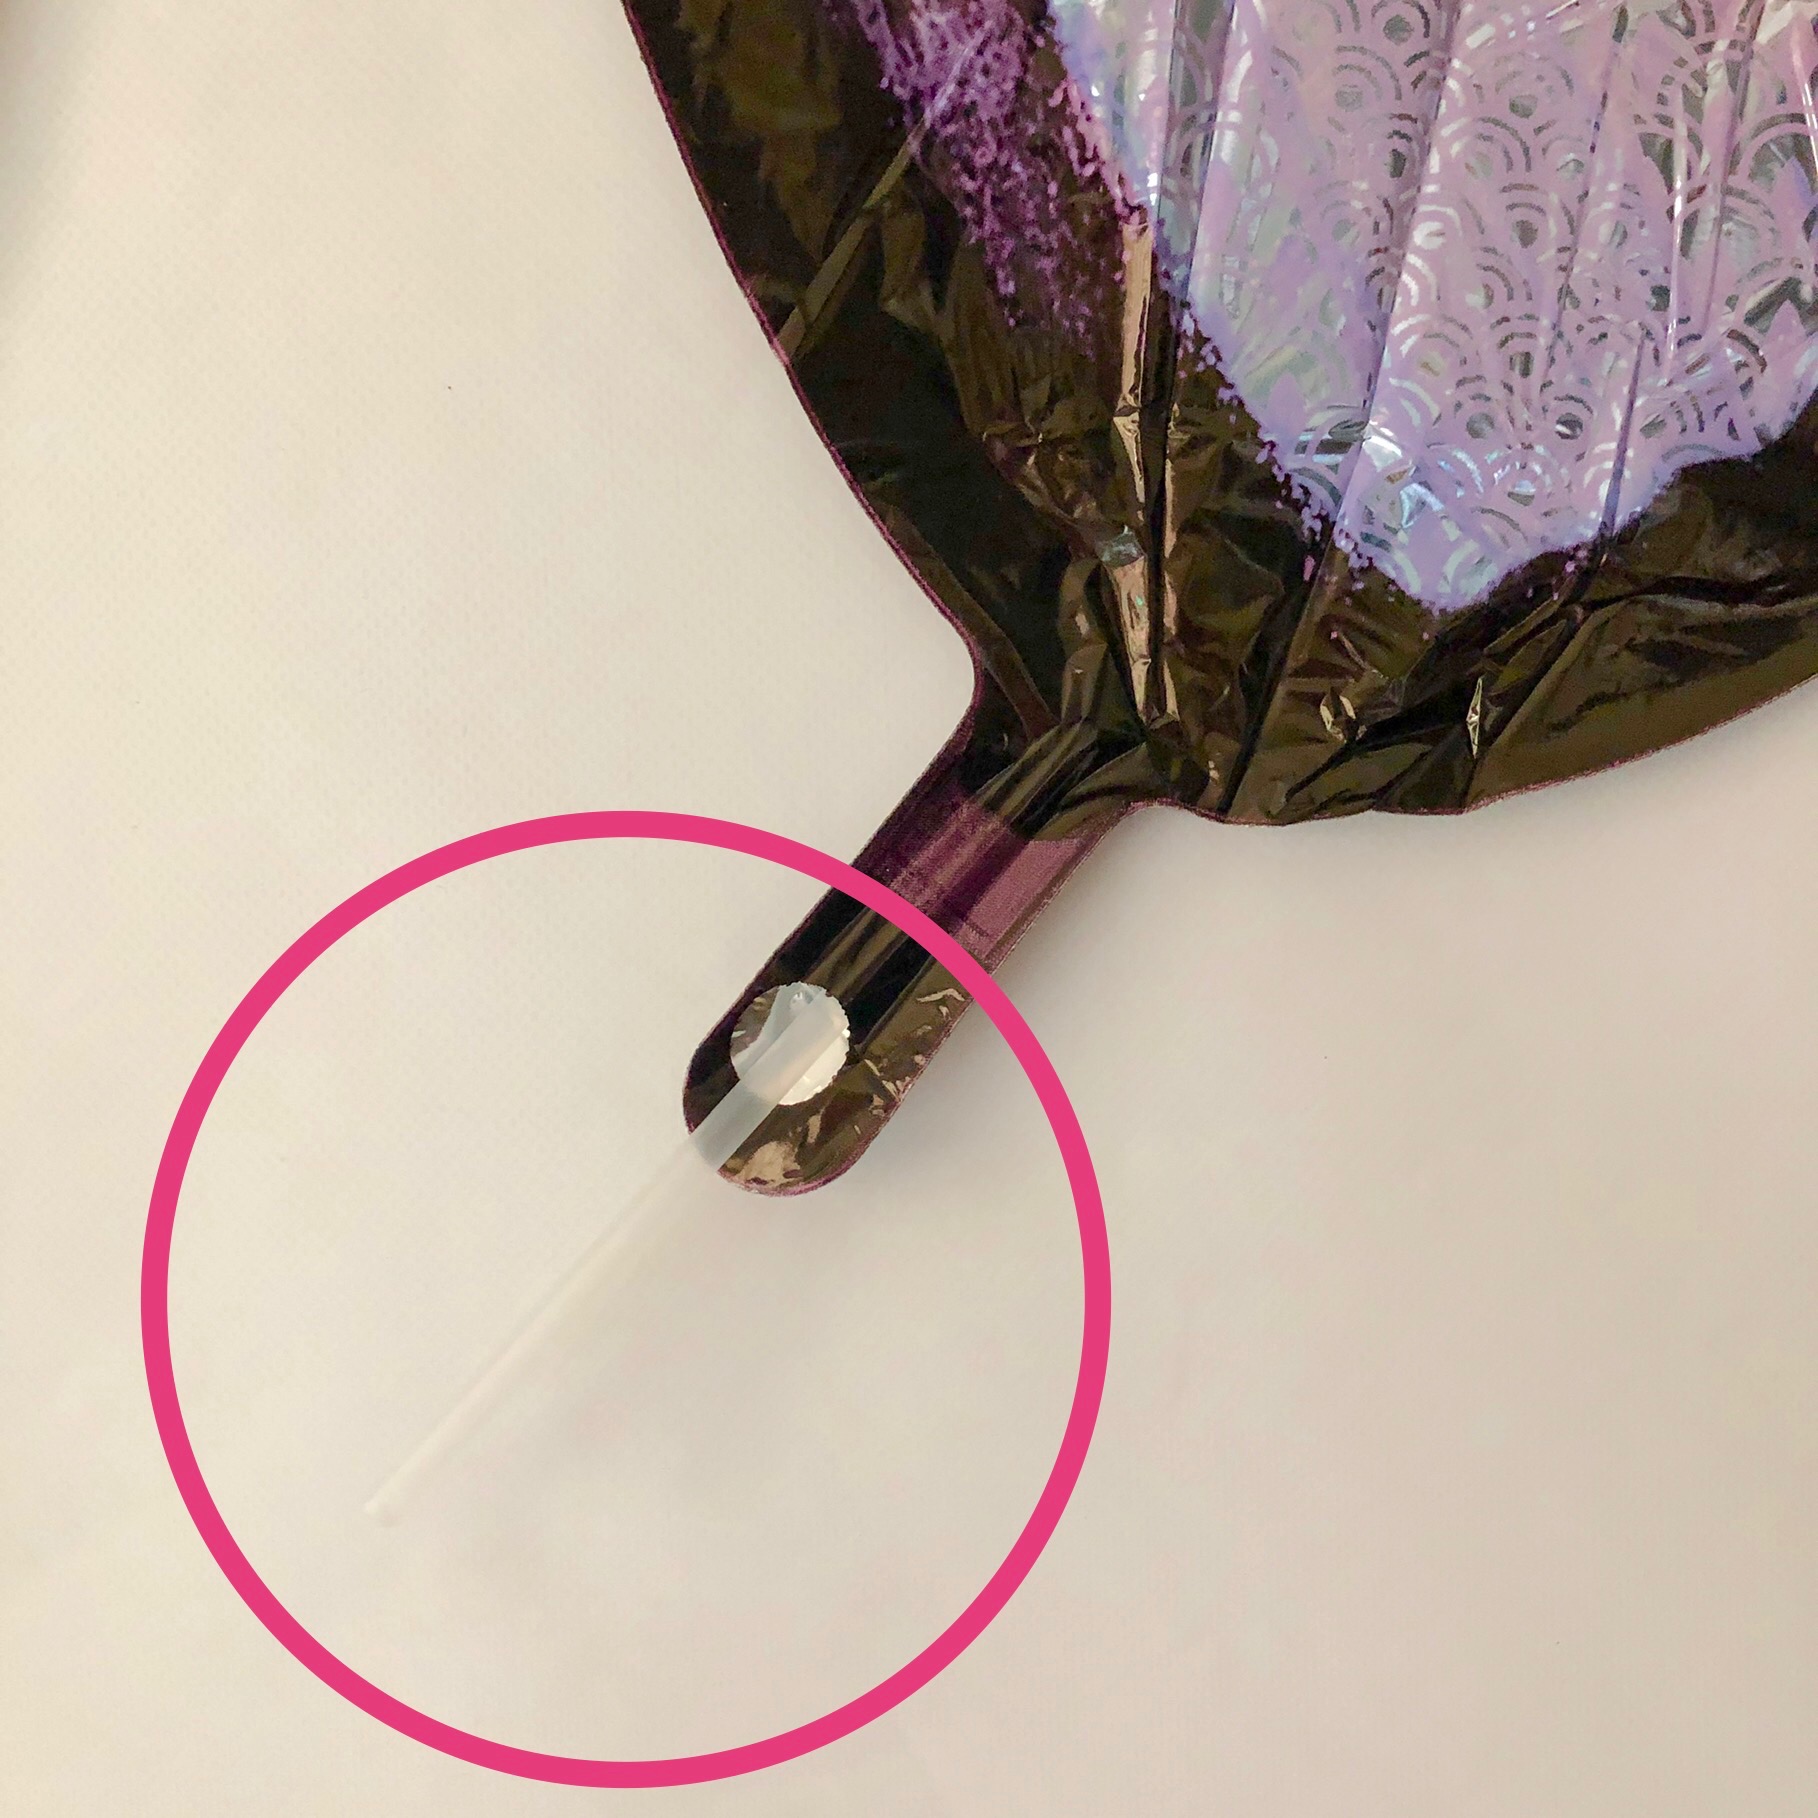
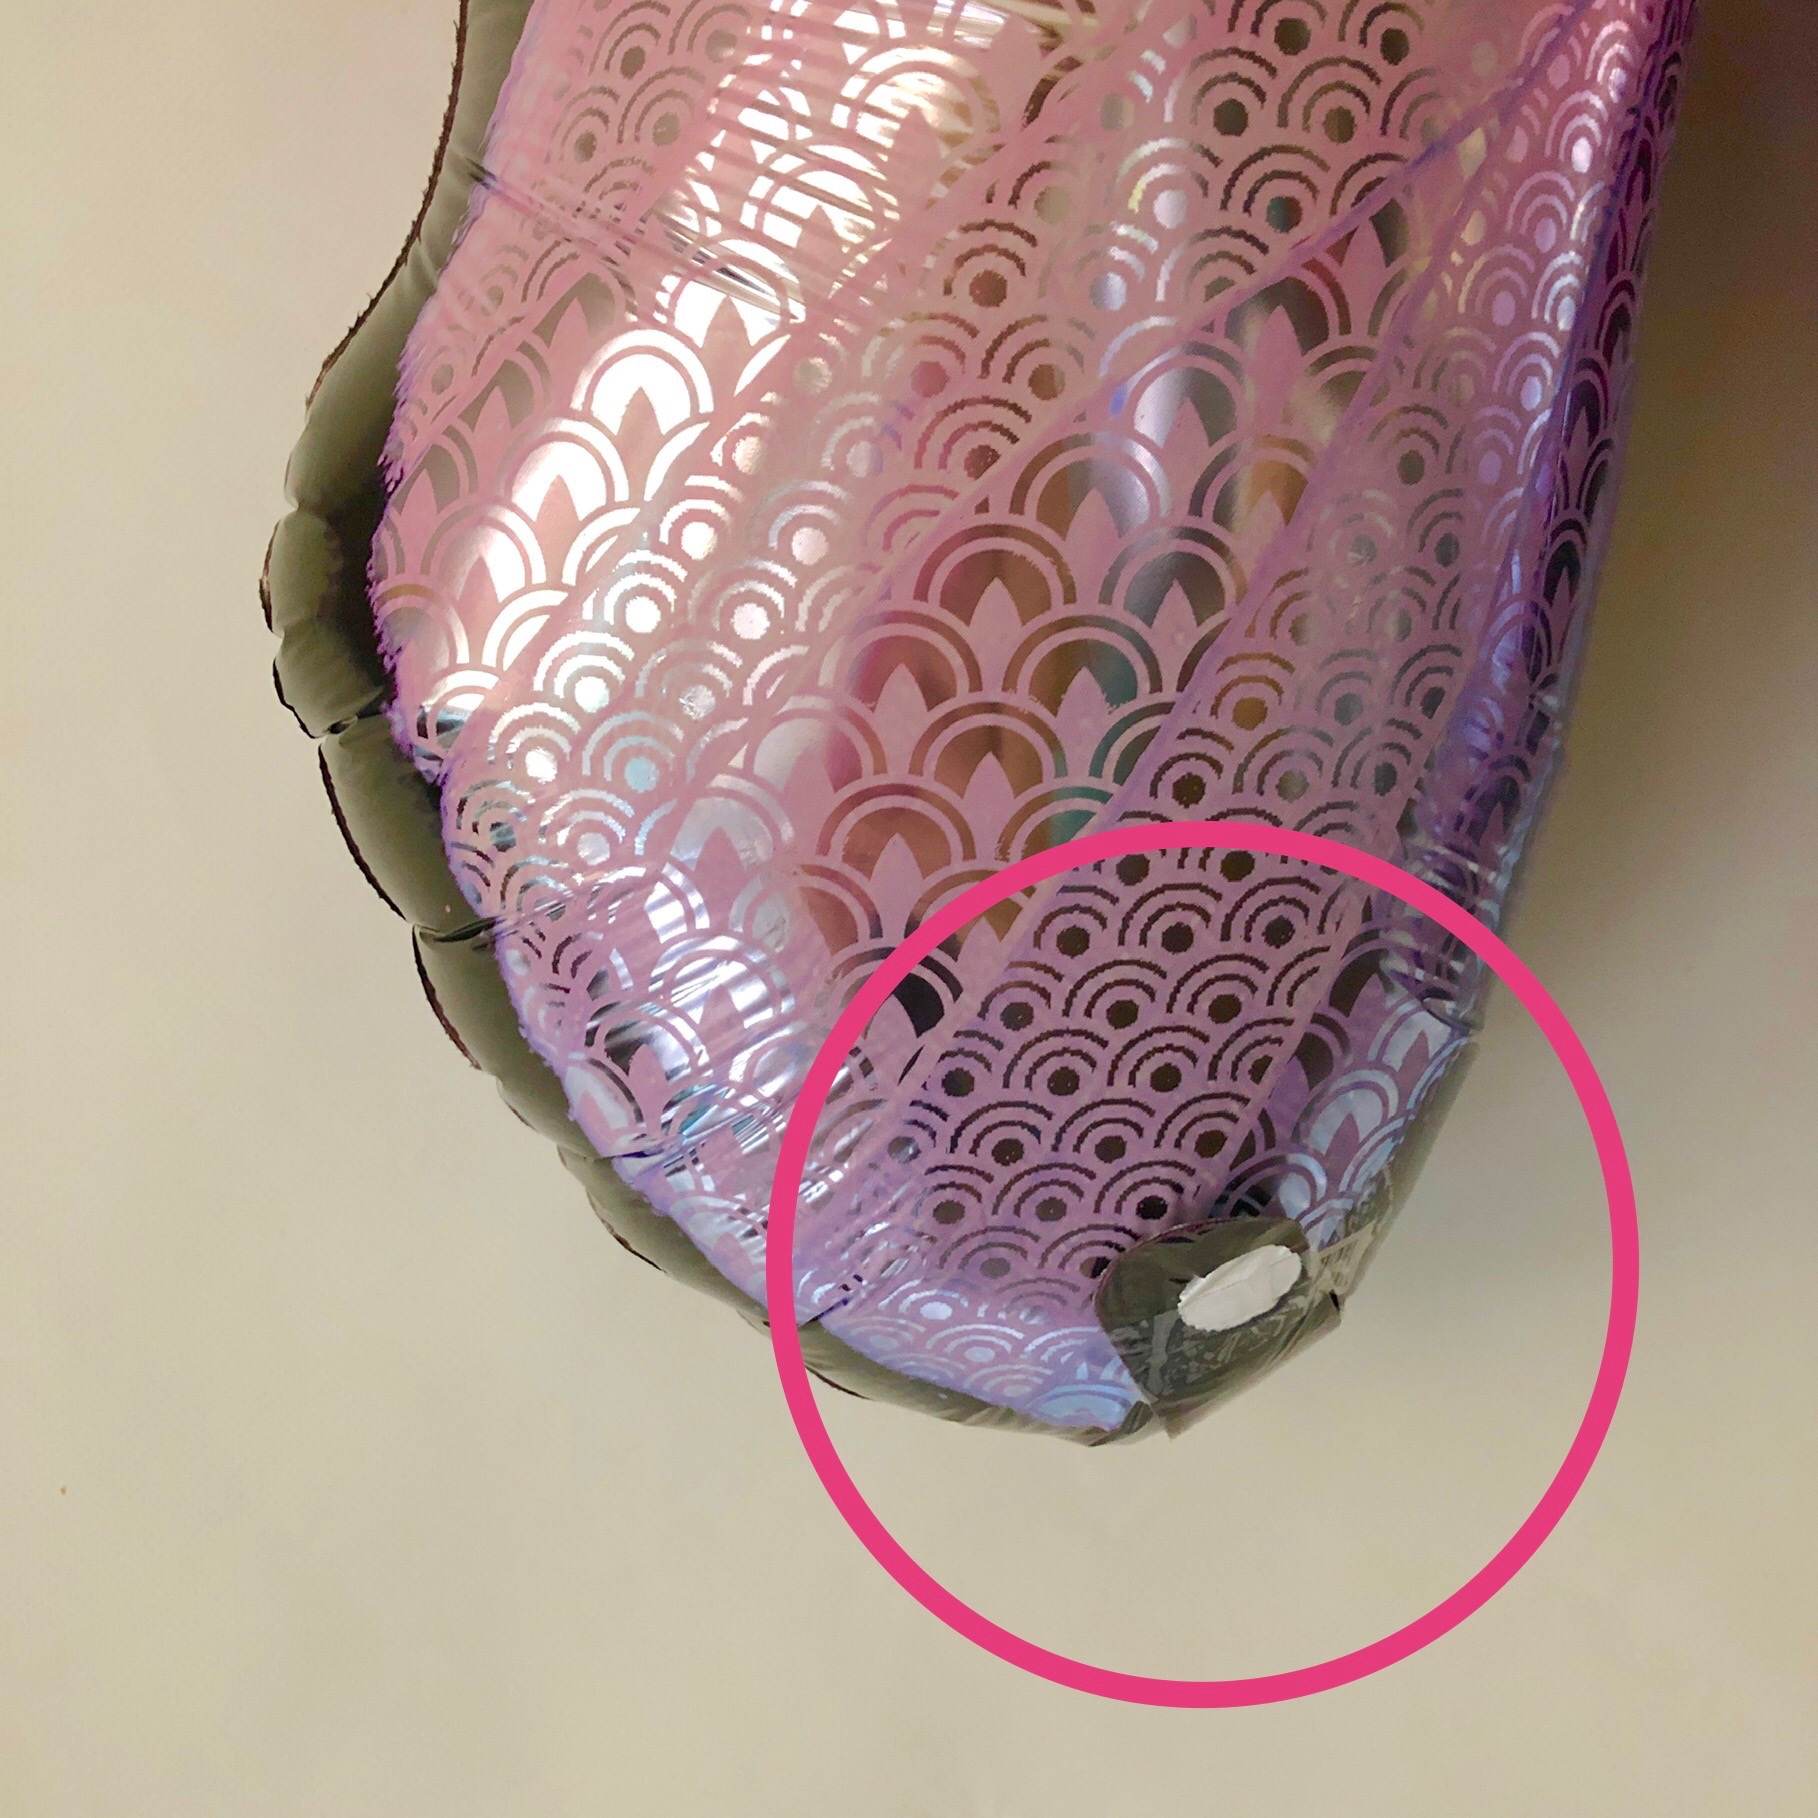
5. Now look for the valve of the balloon. It’s usually at the bottom of the balloon where the ribbon would go and insert the straw, start filling it with air, using your fingers to make sure the valve is as sealed as possible. Keep in mind you’re trying to keep the edges of the valve closed so air doesn’t come out. Take breaks please, don’t pass out! If the balloon is big take your time filling it up. Sometimes you need to gently work the straw up the balloon valve to get it past the sealed opening to get the air in but don’t push too hard as it could break the entire seal and the balloon won’t be able to hold the air anymore, so this is a delicate step. Once you fill your balloons with air, tape the valve down to the back of the balloon using the Gaffer tape or if you have scotch tape on-hand use that. I like to use clear scotch tape because it looks better and cleaner but Gaffer tapes works too.
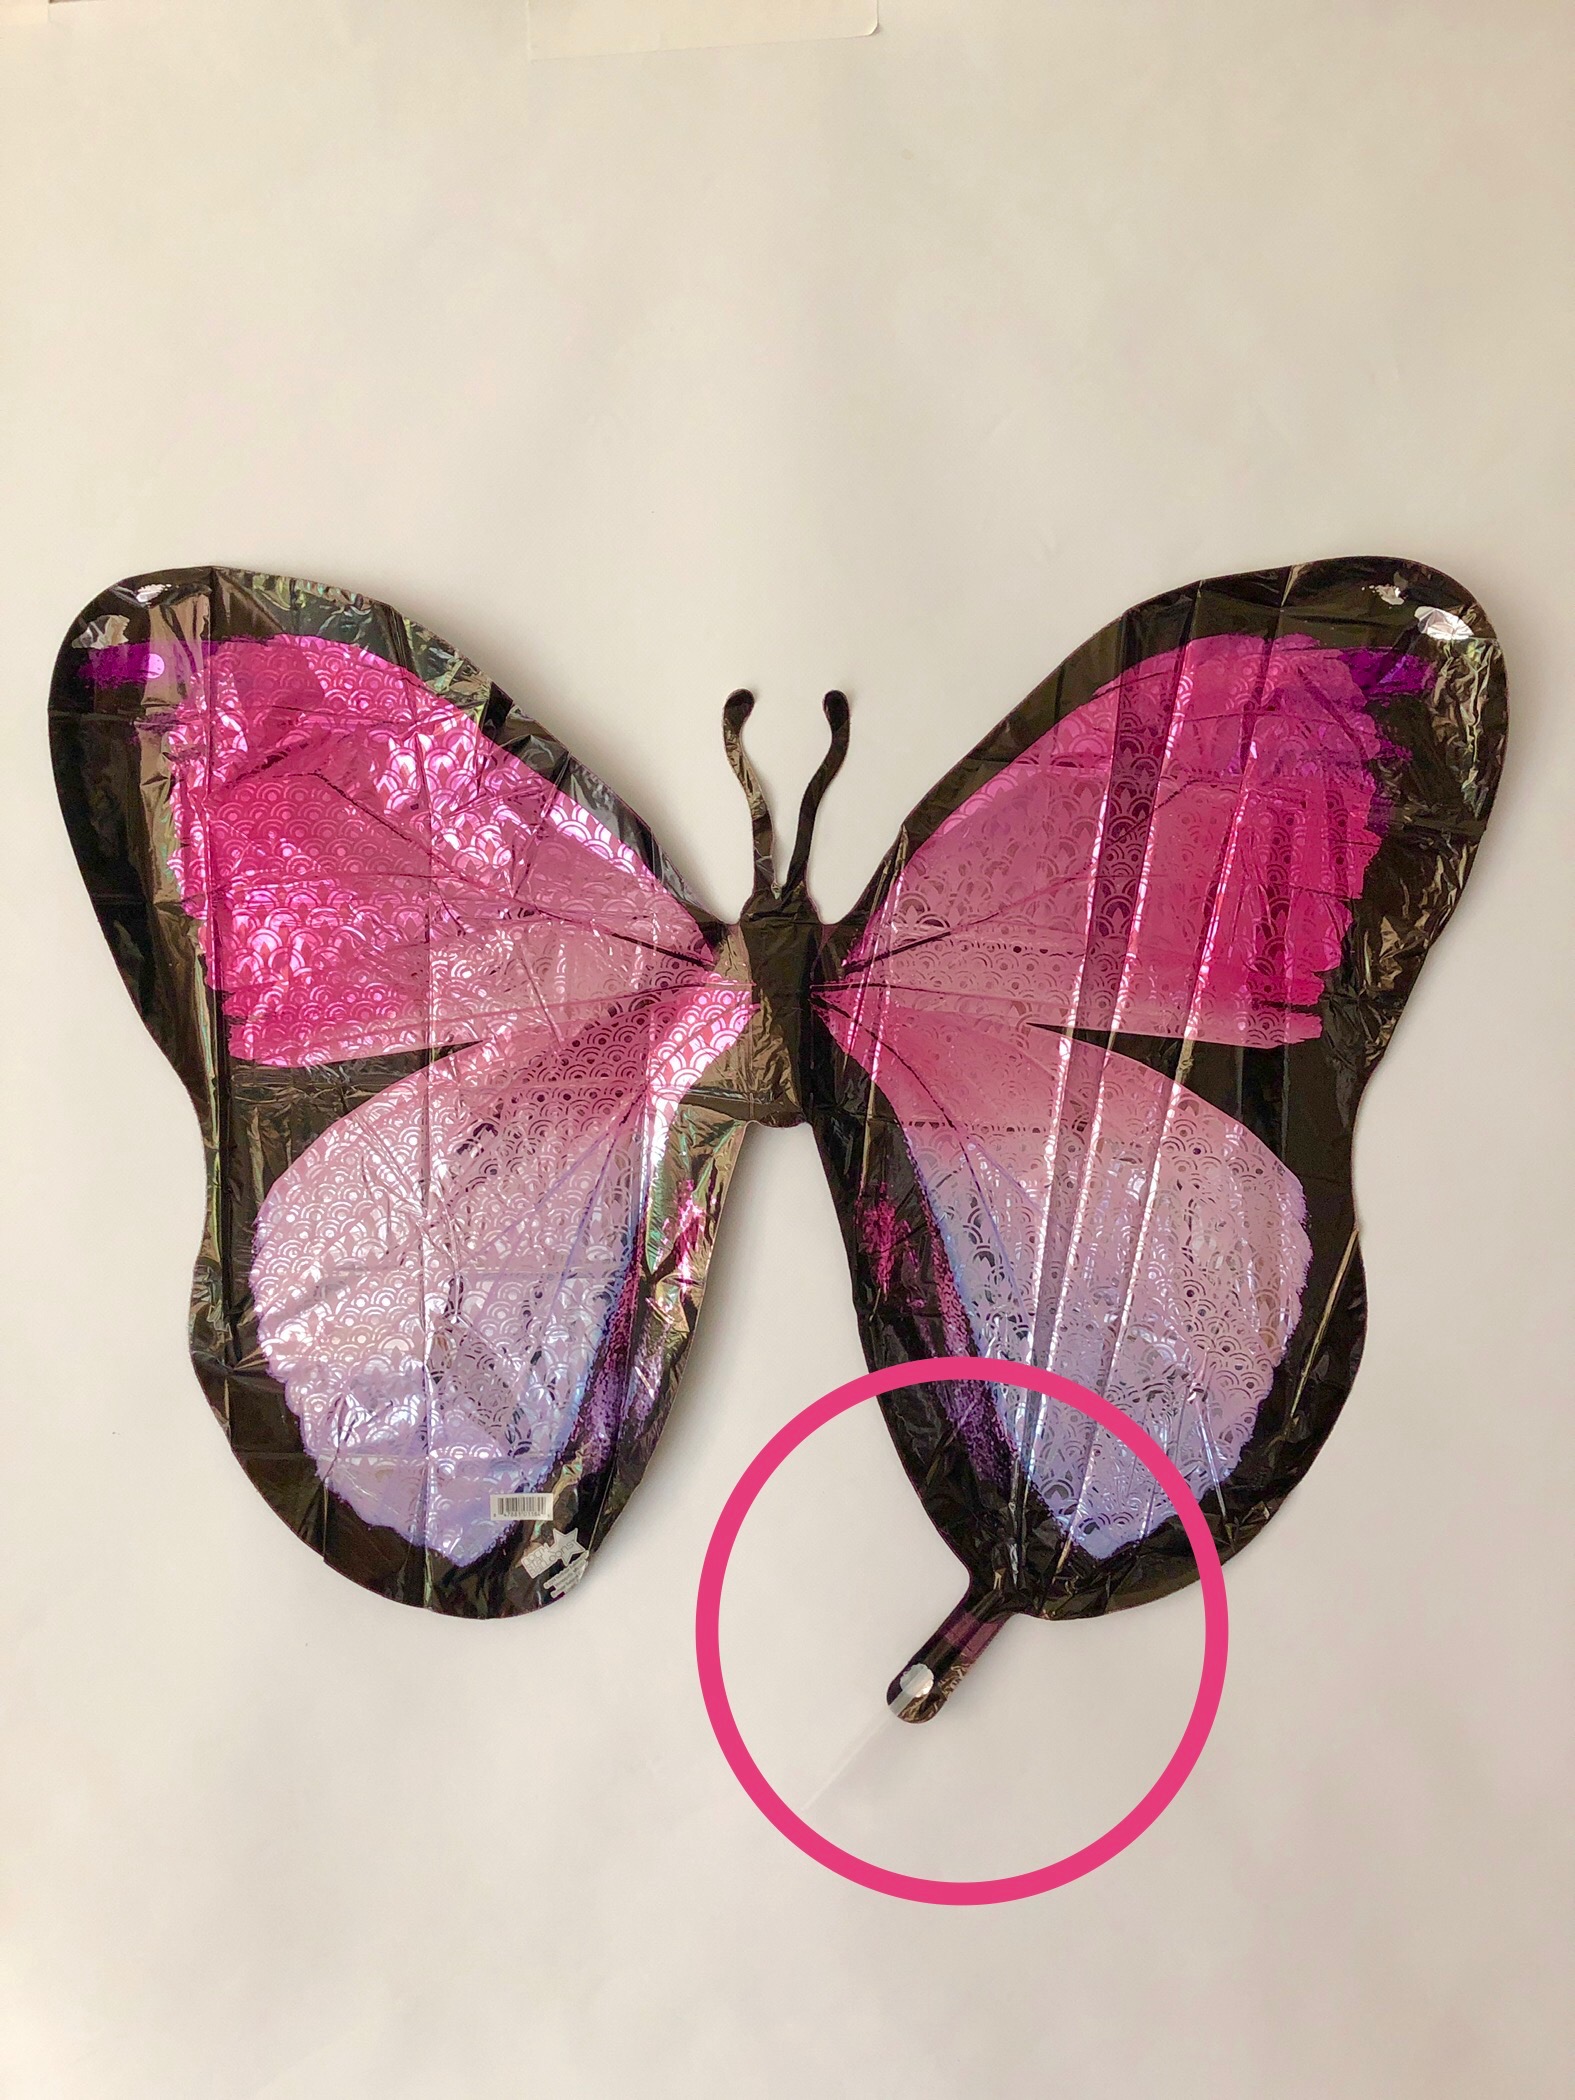
6. Next, tear off pieces of the Gaffer tape and create loops and add the looped tape to the back of the balloons you are using. You’ll need to test out the best location to place the tape depending on where you want the balloon to adhere to the wall or backdrop.

7. Find the positioning for all the balloons you want to use and start testing out the placement on your wall or backdrop according to the design you sketched up and mapped out. Offer yourself lots of patience with this step to find the right spots and feel free to change it up. Use your design ideas as a guide but don’t be afraid to switch things up once you are actually doing this step. Often times when styling parties my best ideas come to me during the actual styling phase since I’m in the moment playing around, having fun with it, seeing what works and what looks best. So use your sketch as a guide but you don’t have to do it exactly. You may have to tape and re-position several times until you get it in the right position. Once you find the right spot, tear off a piece of new fresh Gaffer tape and stick it the spot, making sure the tape is sticking to both the balloon and wall or backdrop . This way you have a fresh piece of tape that will hold up longer for the party. I often design and put up my displays several days in advance of the party date — anything to make those last few days of party planning easier!

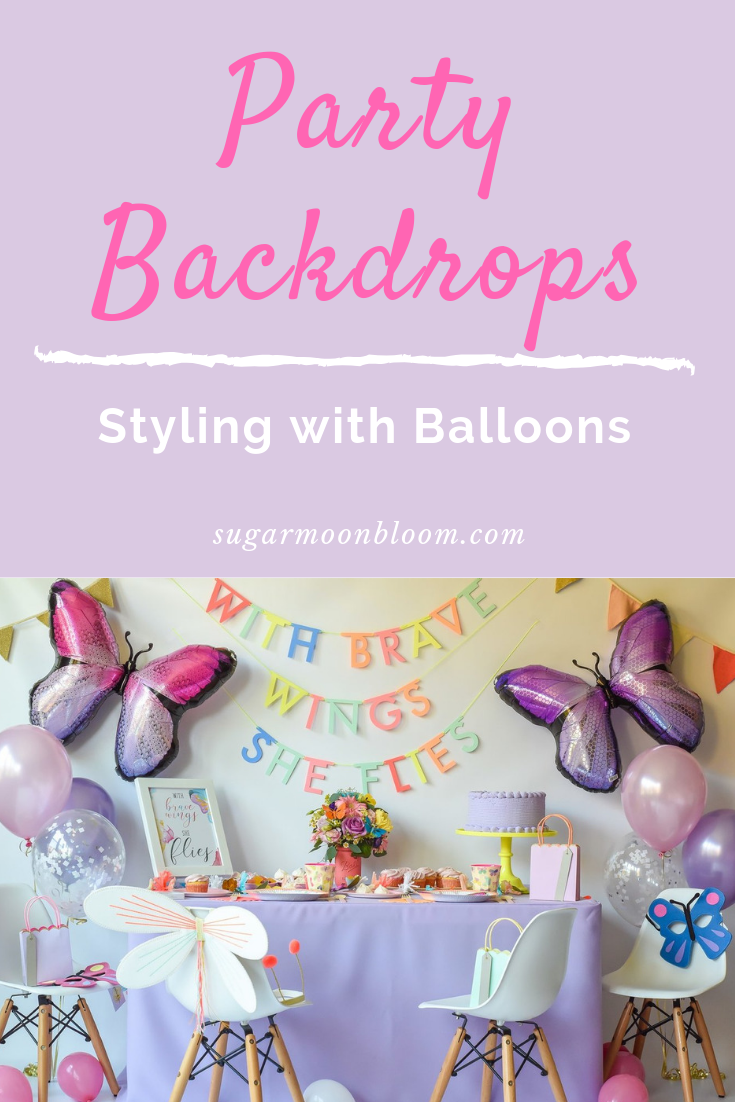
8. After you placed your balloons, add in any additional decor to create your backdrop story. For example, I added the gold fabric garland and pink coral fabric garland last to make my backdrop look more whimsical, which is part of the story I wanted to tell. See the image below and find all kinds of garlands in the shop!
9. Finally, stand back and look at your design from further away. How does it look? Maybe you need to slightly adjust the placement of something. I keep doing this step until my eye doesn’t catch anything off scale. Trust your eyes — they can catch something that is off by just a little. Play around with this step, too, make it fun, sometimes just by moving a balloon or banner slightly can make all the difference.
And that’s it! You now know the how-to for designing birthday party balloon backdrops!

The fully-styled butterfly party package and birthday bundle in the shop!
Showcasing your party theme
Now that you have your placement for your balloons, banners and additional party decor and you’ve created a beautiful backdrop, continue to tell your story by adding in a table to showcase your theme even more. Style a dessert table and move it below your backdrop or create a welcome table by adding a welcome sign and the party favors to the table, welcoming your guests to the party which also serves as a reminder to grab a favor after the party. Or create a beautiful buffet table displaying all the fun party food near the backdrop. Whatever your plan is for styling your backdrop, share it with me! I love seeing how my ideas have blended with your ideas and seeing it all come together! And if you’re still on the fence of what items to use to style a party backdrop, check out my done-for-you birthday bundles in the shop. My birthday bundles are fully styled party packages that I’ve personal designed and curated from top party brand manufactures and handmade artisans. These party packages are filled with all the party supplies and party decor you’ll need to host a truly beautiful and stress free celebration.
Don’t forget to tag me on Instagram so I can be part of the fun! You can find me on Instagram at @sugarmoonbloom.
Happy celebrating!

Pin your favorite graphic to Pinterest and save it for inspiration!