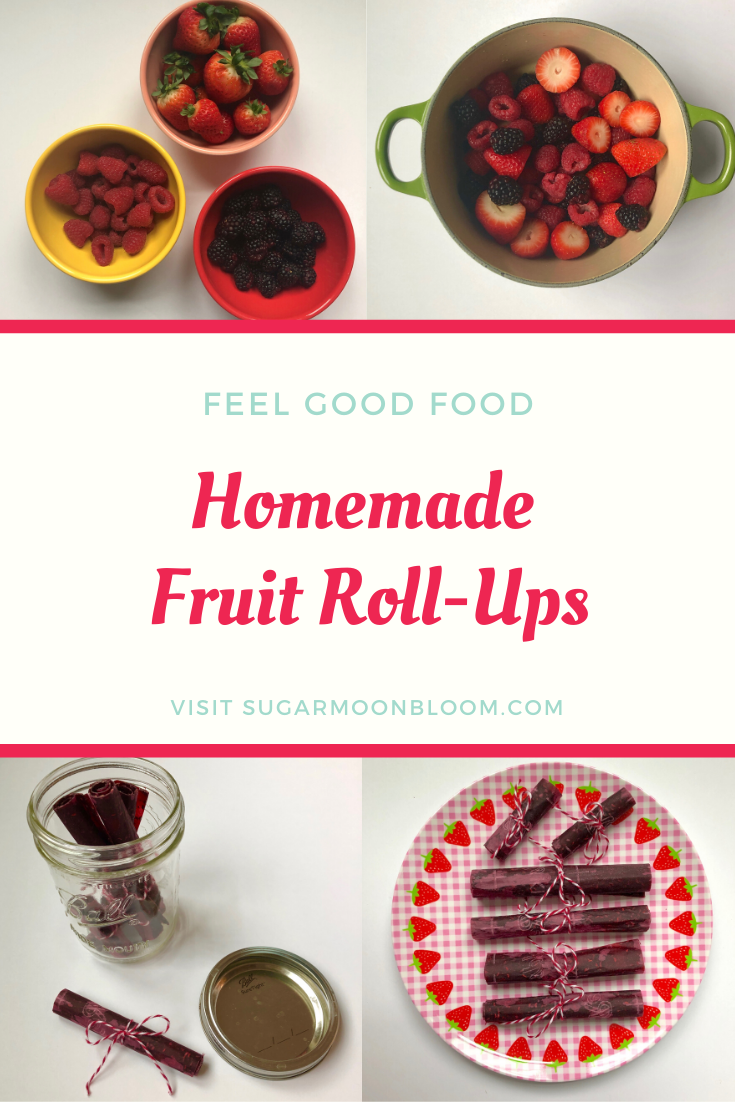
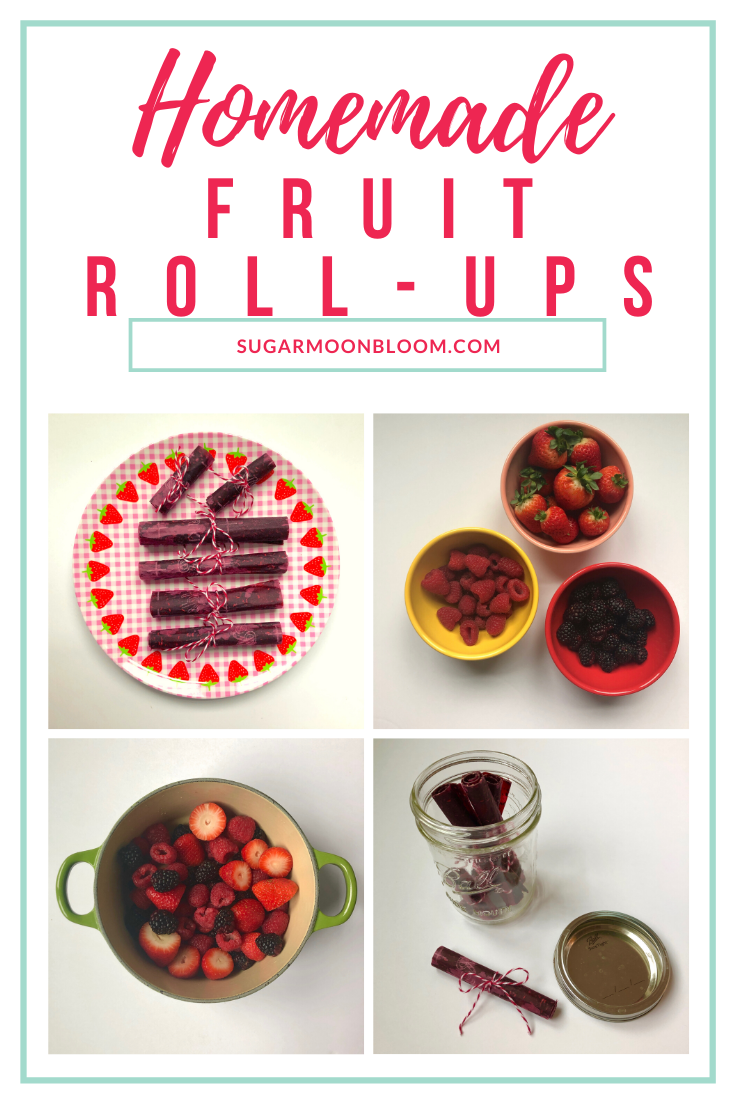
Homemade Fruit Roll-Ups

How To Make Homemade Fruit Roll-Ups
To me, homemade food is love — baking and cooking is one of my love languages. I also love good quality ingredients and knowing what’s in the food we eat. My boys now ask for these homemade fruit roll-ups instead of the not-so-healthy store-bought ones, which makes my mama heart very happy. :)
Homemade fruit roll-ups take some time to make, but don’t all good things take a little more time? And the time they take is mostly in the oven, so you can do the easy prep and go about your day while these dehydrate in the oven.
You can get super creative with the ingredients by adding multiple berries and try out different types of fruit or keep it simple and use a family favorite like strawberries.
Tip:
Left over or very ripe berries or fruit work great for this recipe, so don’t throw away those over ripe strawberries, make homemade fruit roll-ups instead!
Making Homemade Fruit Roll-Ups
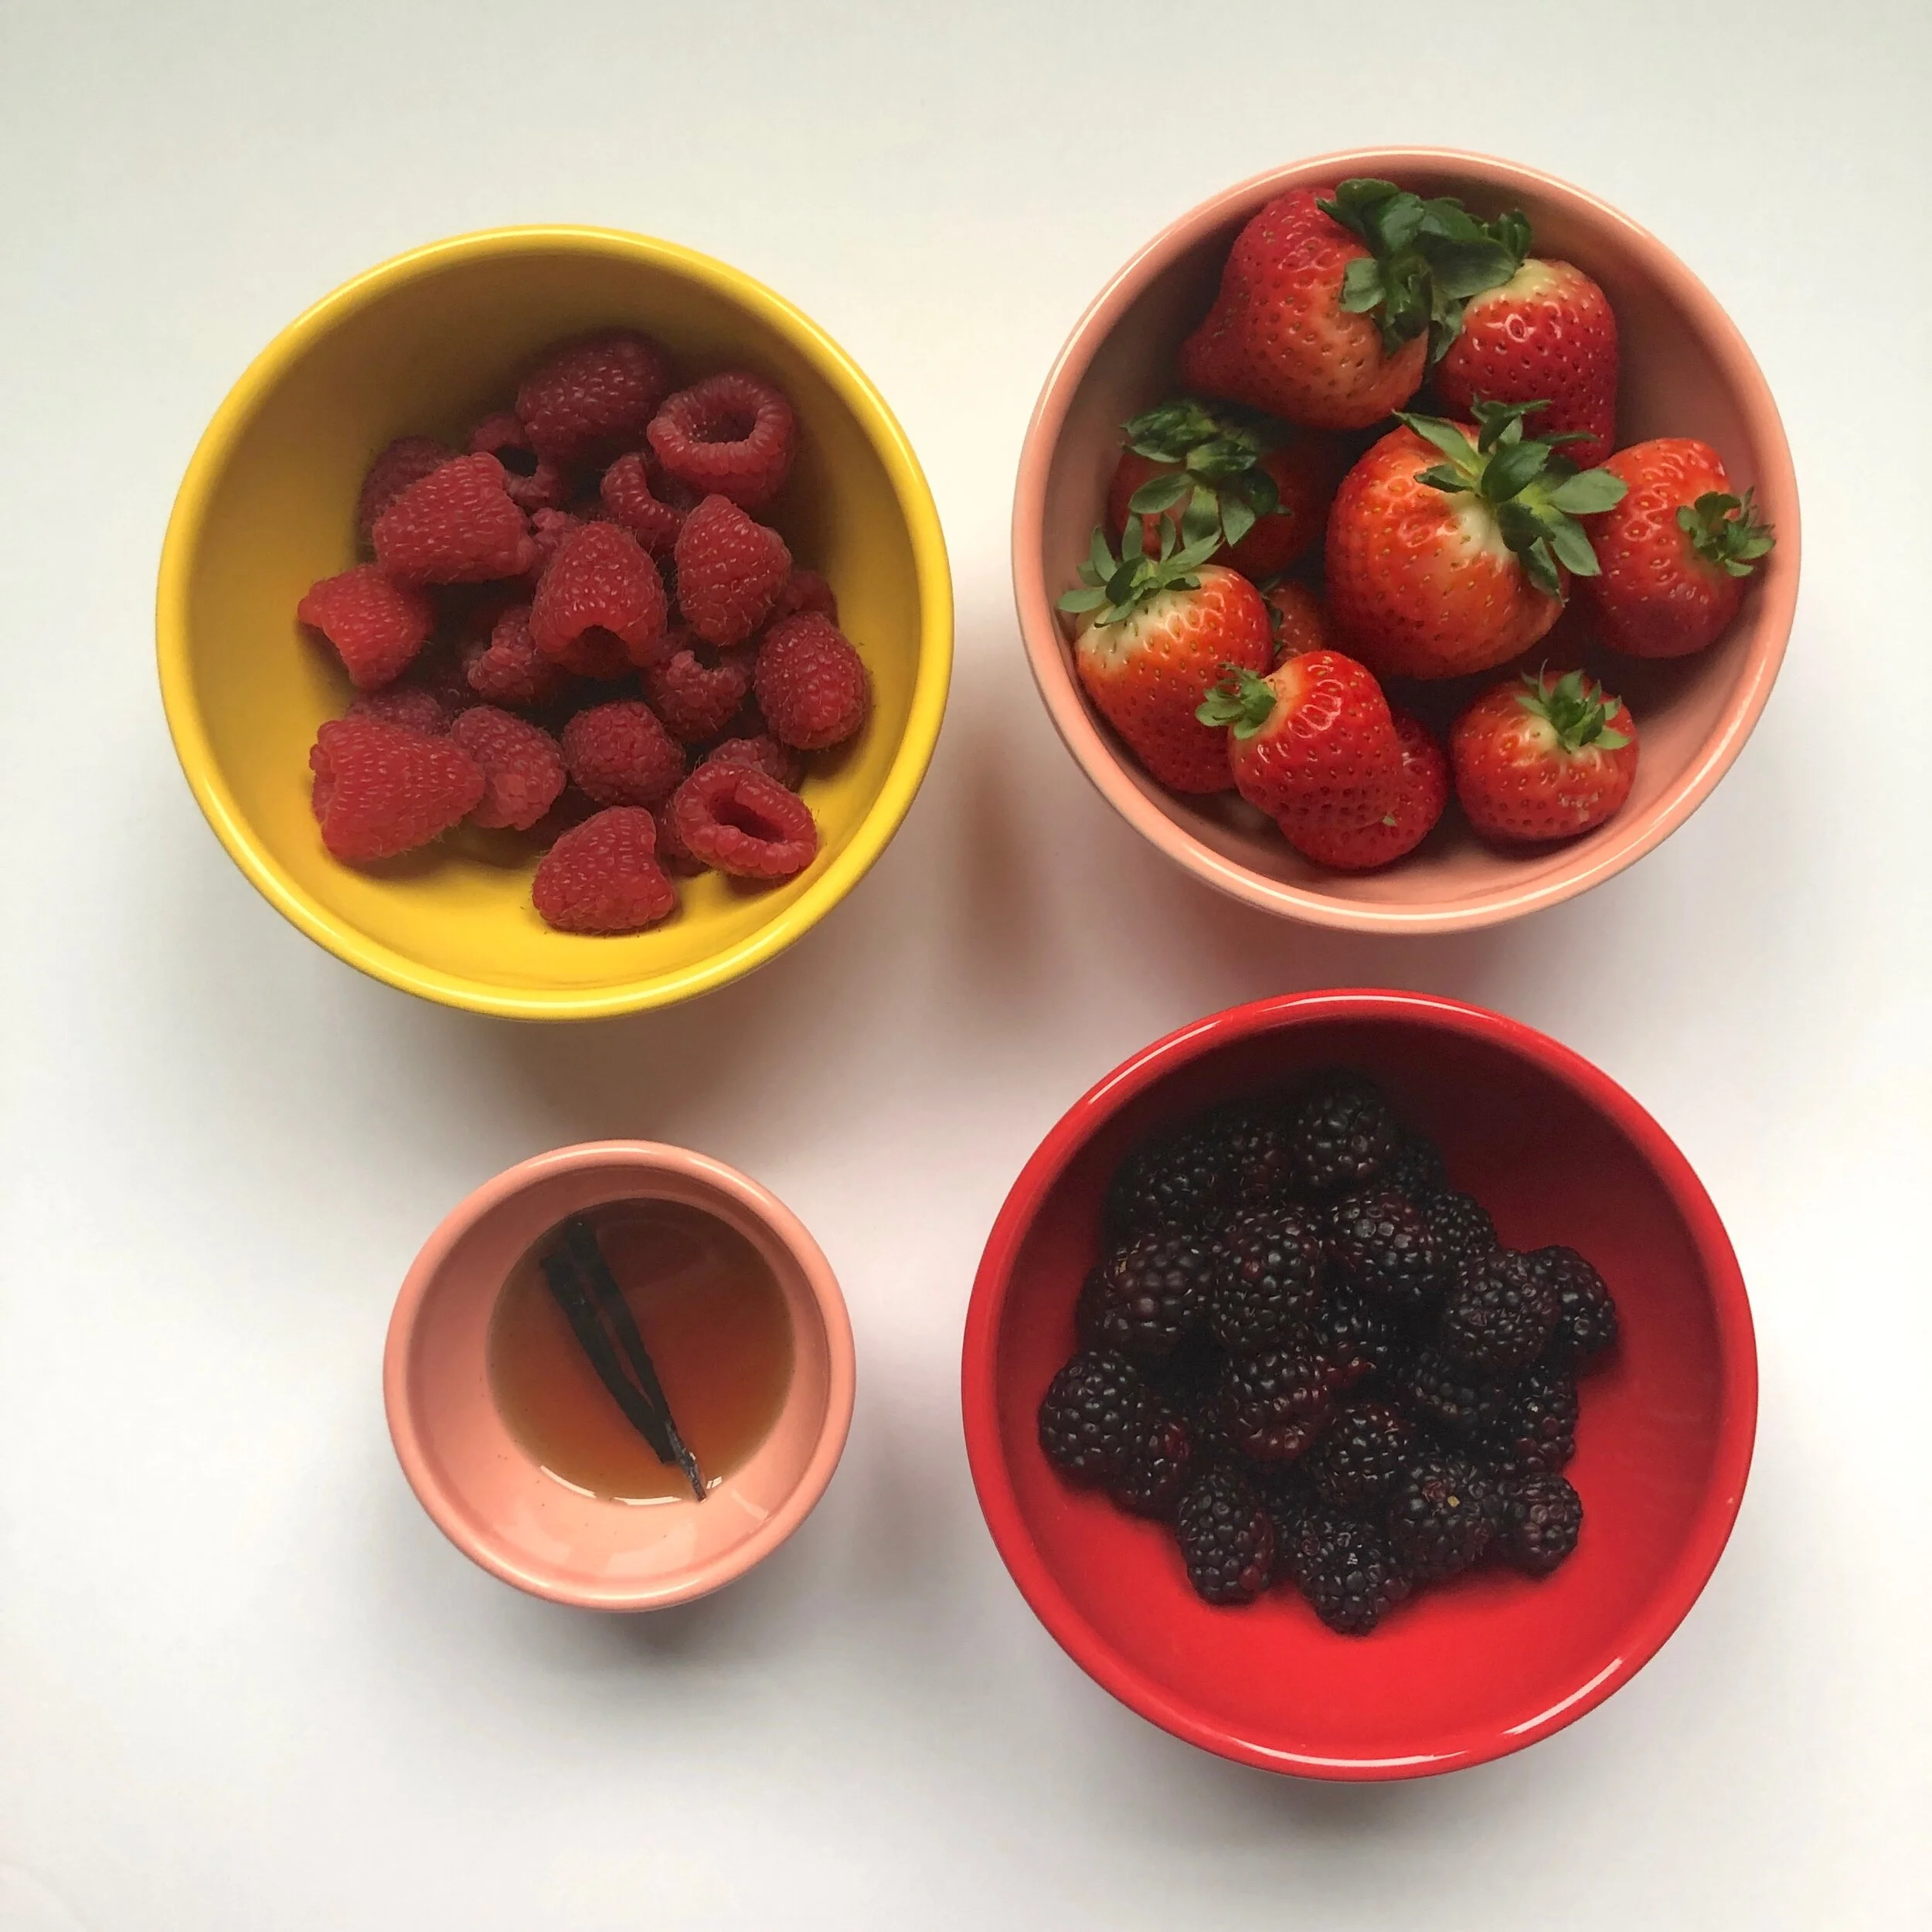
Gather Ingredients:
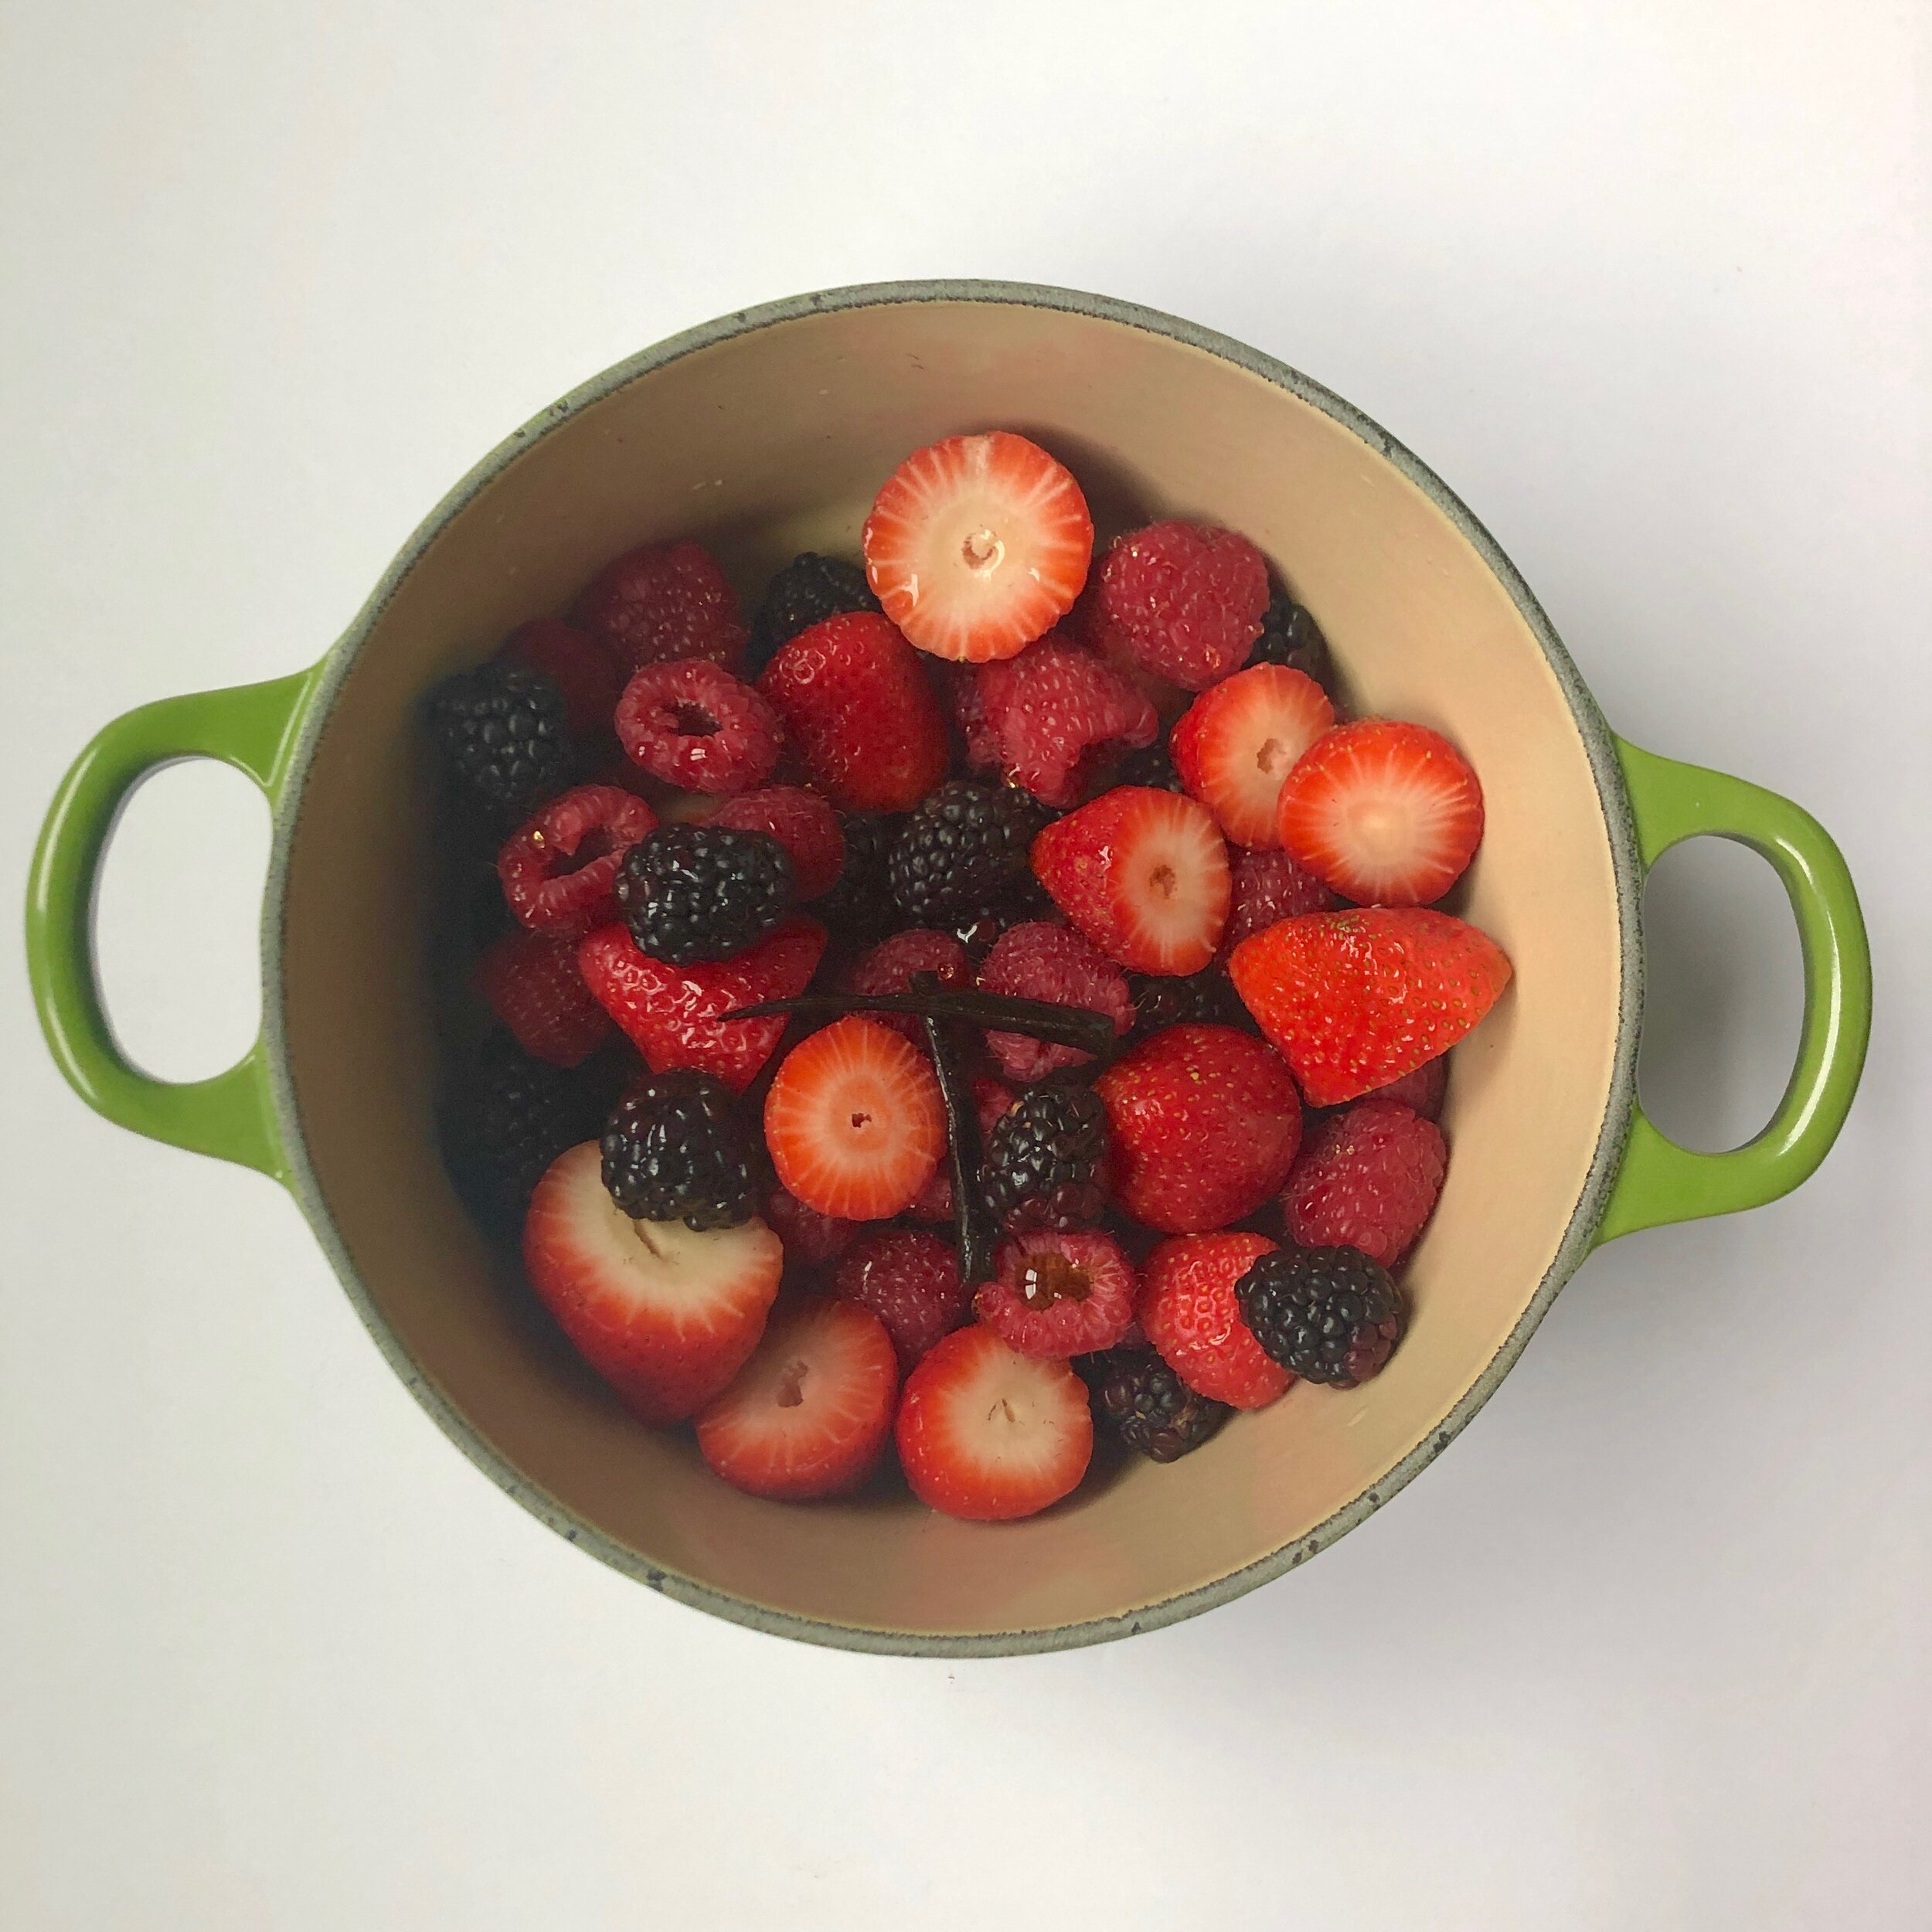
3 cups of fruit (I like to use a mixture of strawberries, raspberries, and blackberries in equal parts)
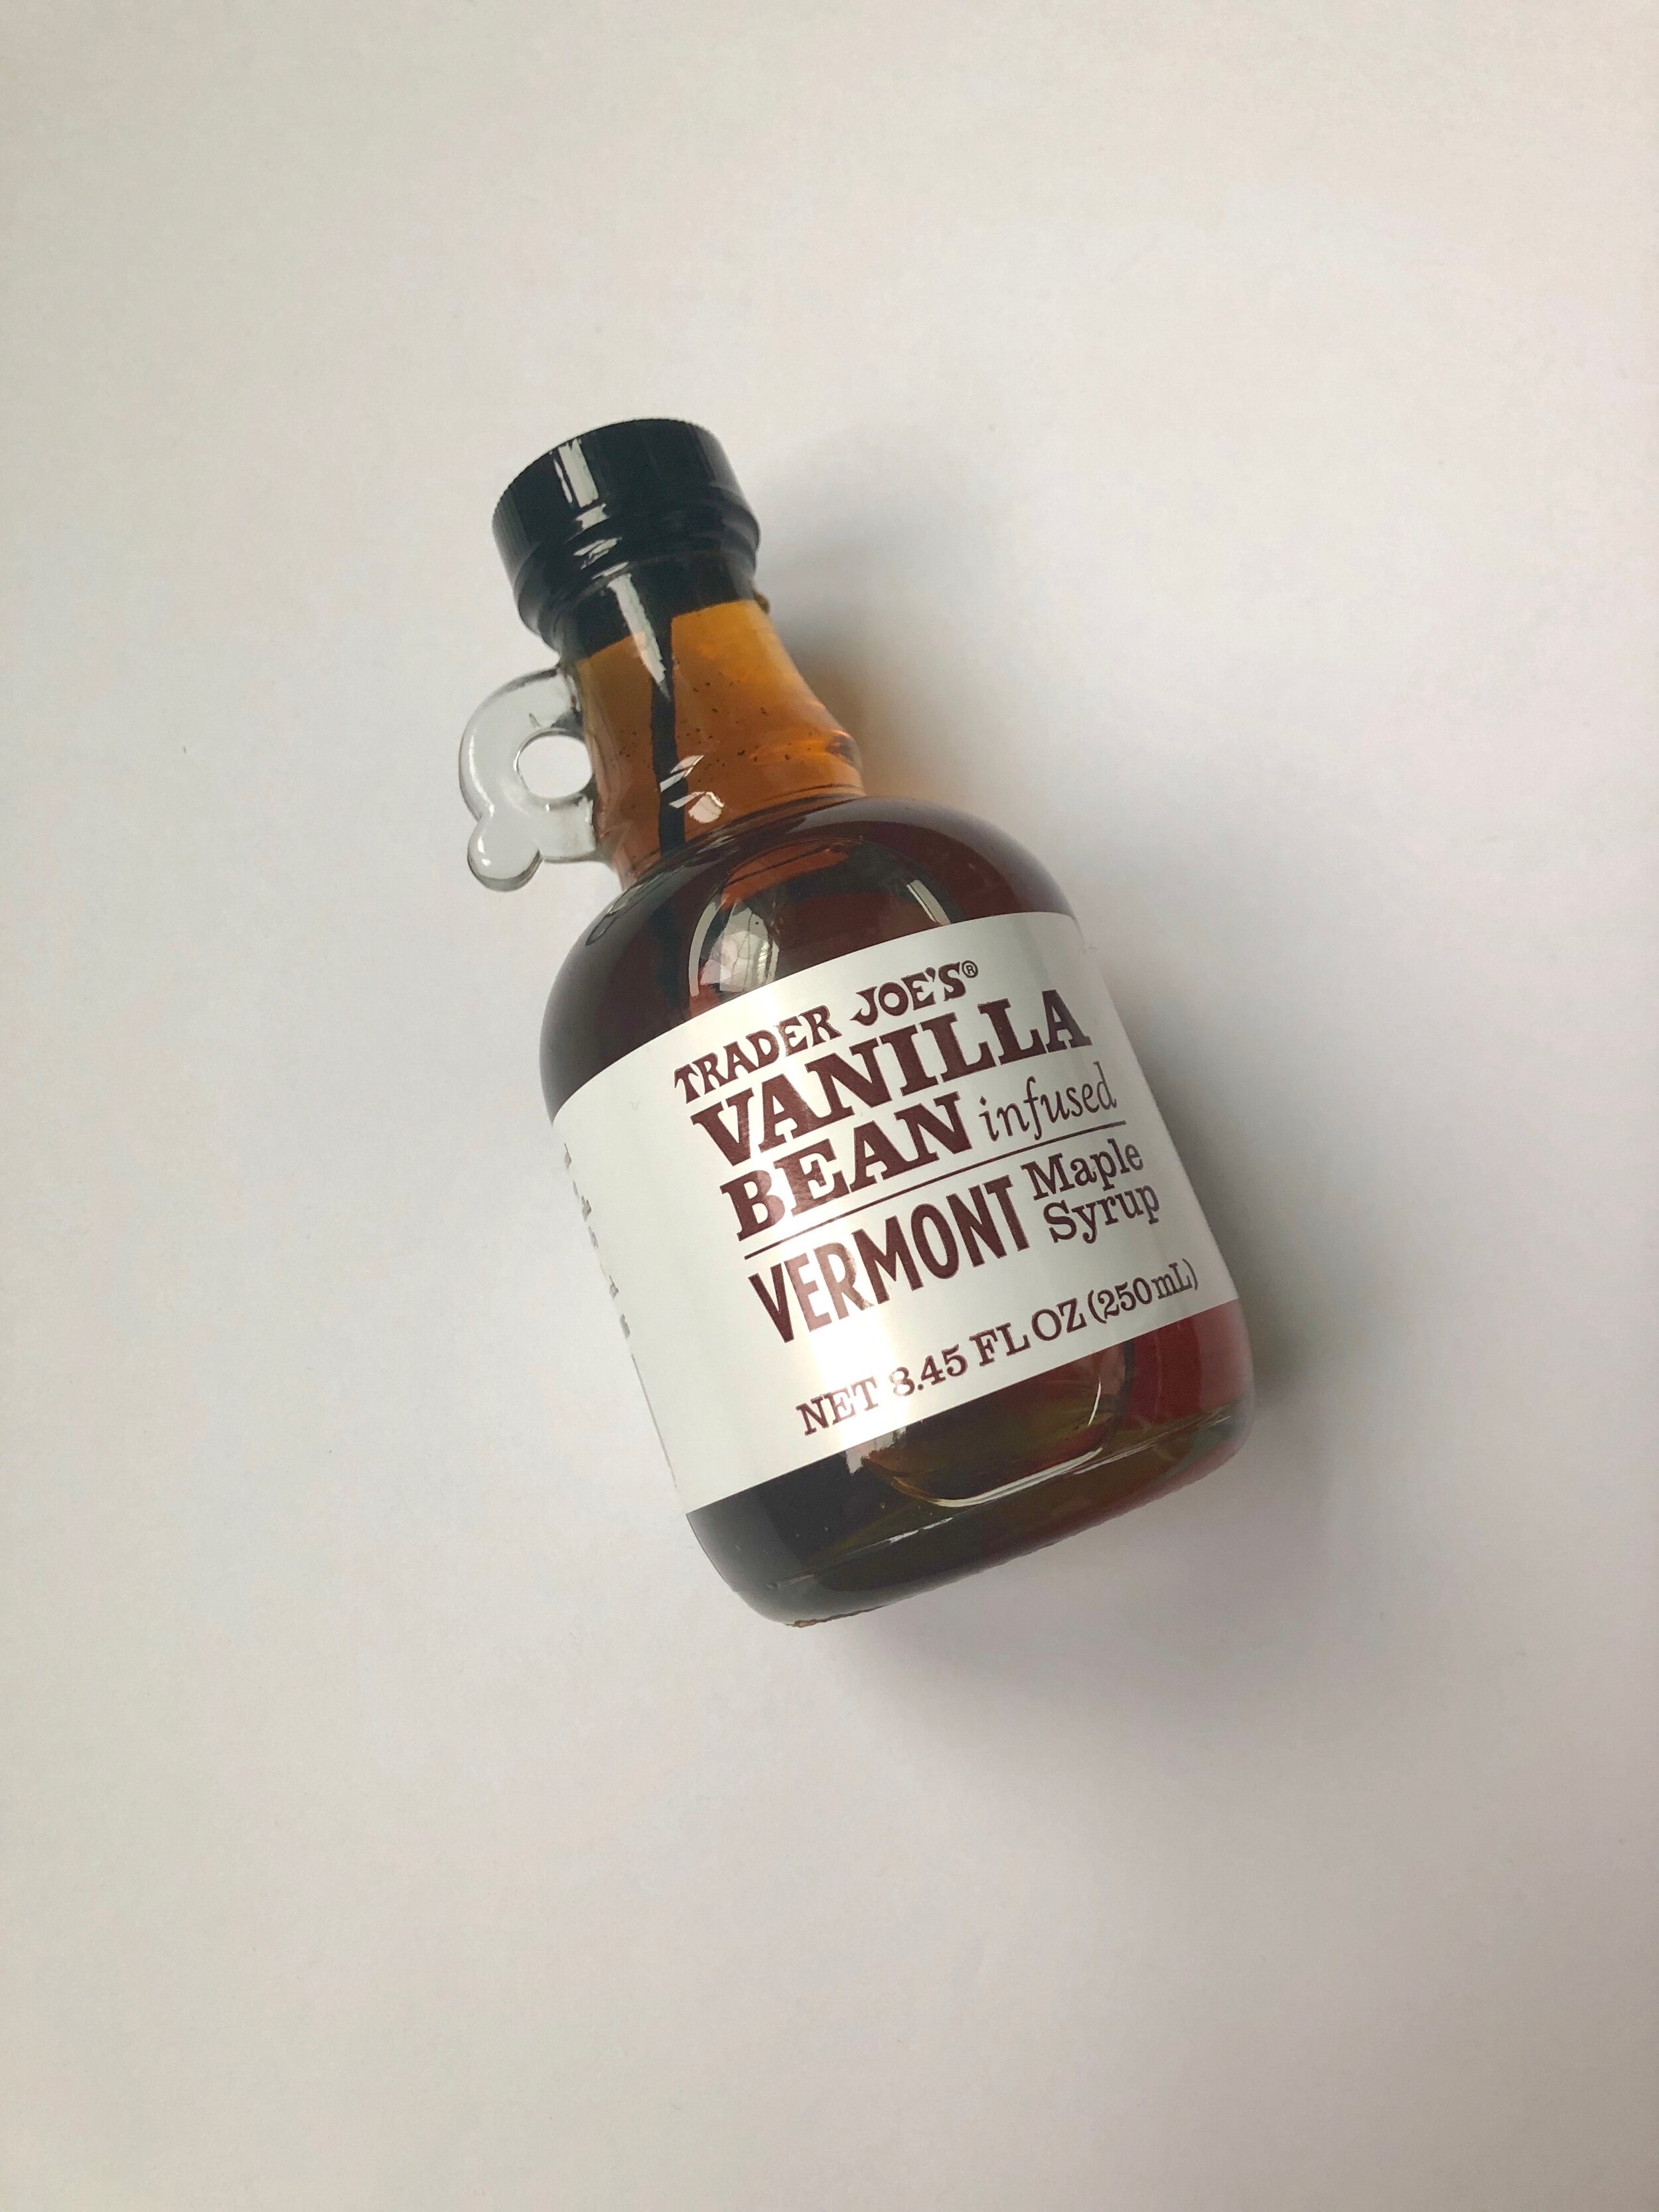
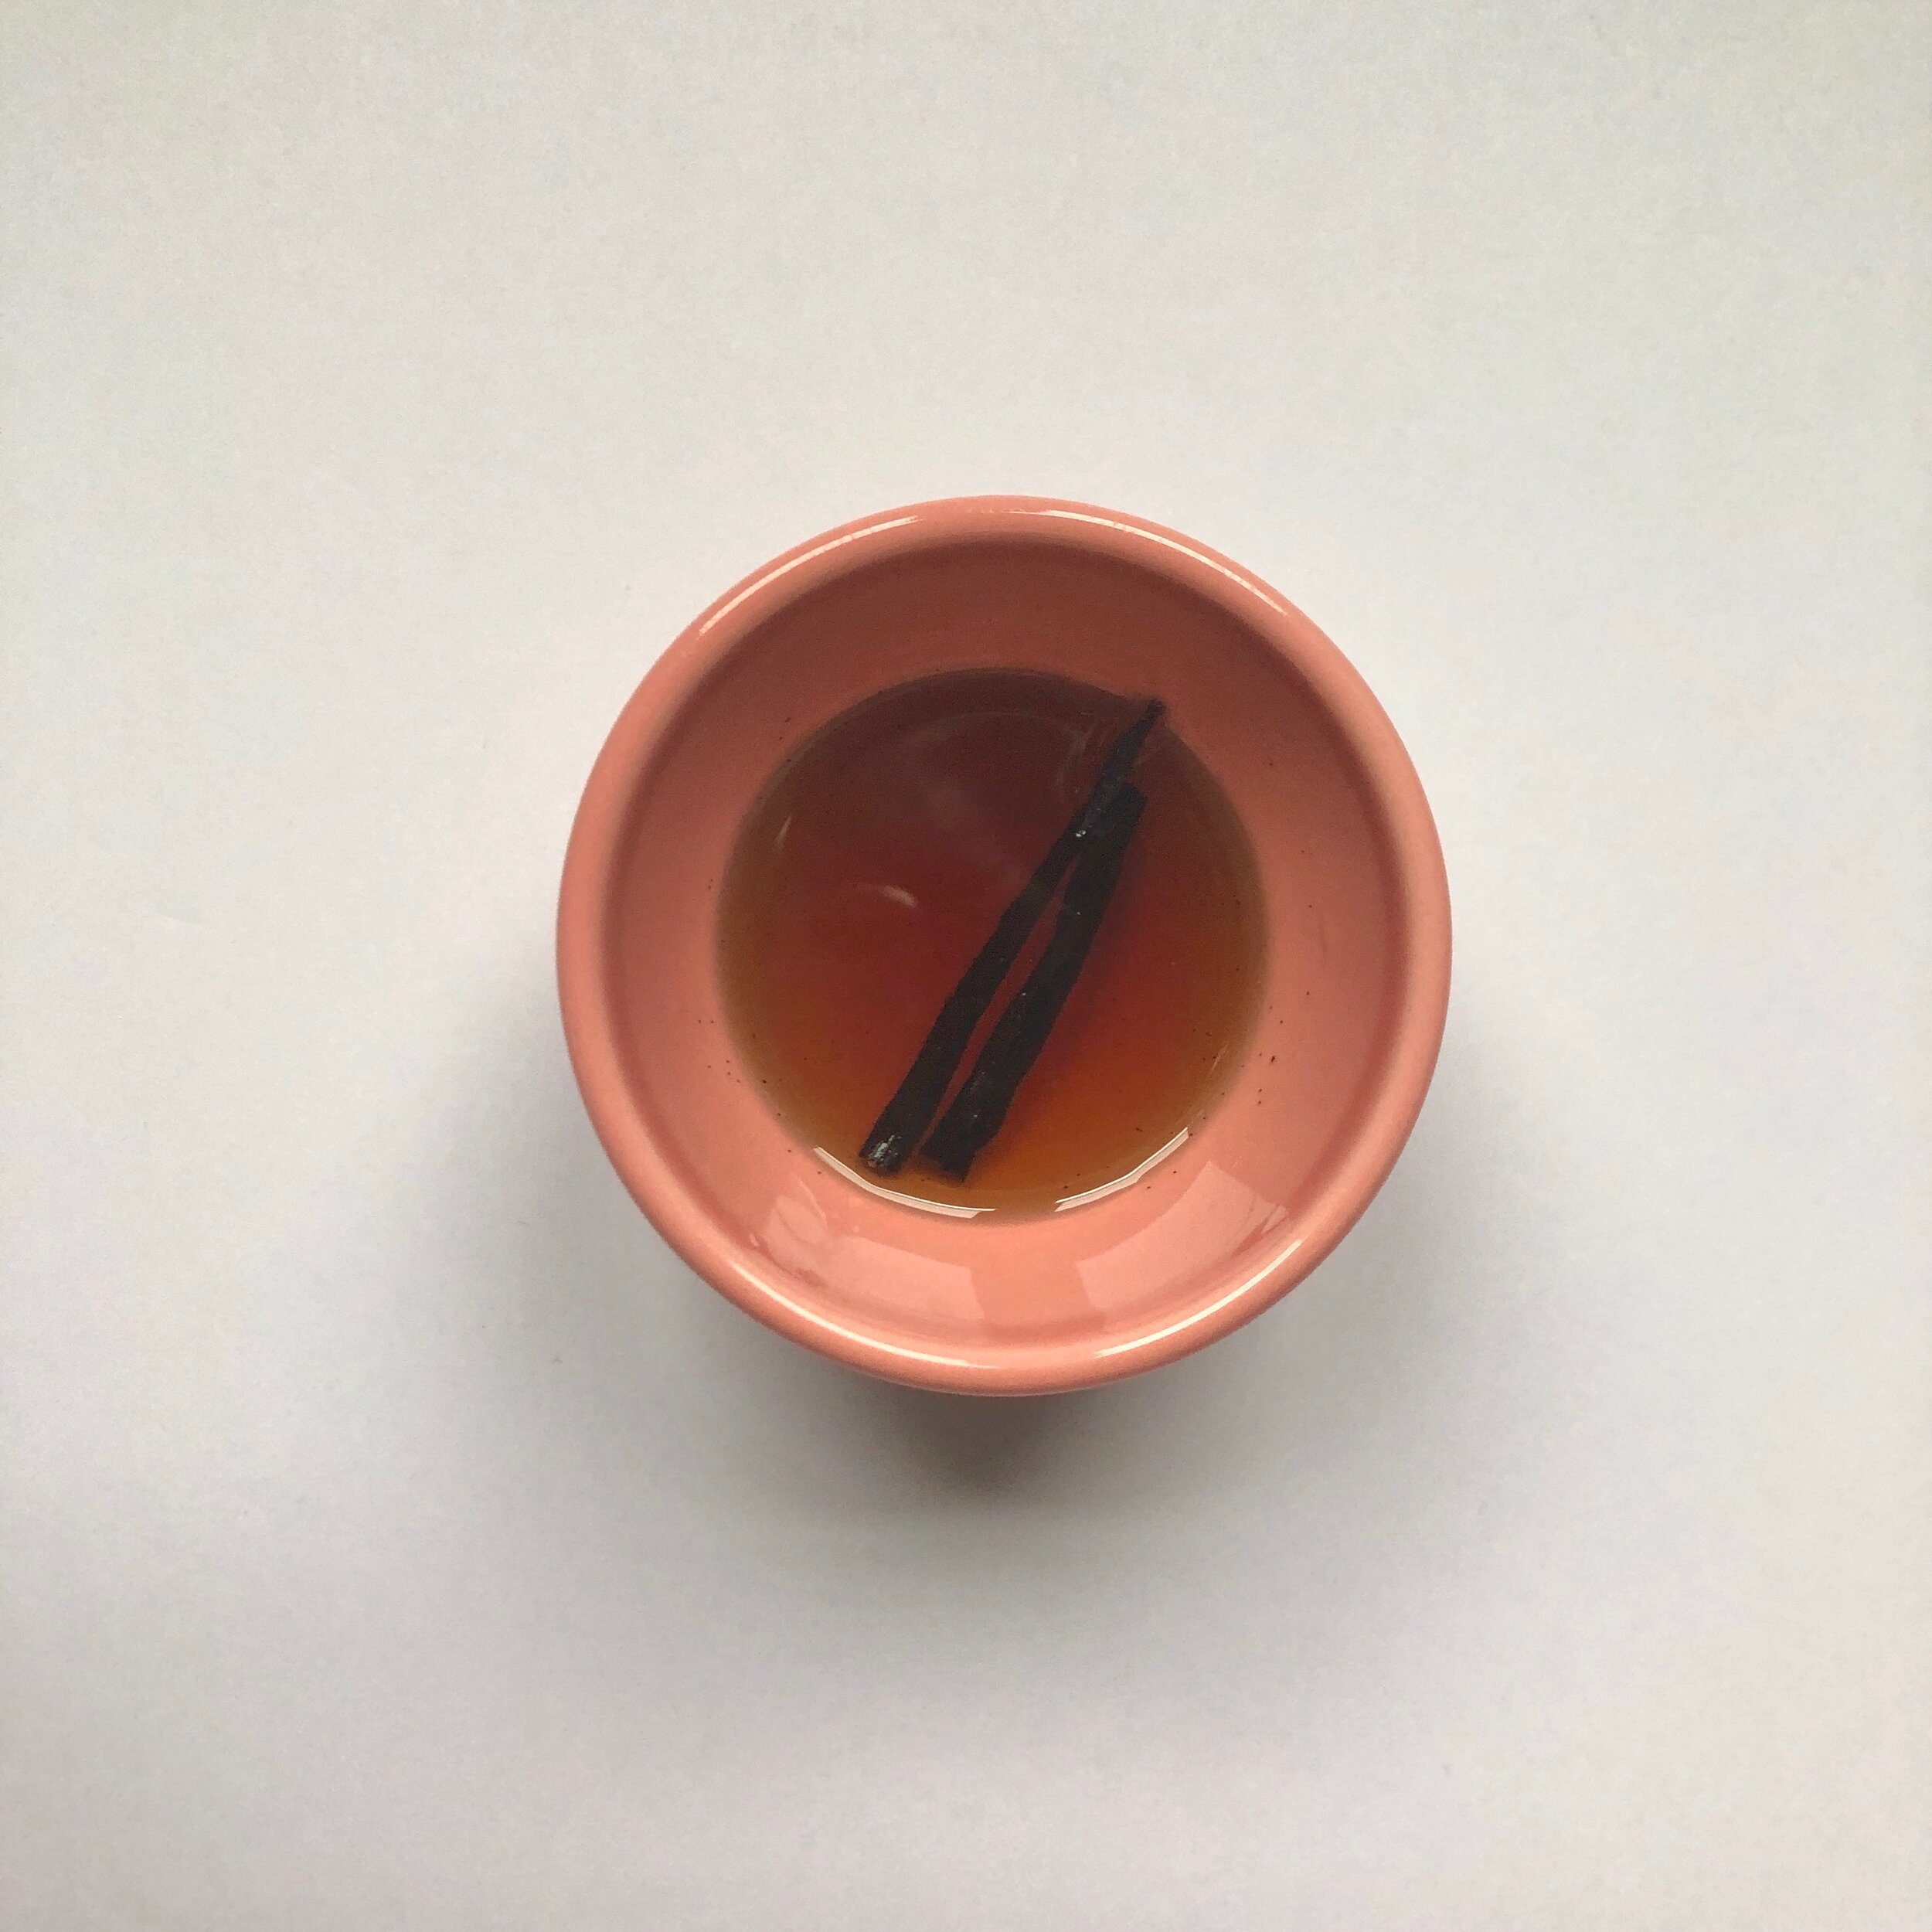
1 tablespoon of maple syrup or honey (I used Trader’s Joe’s Seasonal Vanilla Maple Syrup but any maple syrup or honey will work)
1 vanilla bean or 1 teaspoon of vanilla bean paste (just a fun extra if you have it!)
Materials:
Pot or dutch oven (to cook the berry mixture on the stove)
Large baking or cookie sheet (to cook the berry mixture in the oven)
Parchment paper (to line the baking sheet)
Blender or hand blender
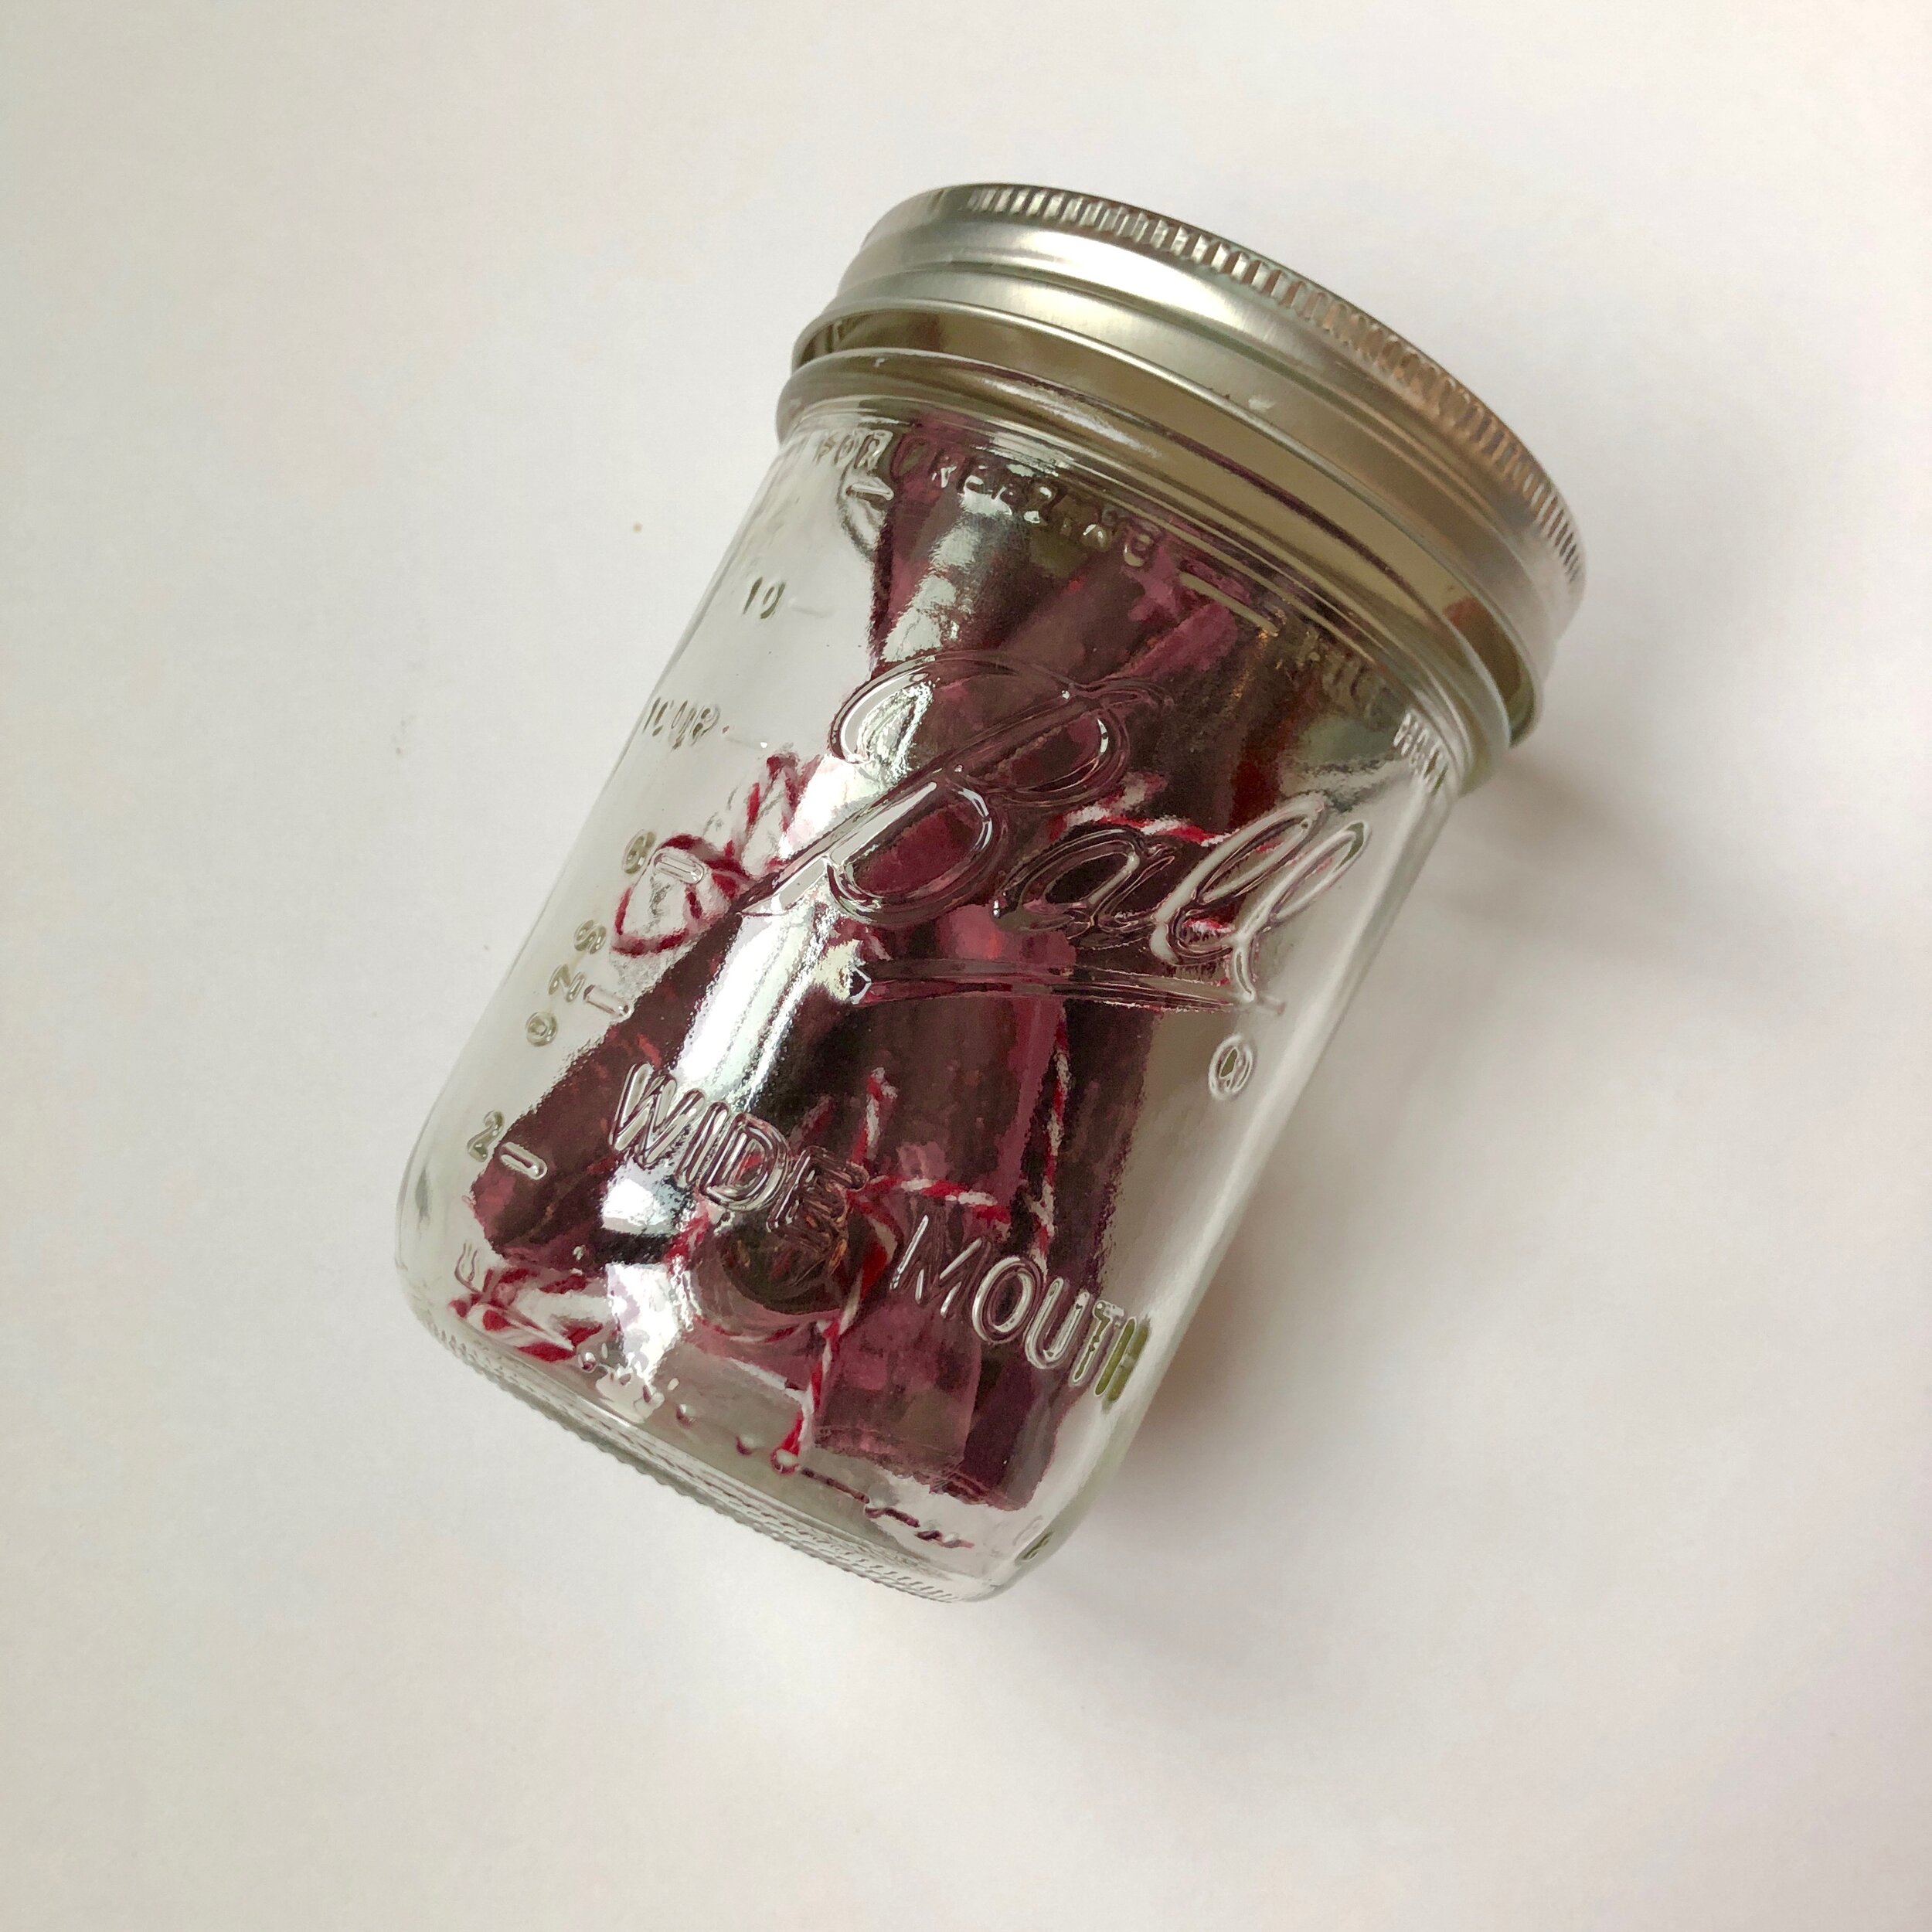
Mason jars (for storage)
Bakers twine (to tie the fruit roll-ups)
Directions:
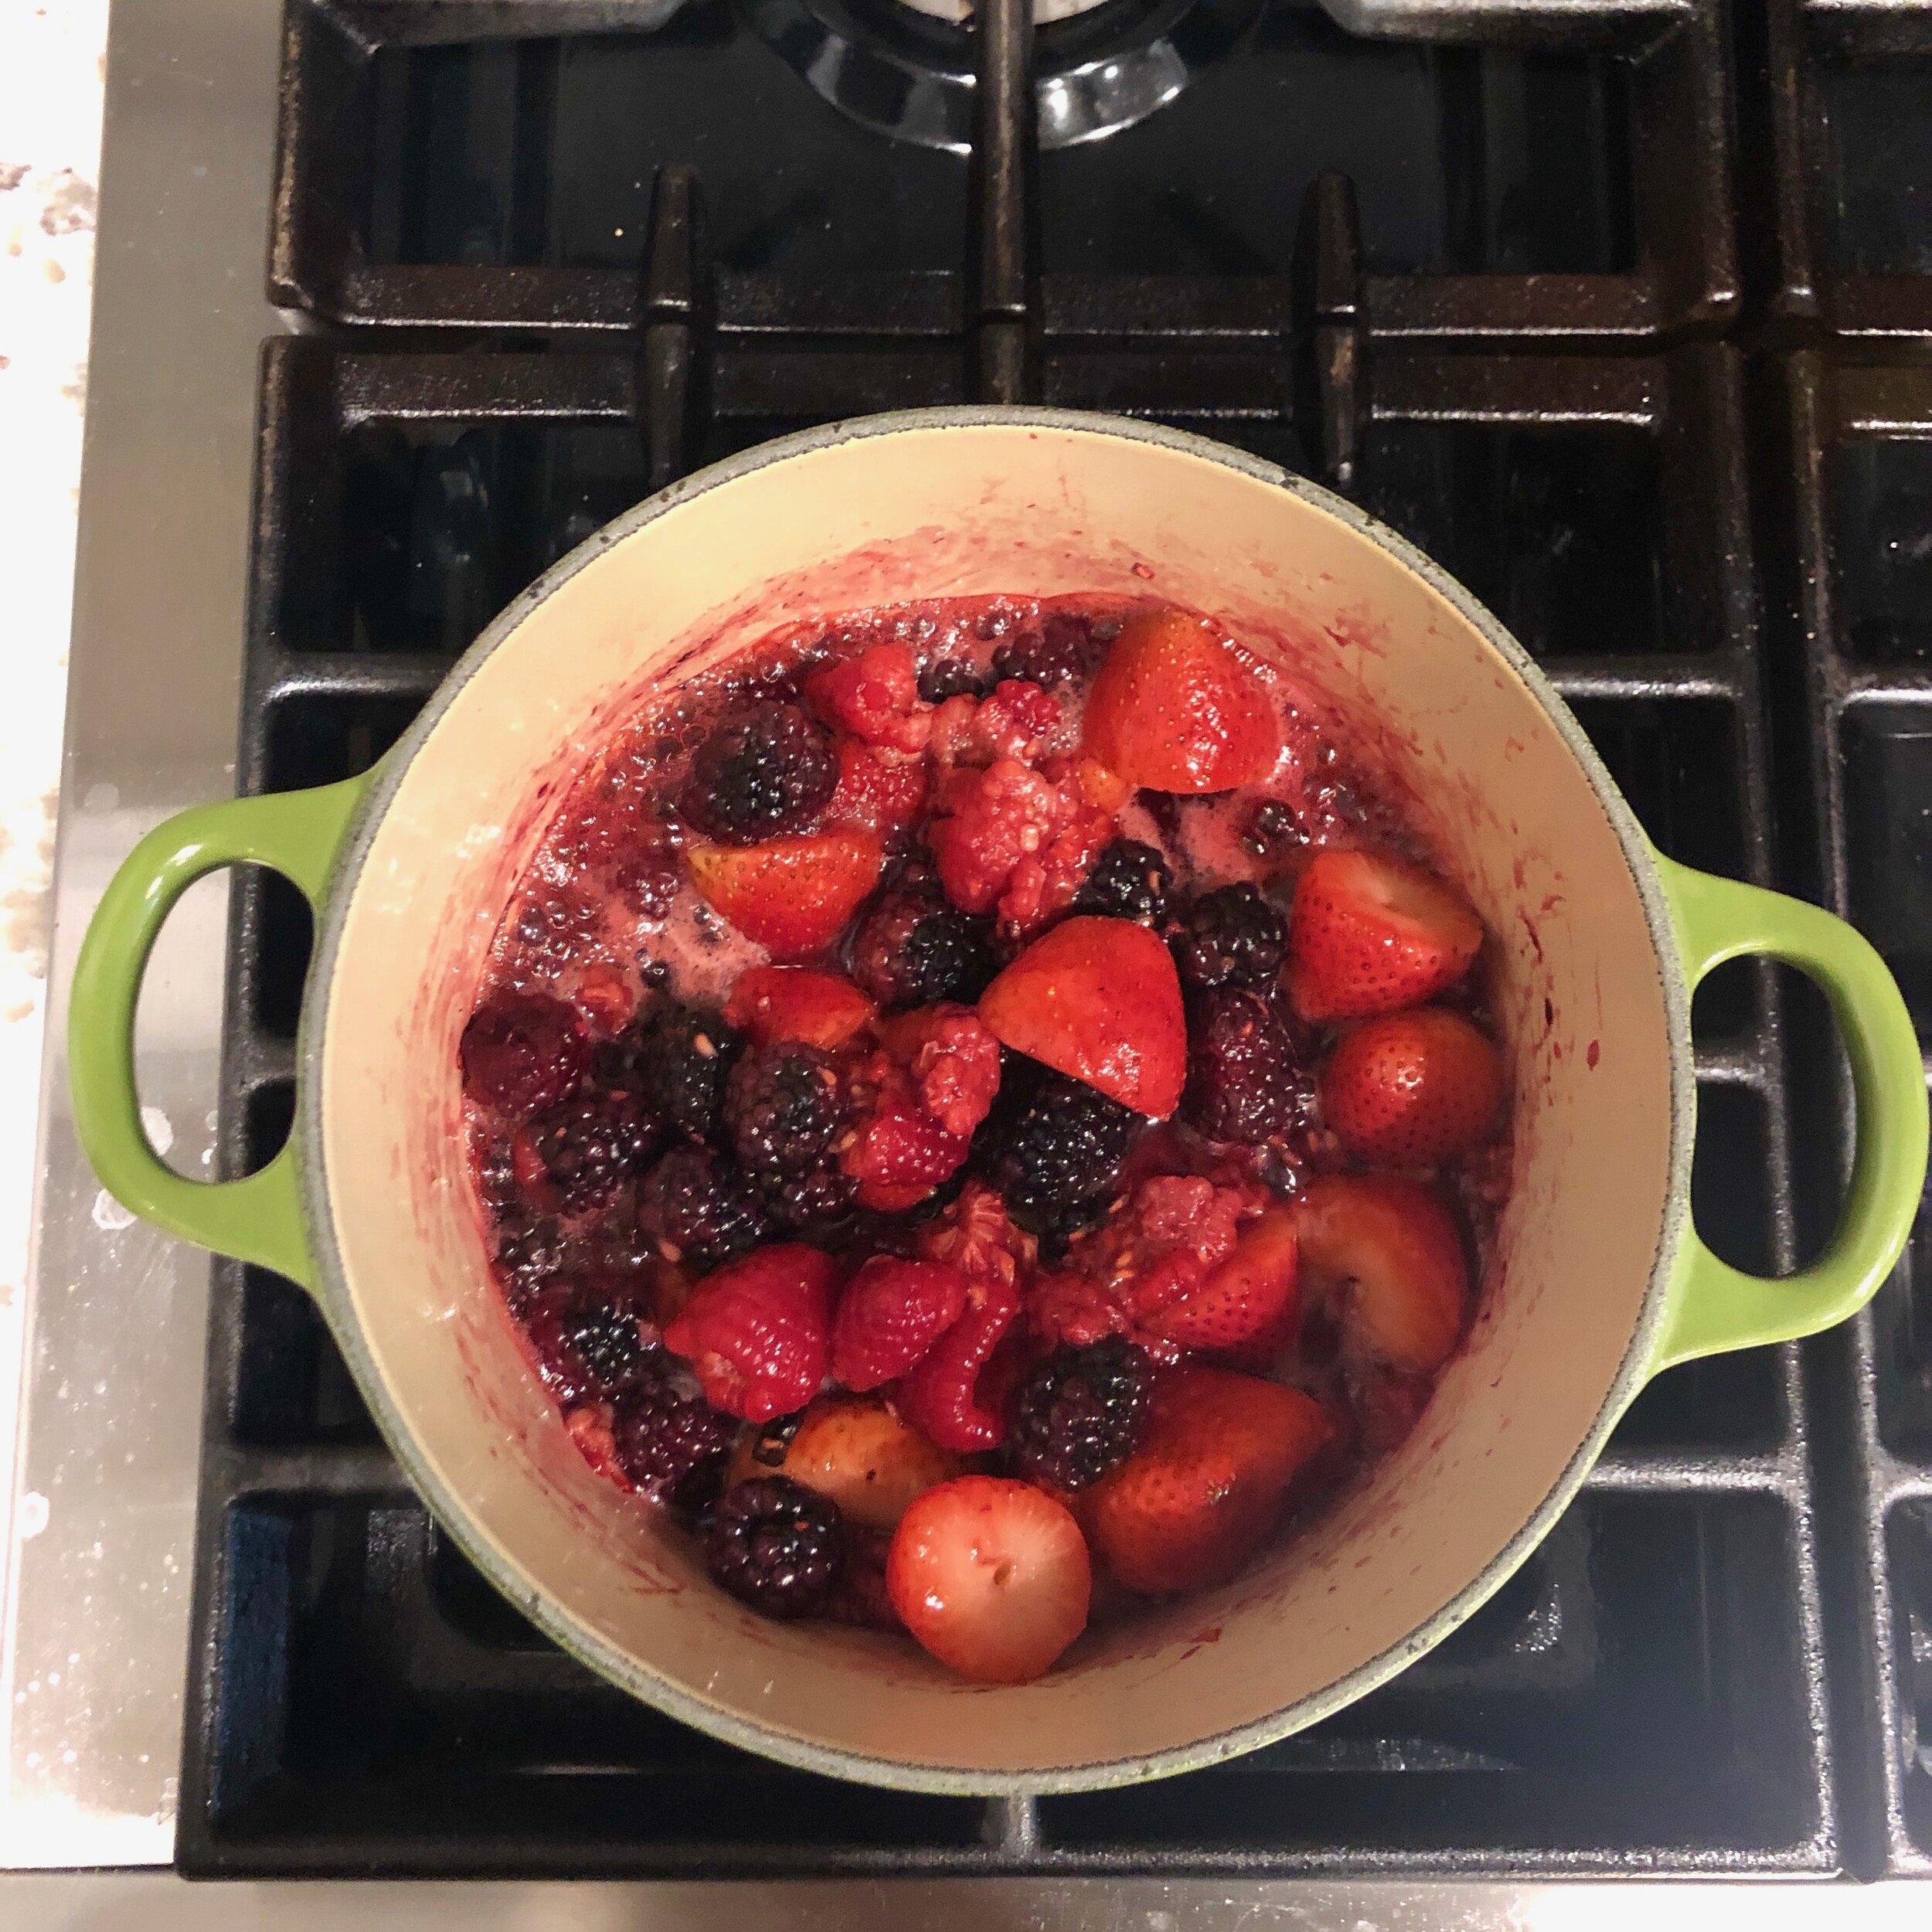
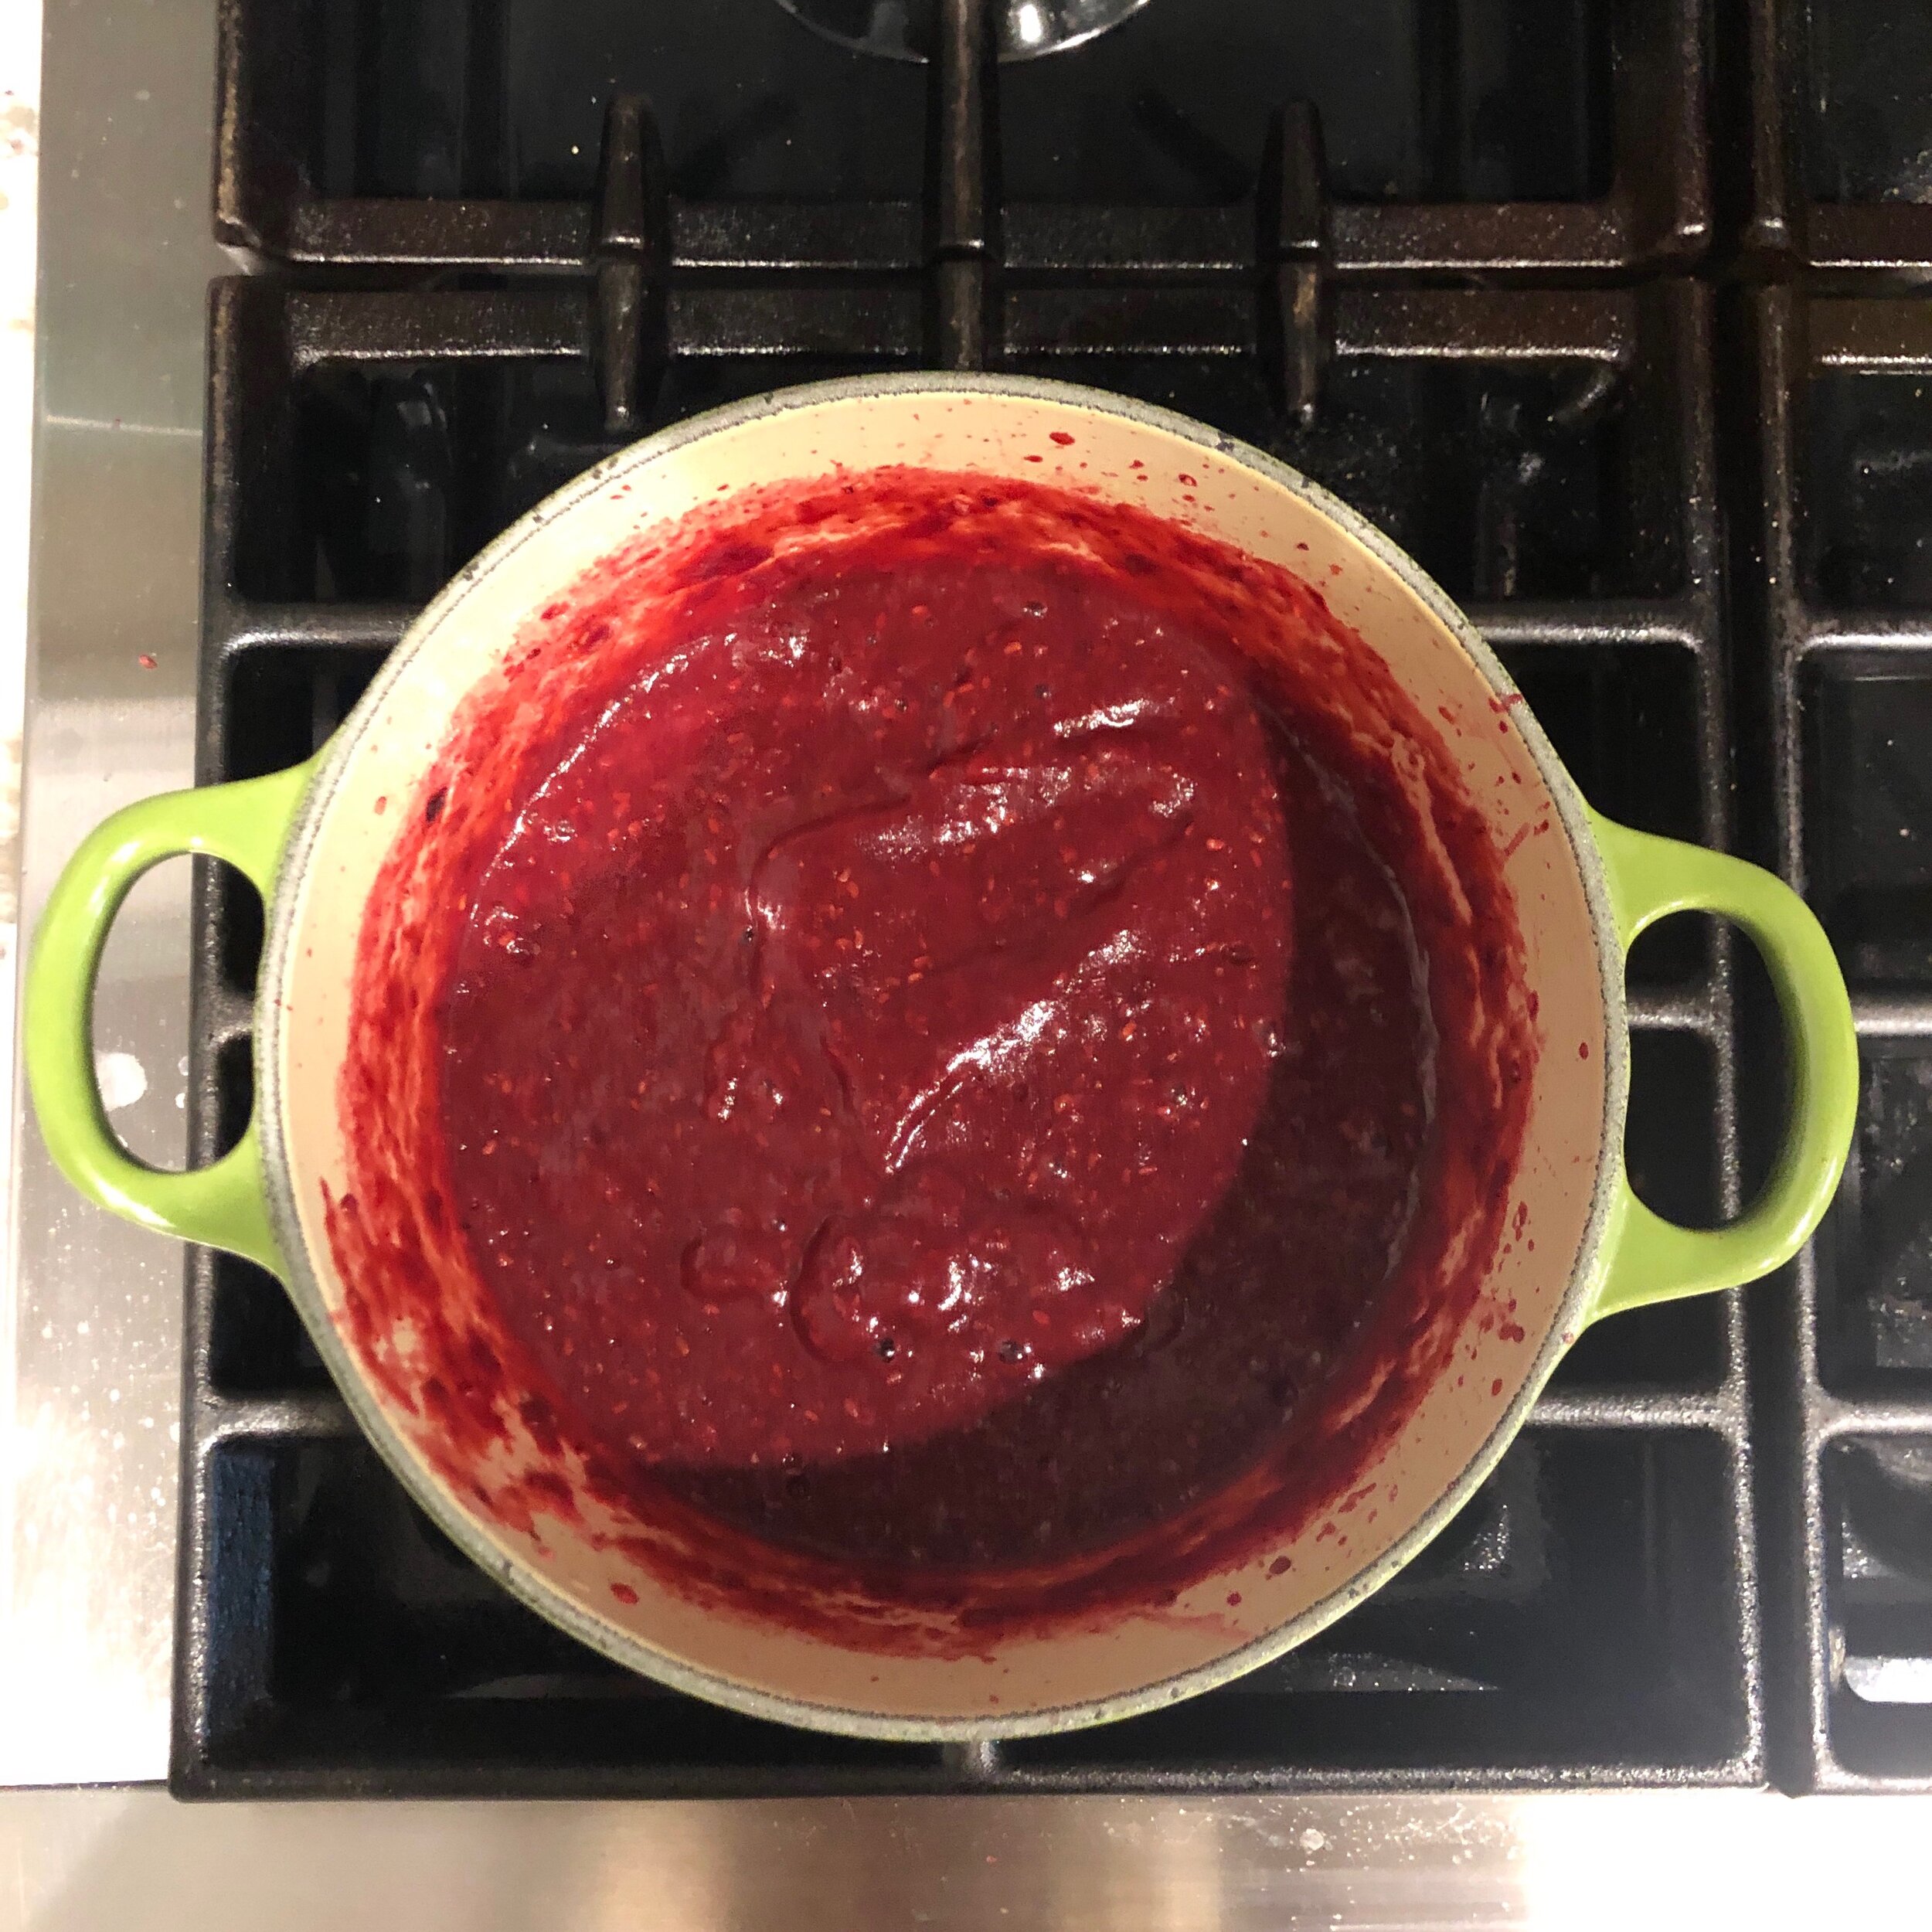
Rinse fruit, add berries to a pot and simmer over medium heat for 5 minutes. Cut the vanilla bean down the middle opening it up half way through. Leaving the beans inside add the bean to the pot with the berries, next add the maple syrup or honey and stir everything together. Simmer for 3 additional minutes or until berries start to break down. Once the berries are soft and almost fully broken down (see images below) remove and discard the vanilla bean. Pour berry mixture into the blender and blend until smooth, or use a hand blender to blend directly in the pot. I use a hand blender since it makes clean up super easy. The berry mixture will be very hot so be careful.
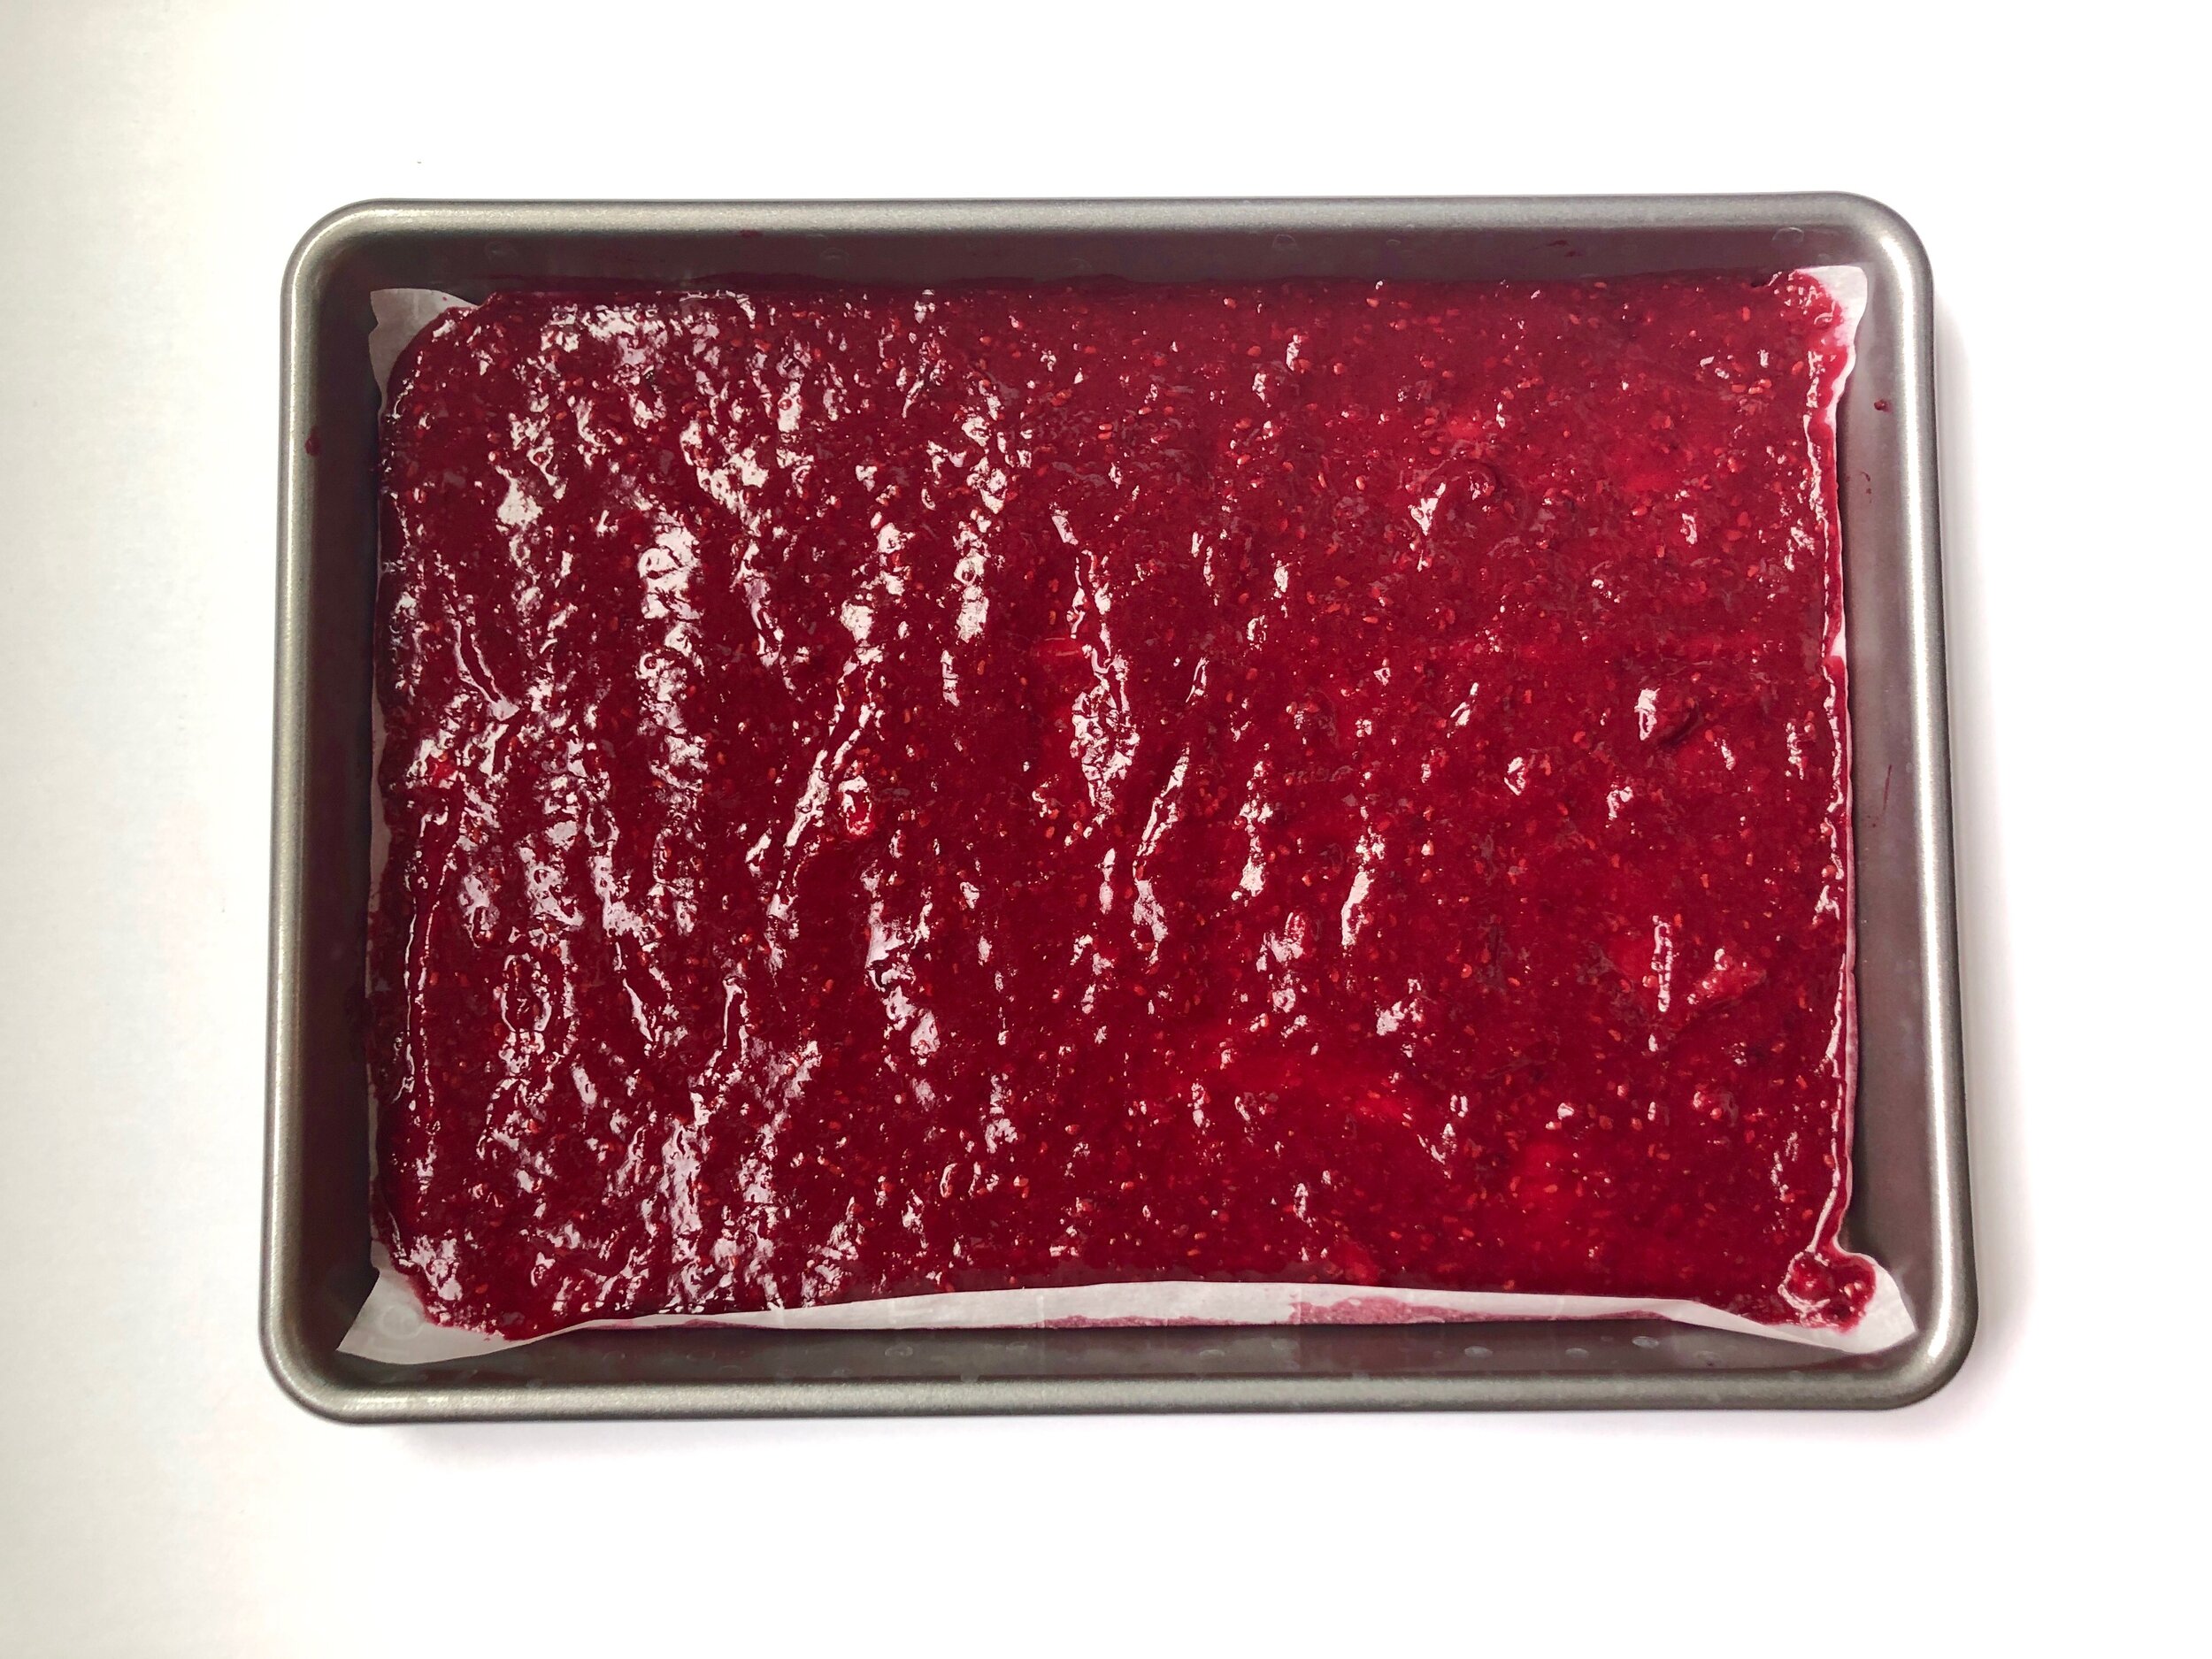
Pour over a parchment paper lined baking sheet, making sure to cut the parchment paper to fit your cookie sheet. Gently shake the baking sheet side-to-side to make sure the berry mixture is completely even across the sheet. Make sure you don’t have too thick a layer when spreading on the baking sheet, otherwise it won’t bake all the way through. Bake for 3-5 hours on your oven’s lowest setting. I bake mine at 200 degrees for 4 hours. When baking this recipe for the first time, check the fruit-roll up mixture after 2.5 hours and keep checking every 30 minutes so you can figure out the timing and best temperature for your oven. And remember the lower the temperature the longer it will take to dehydrate. Check the middle making sure it’s firm but not crisp before removing from the oven. The sides may overcook but it’s totally OK, if that happens just cut them off before rolling your fruit roll-ups. Let cool. Leave the parchment paper on, cut into small rectangles, roll each individual fruit roll-up and tie with the bakers twine making a bow or a knot to close. Remove the paper before eating. Enjoy!


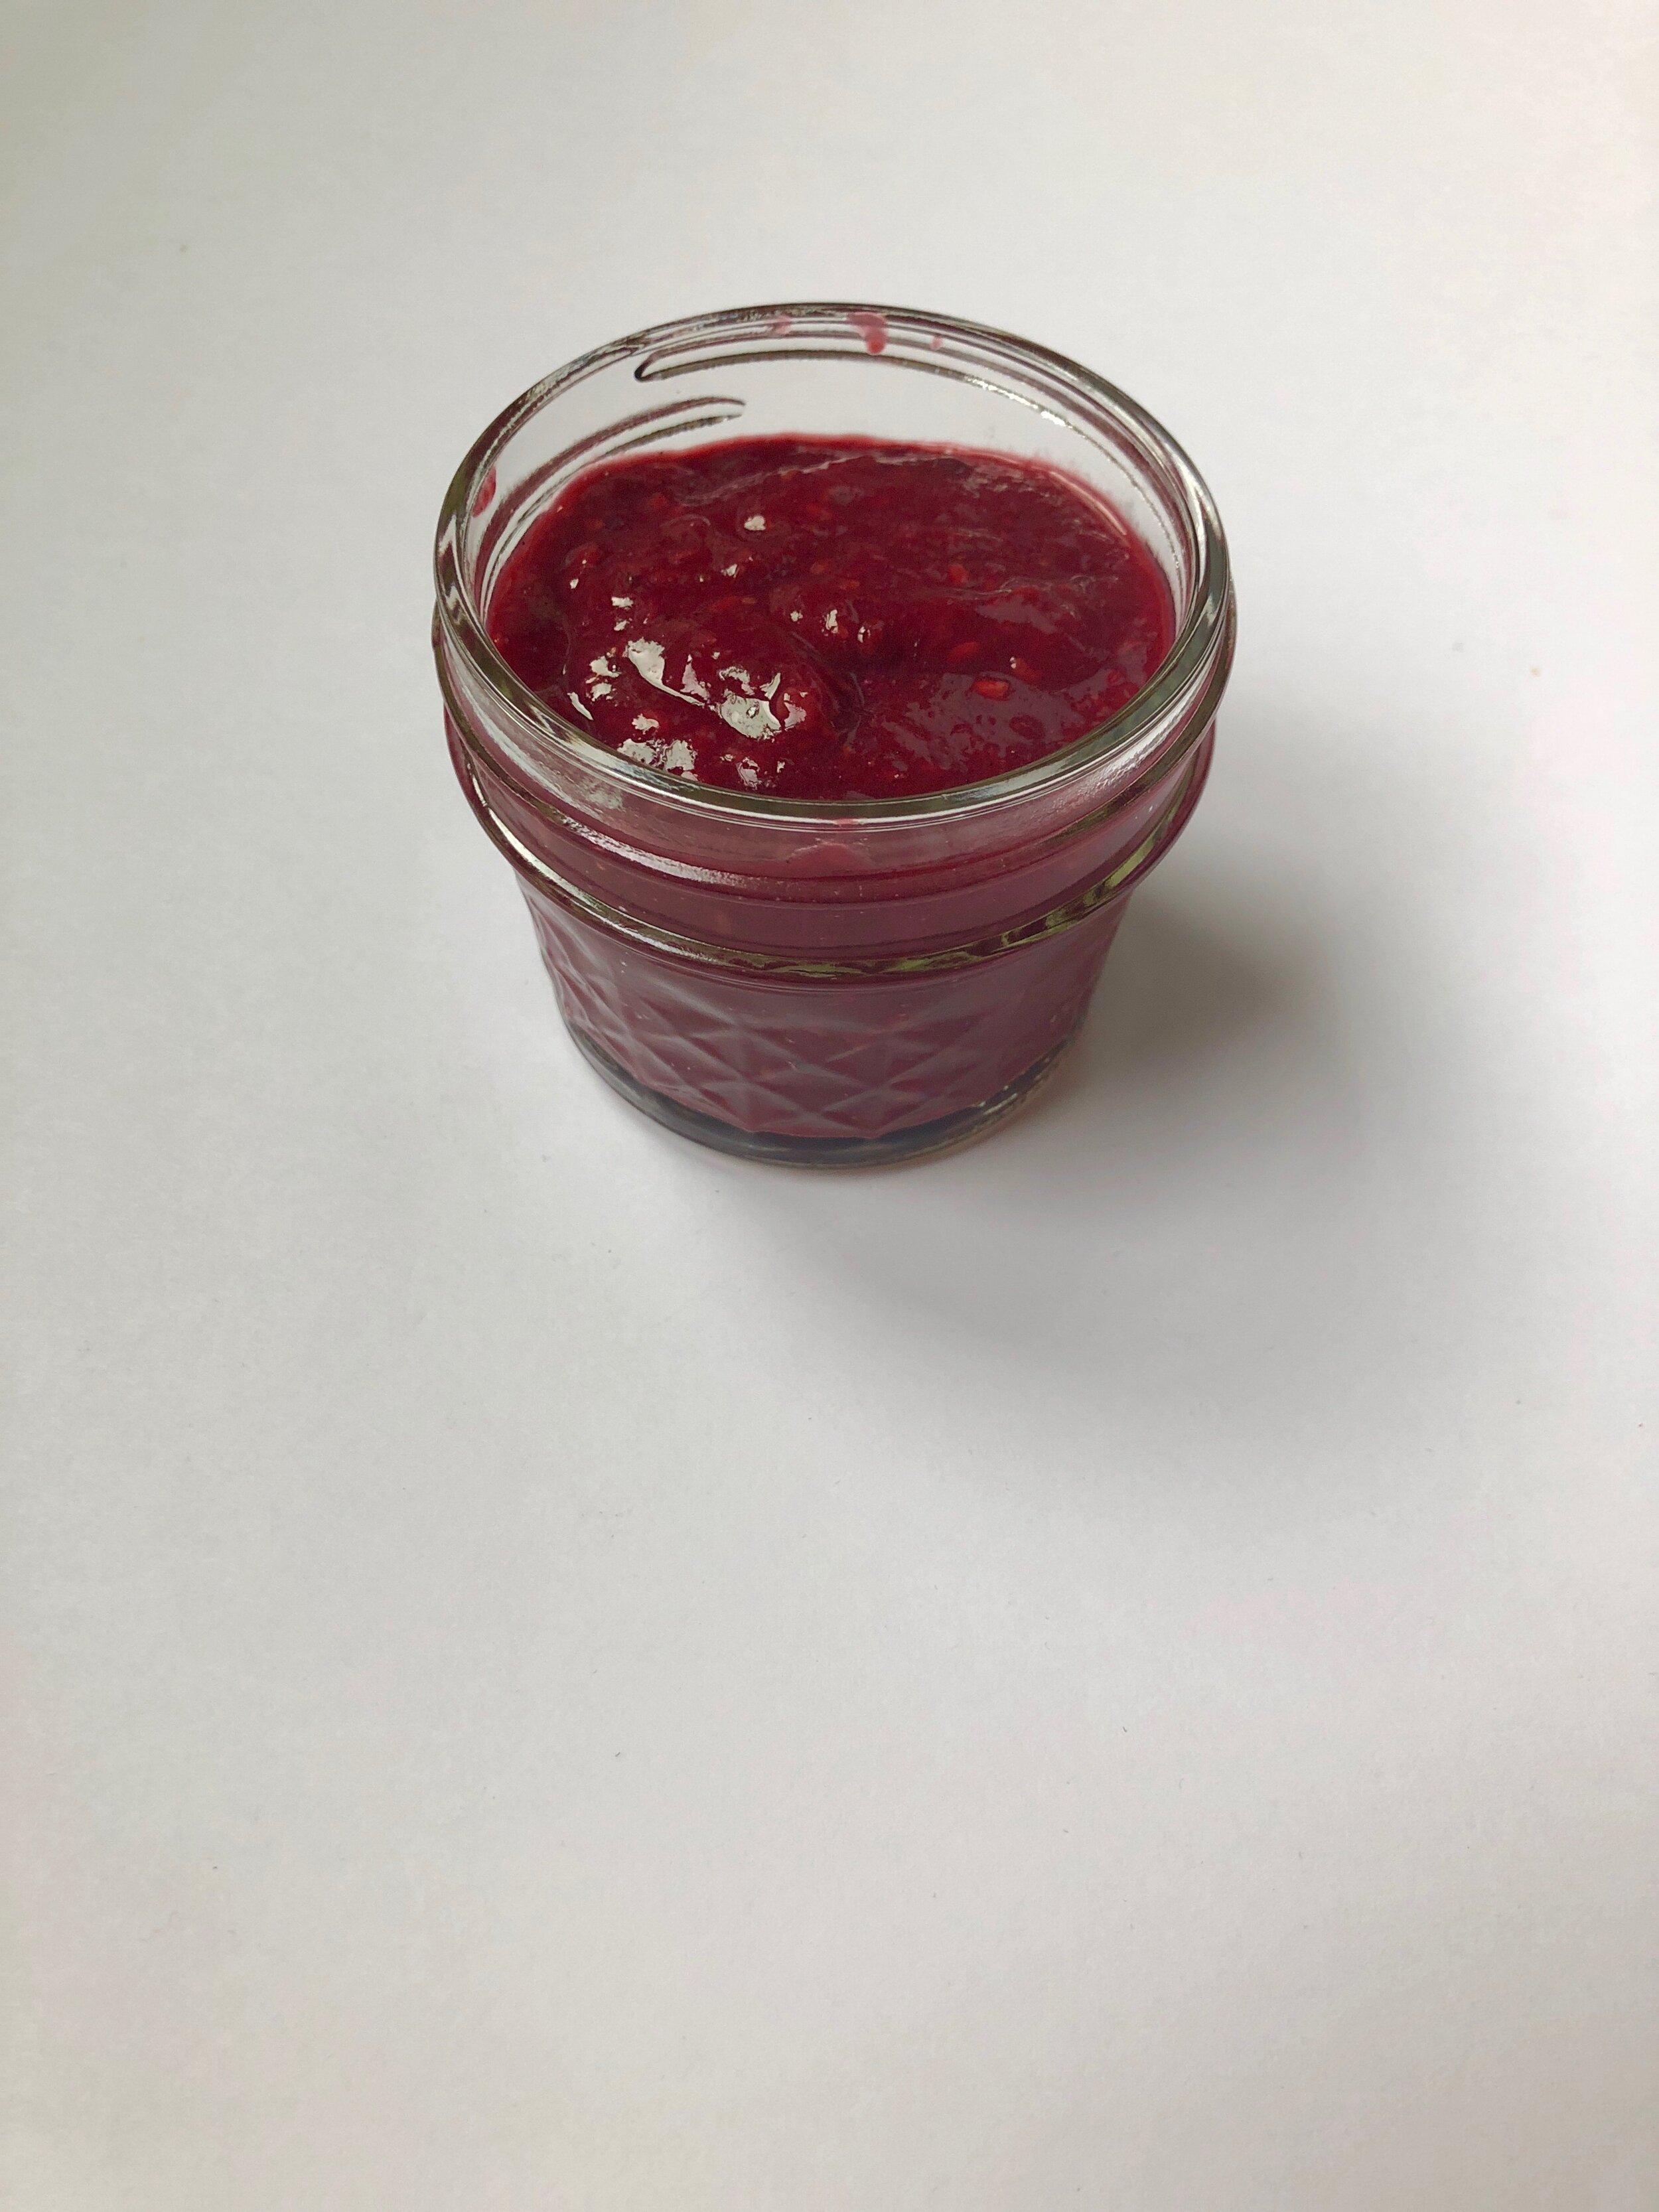
You may have extra berry mixture, depending on how large your cookie sheet is, so save it for a topping for pancakes or waffles! Yum!

Voilà, the largest fruit roll up you’ve ever seen! Now that your fruit is dehydrated, cut it into rectangles, tie with bakers twine and store in a mason jar.

And that’s it! So super easy, right?! It’s food that makes you feel good to make and give to your family. :)
Leave a comment and let me know how your homemade fruit roll-ups turned out. I would love to hear what you thought! Or find me on Instagram at @sugarmoonbloom. We are all in this motherhood journey together and making healthy snacks + sharing them makes finding healthier alternatives for our kids way easier! Either way I’m happy you found me!

PHOTOGRAPHY BY SUGAR MOON BLOOM
Don’t forget to Pin your favorite graphic to Pinterest and save it!