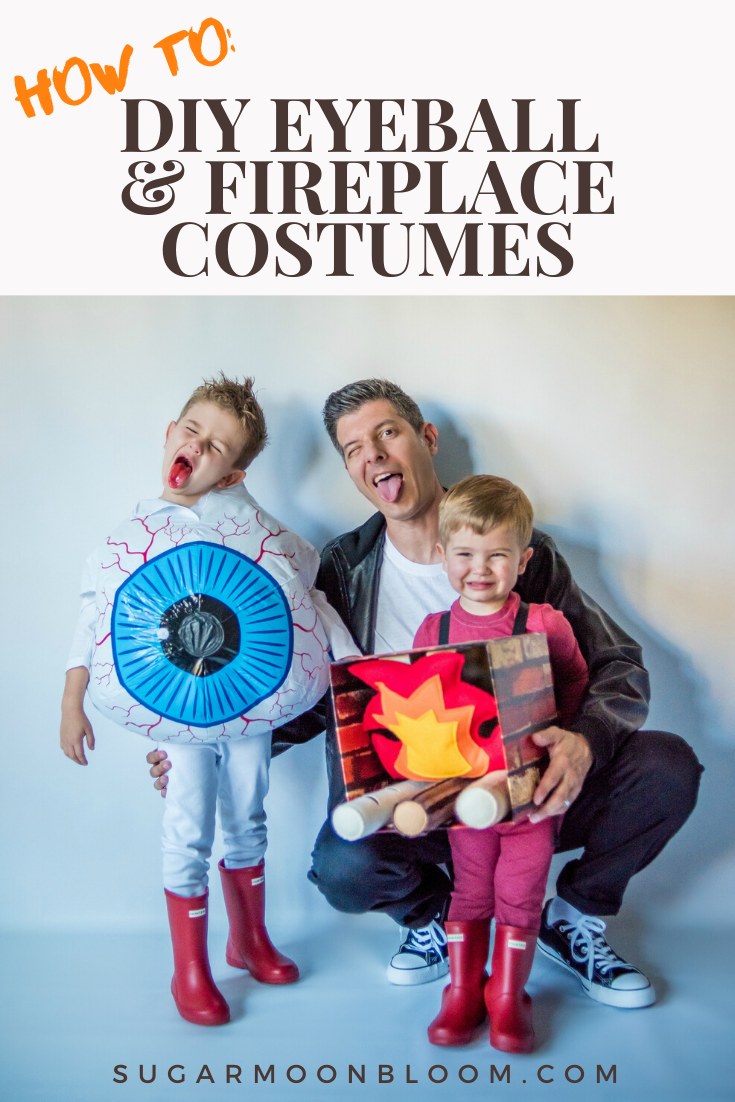
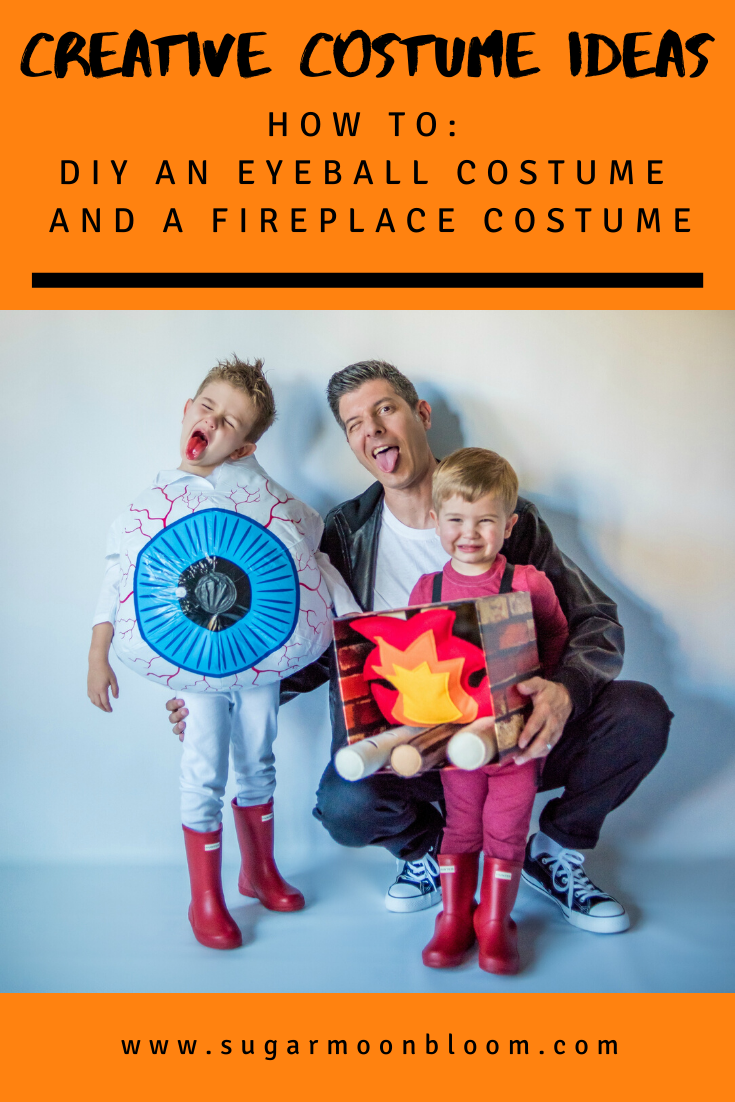
Kids Costumes: How to DIY an Eyeball Costume and a Fireplace Costume
Some of the links you’ll find in this post are affiliate links which help support my blog.
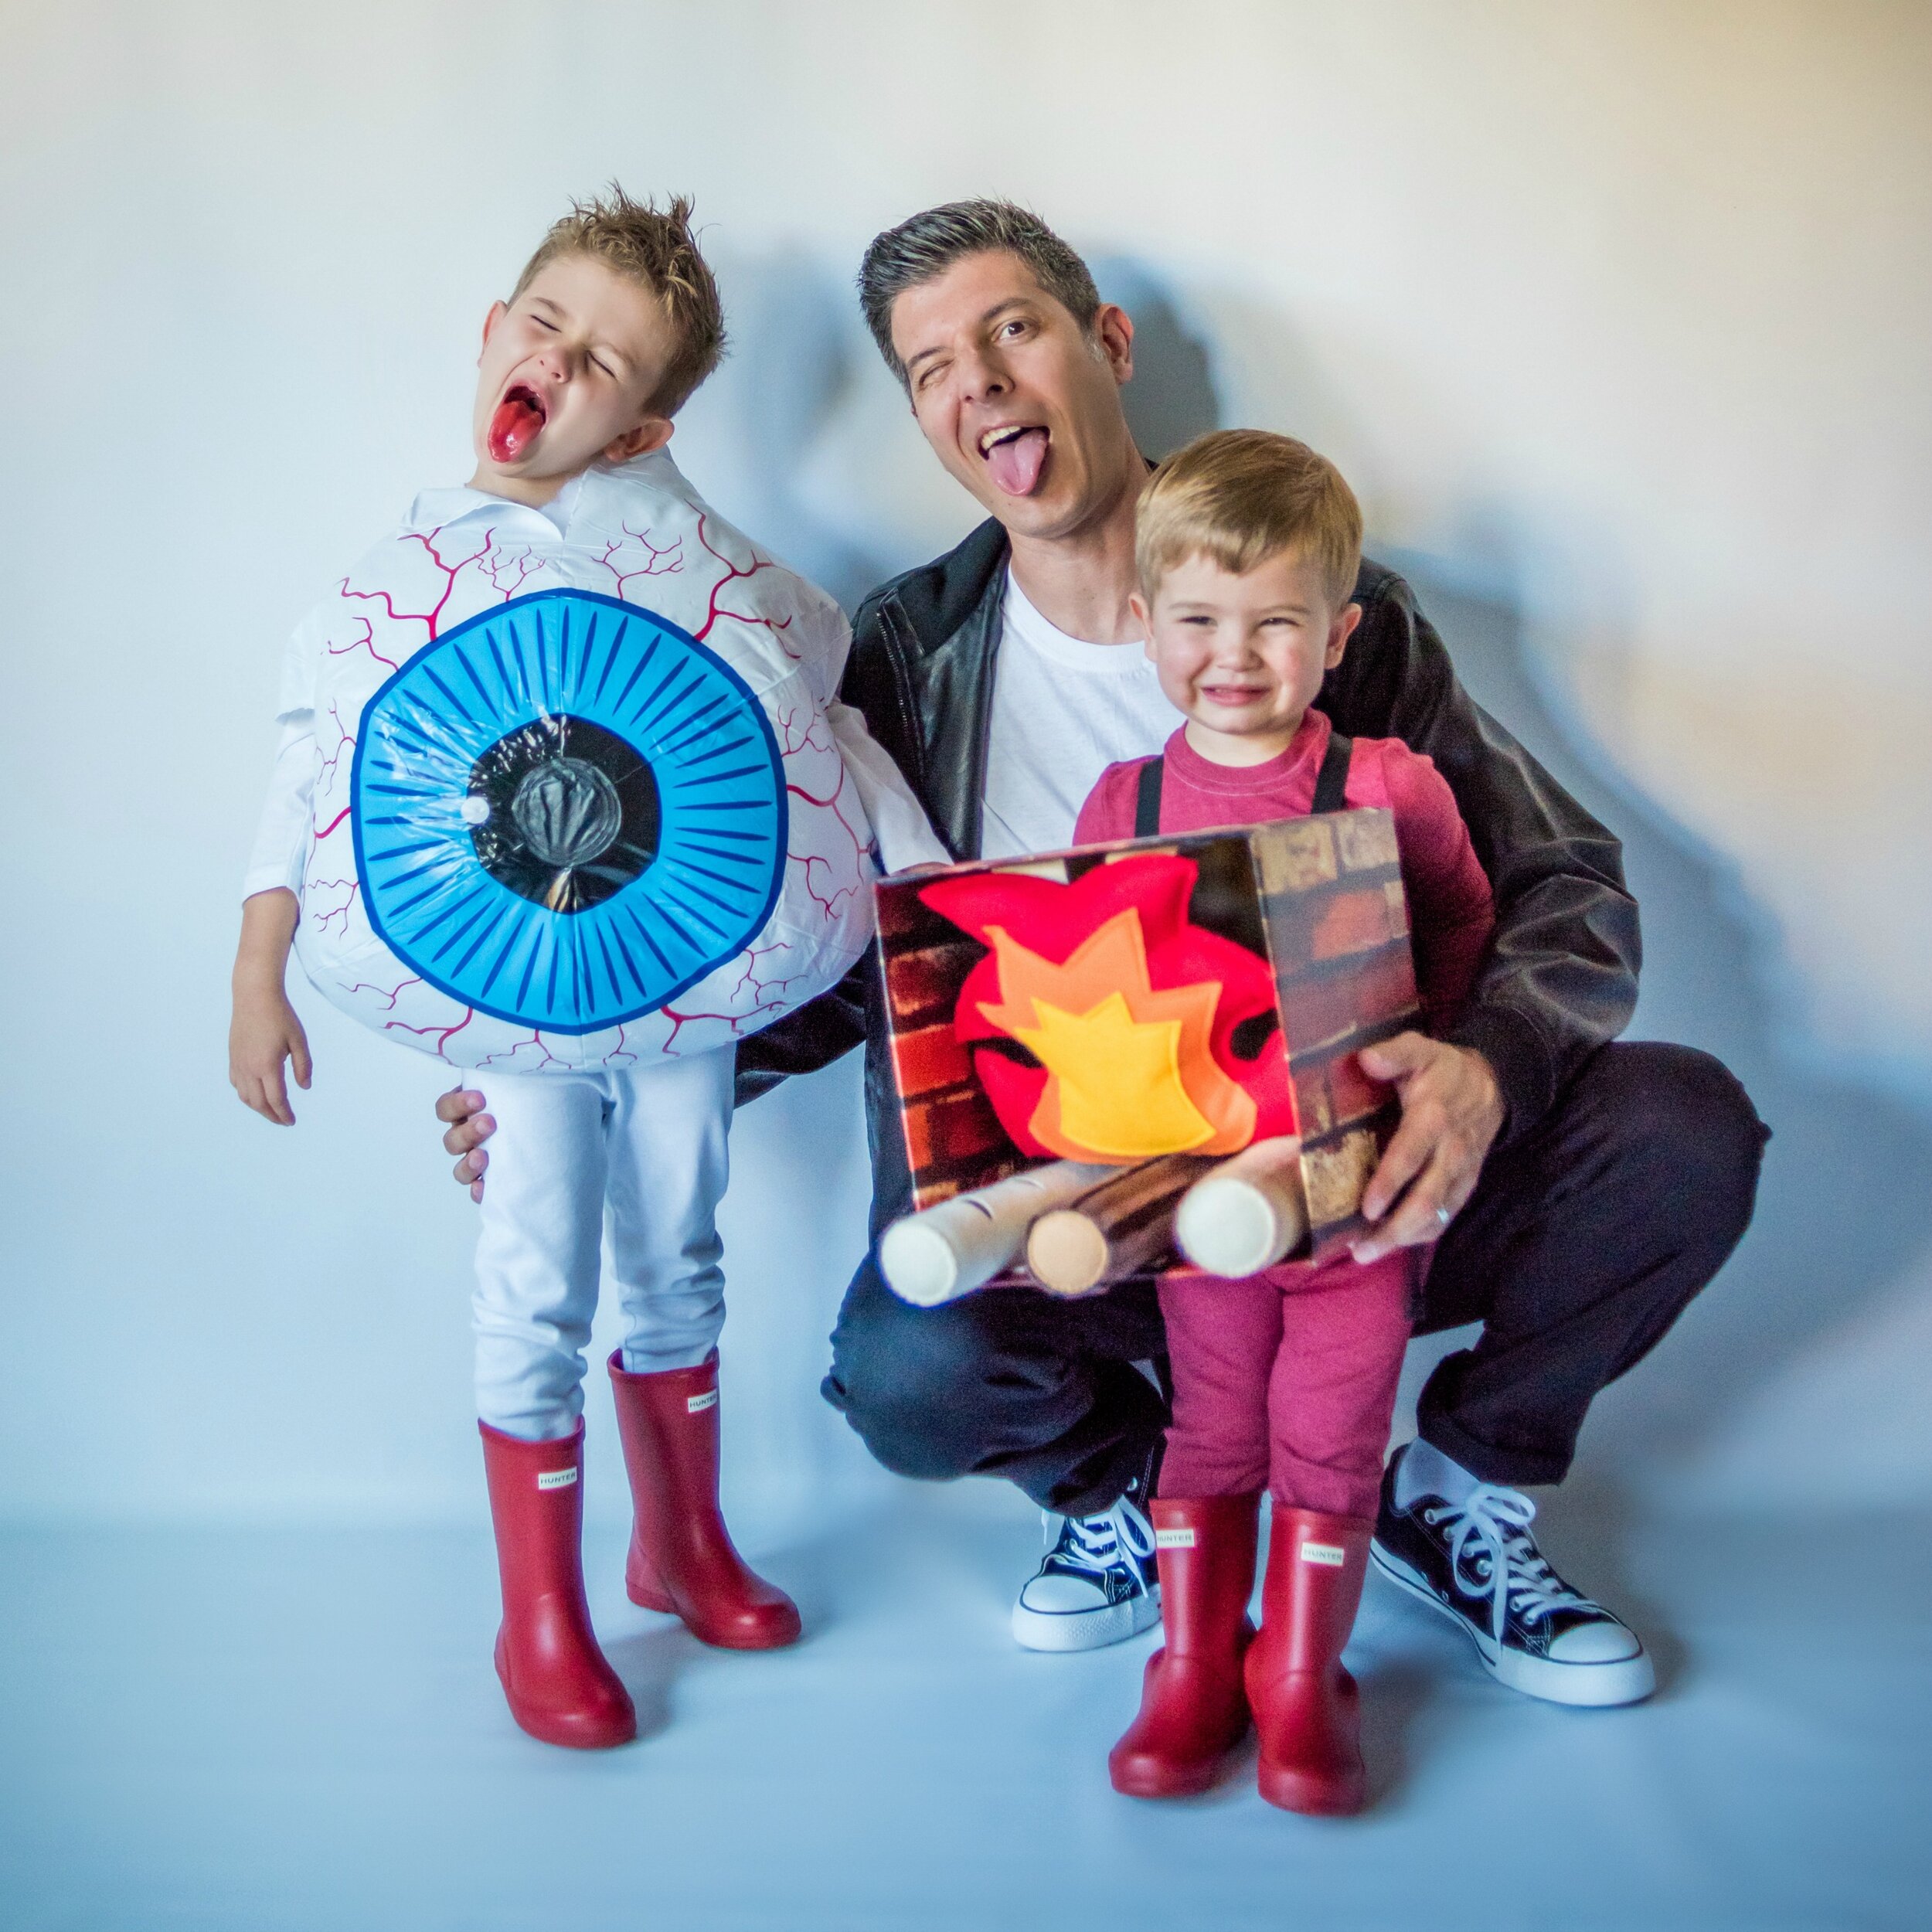
Kids think of the best halloween costumes and last year my boys’ didn’t disappoint!
When my boys asked me to make an eyeball costume and a fireplace costume I was so impressed with their creativity and faith in my costume-making skills I had to try to pull it off for them! I wanted an easy no-sew option so I decided to search for eyeball and fireplace inspiring products to get my creativity rolling. Once I found the eyeball beach ball I knew I had my starting point for the eyeball costume. For the fireplace I wanted something lightweight and that my toddler would be willing to wear, so after looking at real fireplace images I thought a cardboard box that could fit on him like a front backpack would be perfect.
Get the fun costume DIY below for both!
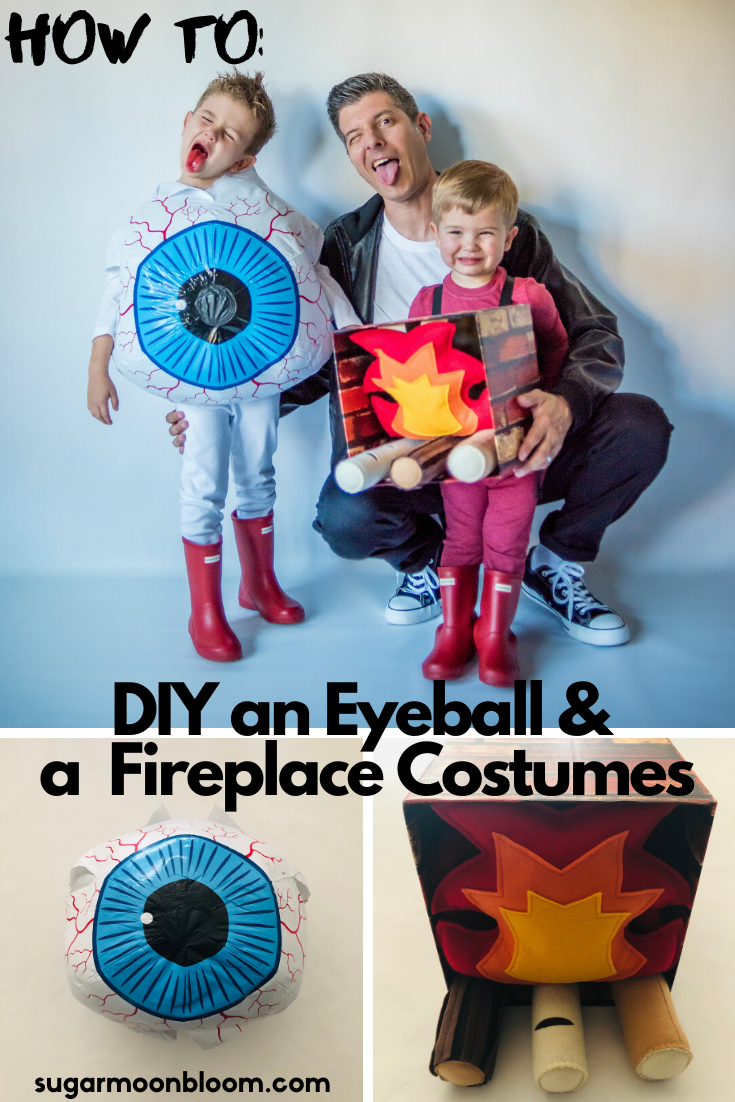
Making the eyeball costume
Materials:
Scissors
Instructions:
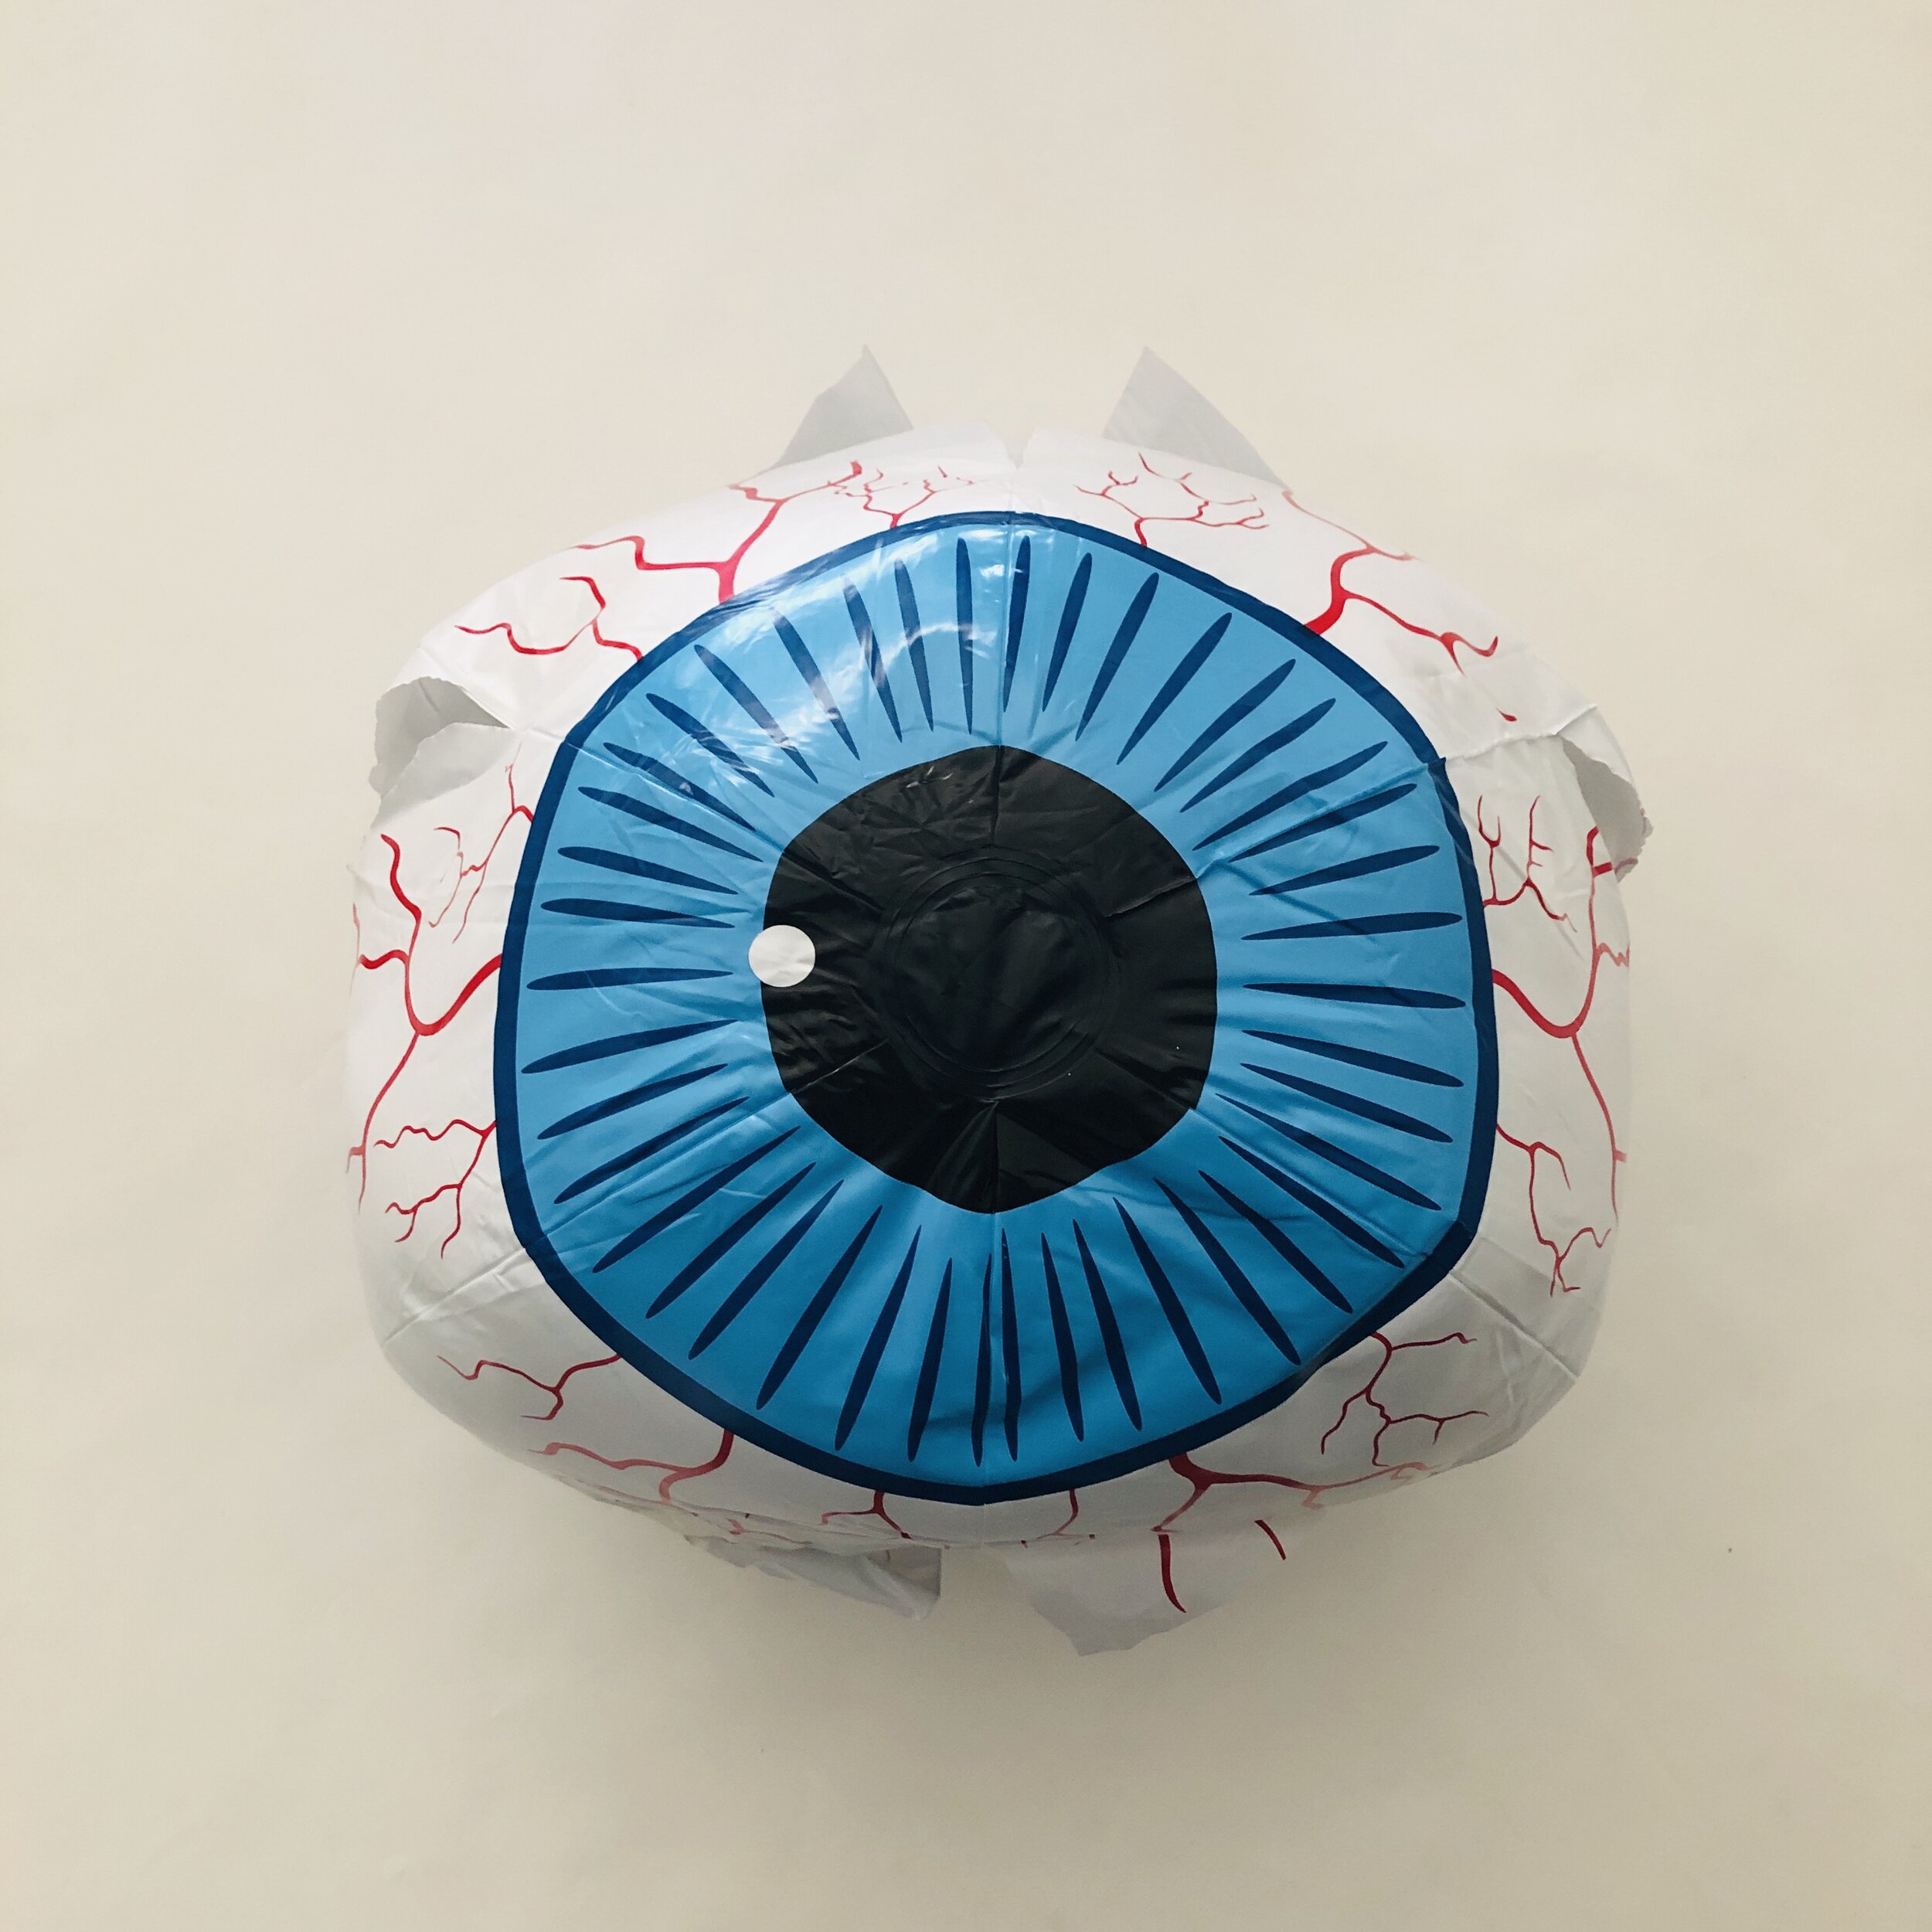
1. Once you receive all your supplies, blow up the beach ball to de-wrinkle it. Leave it blown up for a few hours or a day or so if you have time.
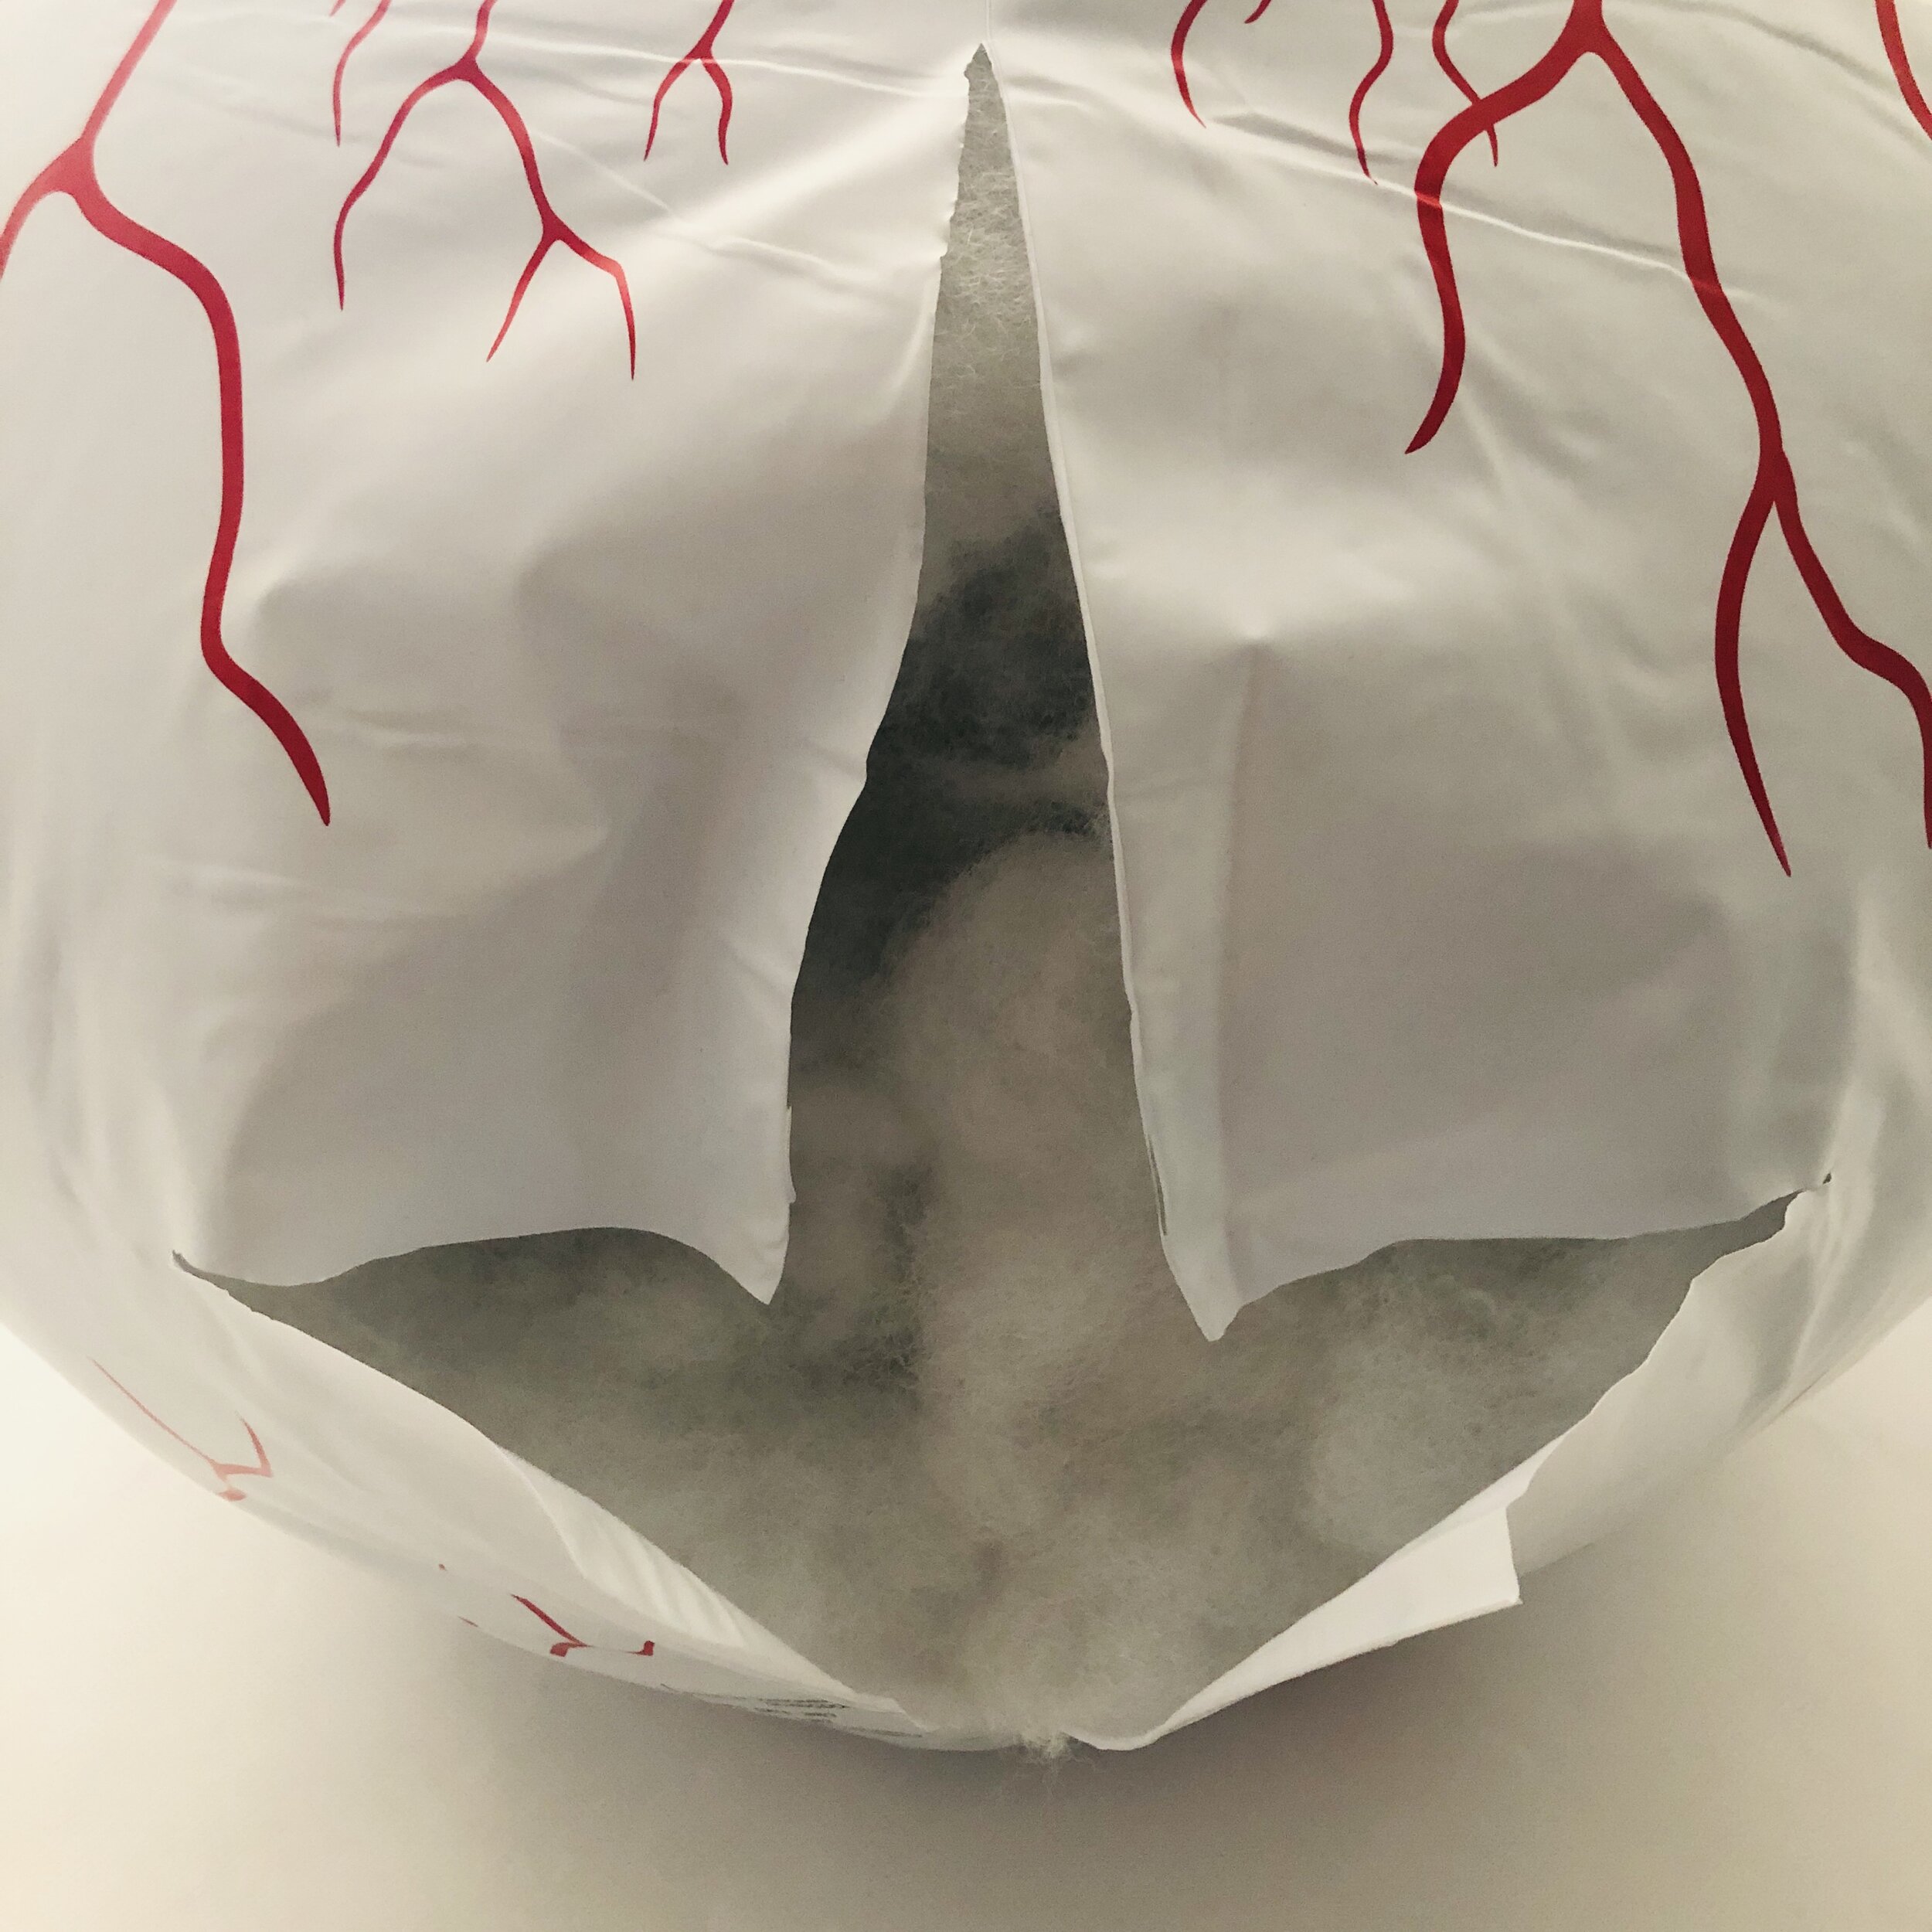
2. Cut open two slits making a + at the very top of the ball and bottom with your scissors, making sure to not make it too big (which can split the ball entirely open). Gauge how big you need to fit your kid’s body through. Yep, the ball is going to deflate!
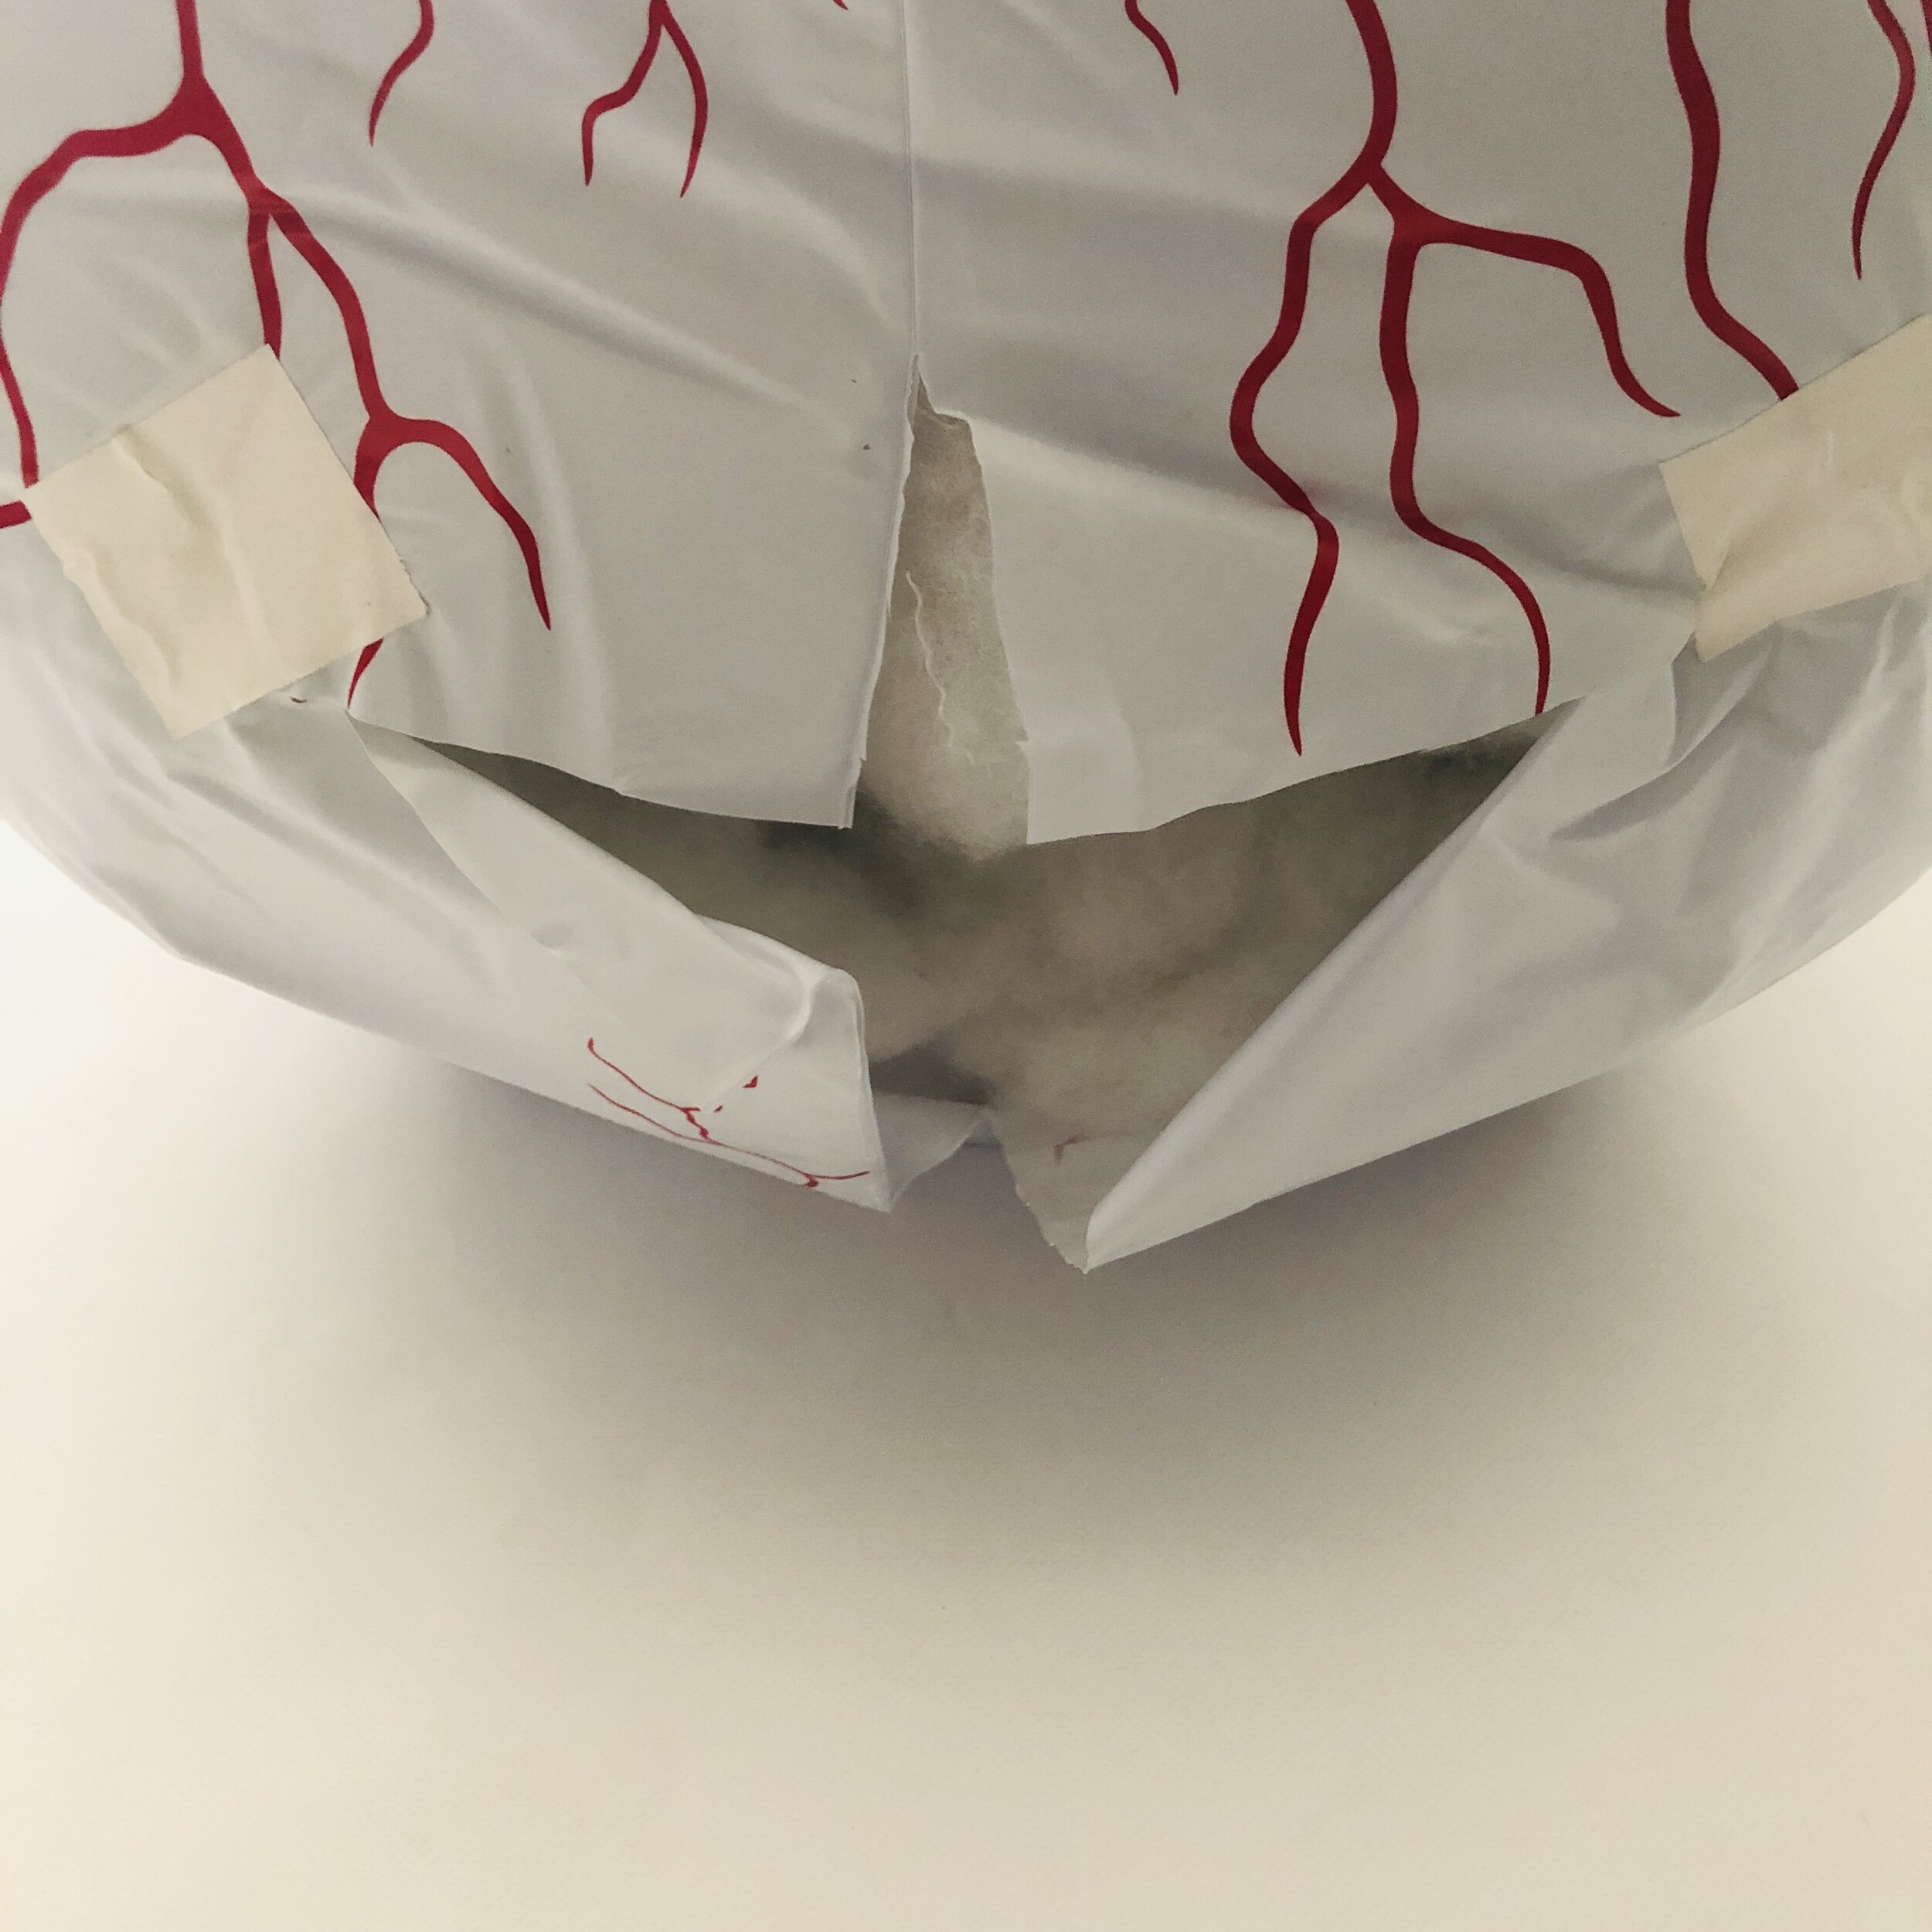
3. Rip off some pieces of the gaffer tape and re-enforce the slits on the bottom so they don’t rip and make the opening larger.
4. To get accurate measurements for the arm holes, you’ll want to add some of the poly-fil pillow stuffing to create some roundness to the ball. Then have your child try the costume on, gently putting the costume ball over your kid’s body and measure where his/her arms are located. Mark the spot/measurement with a marker so you know where to cut.
5. Take off the costume and cut a slit for the arms. The sides are harder to cut because the measurement of your kid’s arms might not be at the seam on the ball. So the cut may not come out straight, but it’s totally OK — the slit doesn’t have to be perfectly straight, once the costume is on you don’t notice it. Feel free to add some gaffer tape to reenforce the arm slits if you need to.
6. Fill the ball with more poly-fil pillow stuffing, leaving enough room to still get the costume back on.
7. Put the costume back on your child, have them pull their arms through the arm slits you made and add more poly-fill pillow stuffing making the ball super round.
8. Gently remove the costume, making sure the slit openings don’t rip.
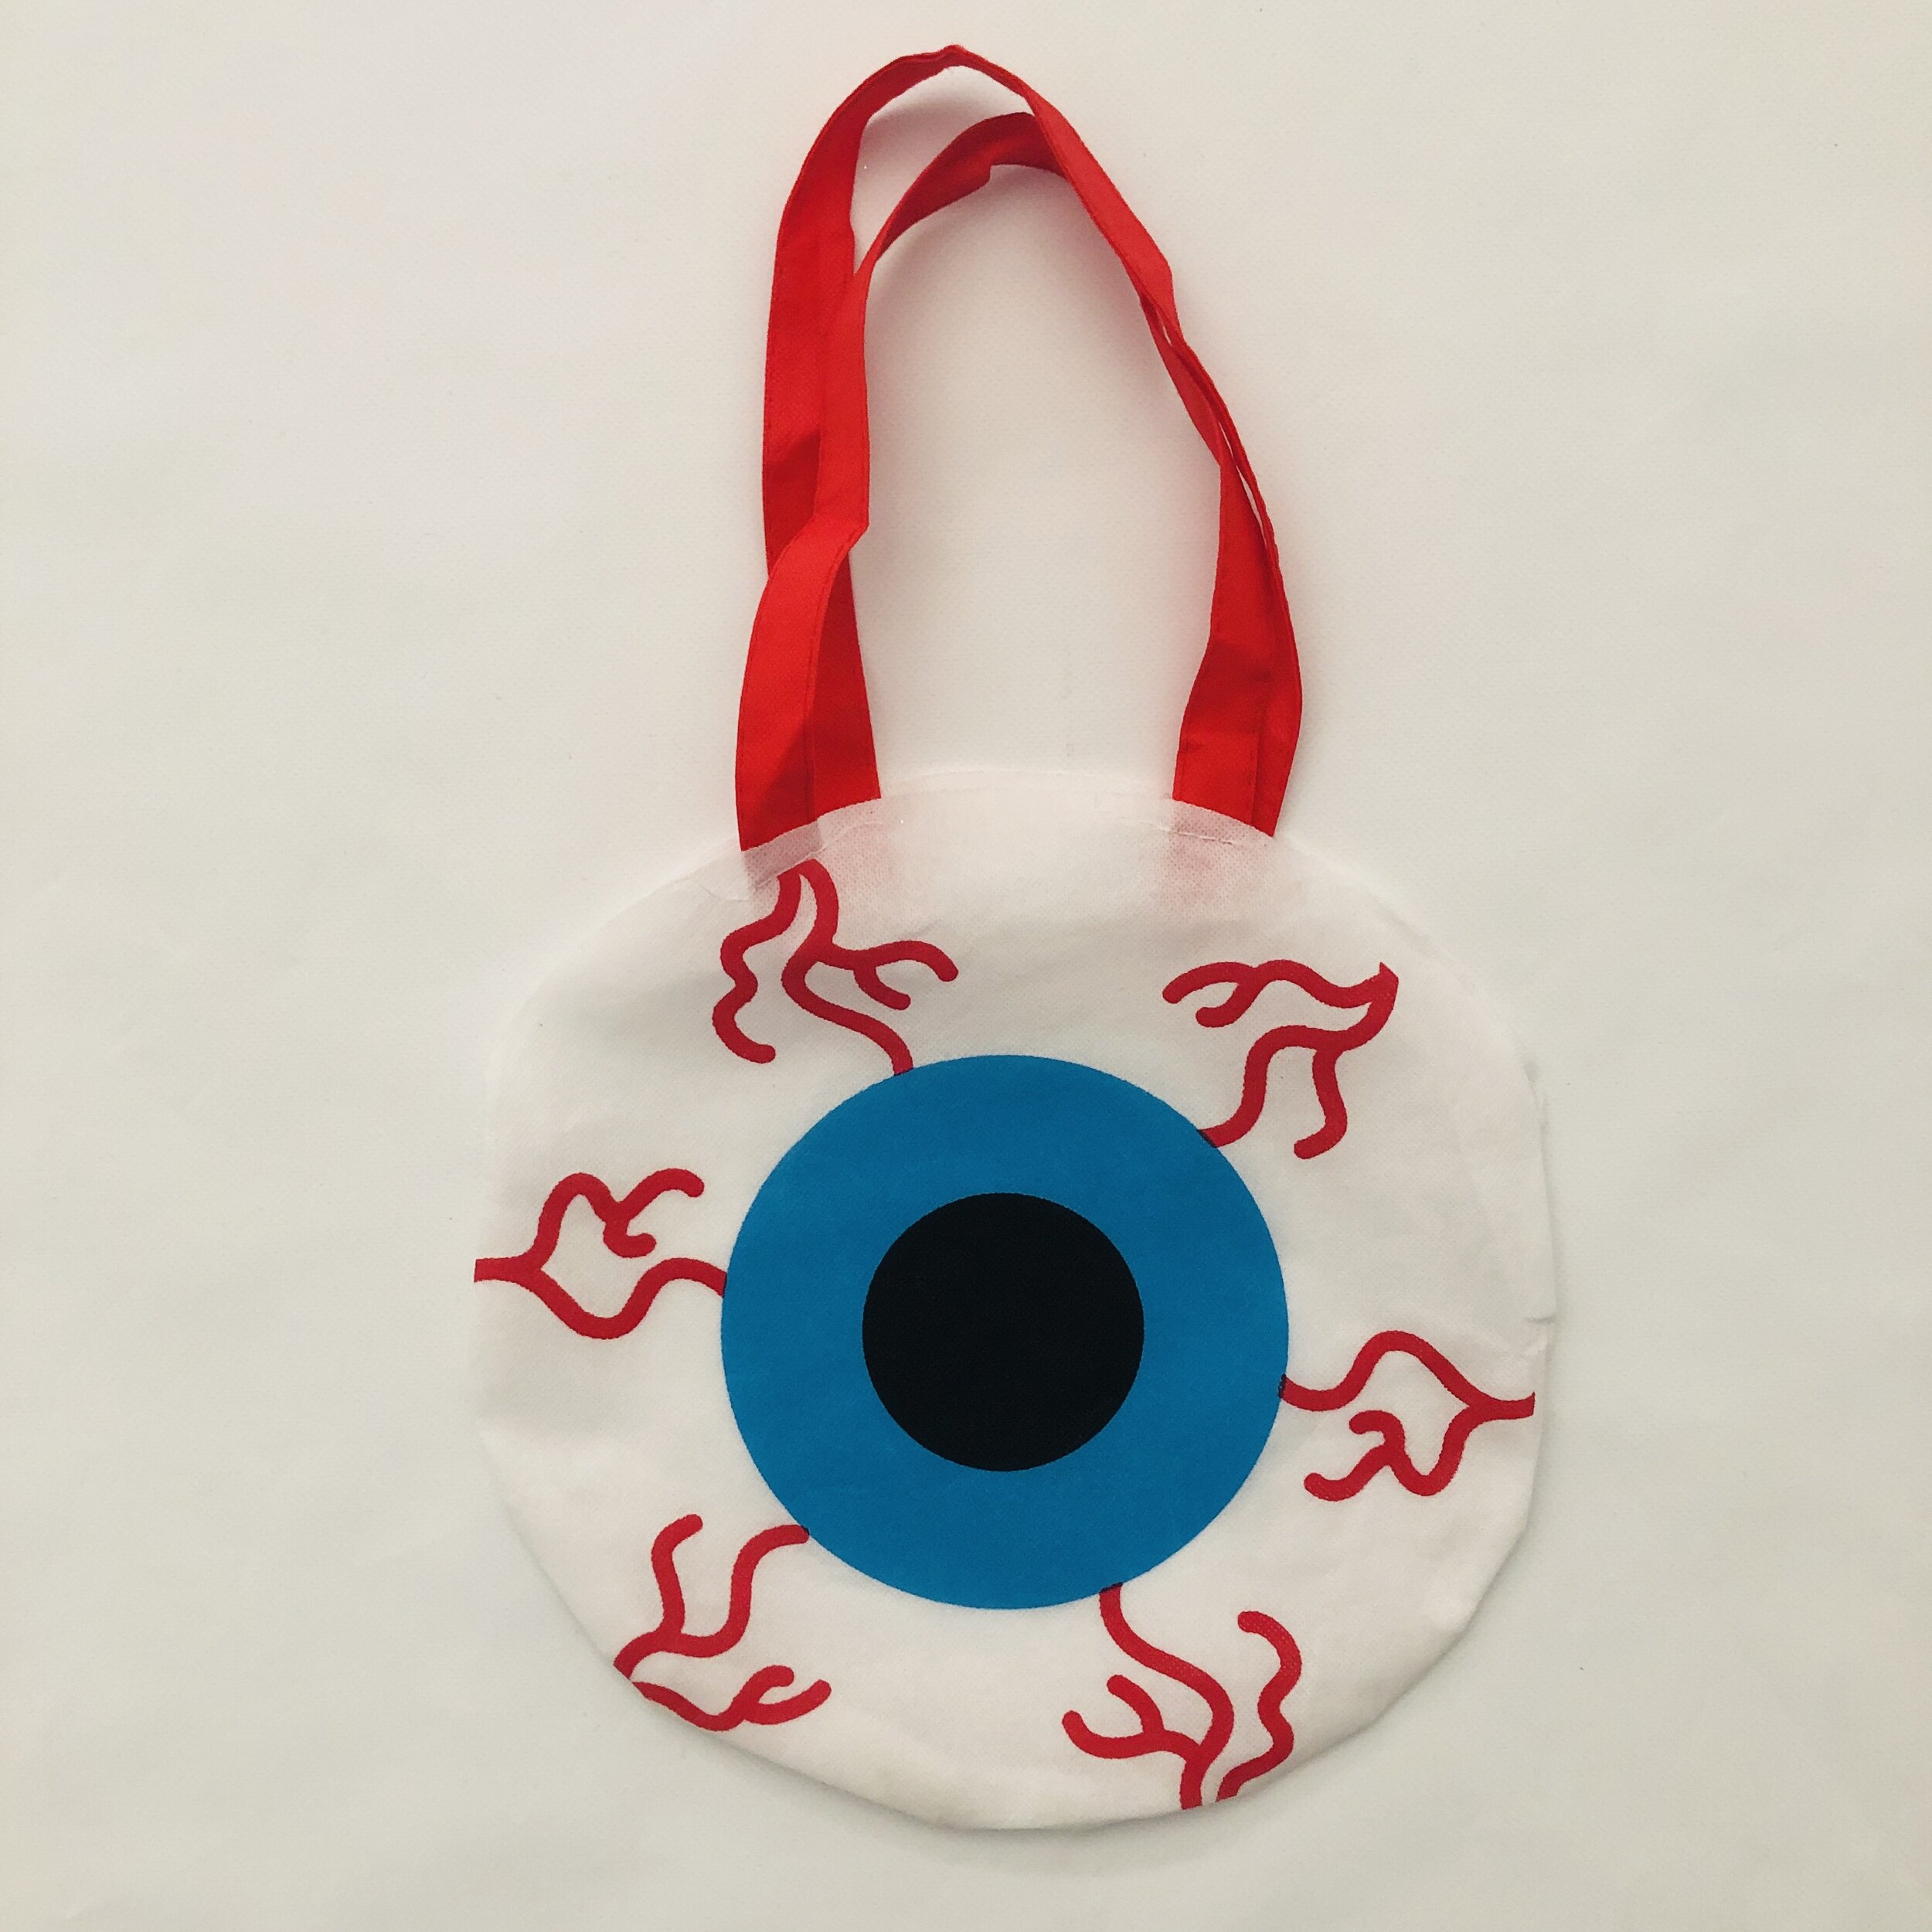
9. Your eyeball costume is ready! To top it off add the cute eyeball bag for trick-or-treating to hold the Halloween candy! Find the eye ball bags from Oriental Trading.

Making The fireplace costume
Materials:
12x12 box or box that will work for your kid’s body size
Scissors
Utility Knife
Small Brown Paper Bag (Fireplace Trick-or-Treat Bag), purchase at your local craft store
Tulle (smoke from the chimney), purchase from your local fabric store
Instructions:
1. After buying a flat box, fold the box together and tape the bottom to secure. Cut off the box flaps from the top so the top is completely open.
2. Hold the back of the box up to your kid’s chest and measure where the straps should be located for a comfortable fit, mark the spot. See images below for example placement. Using a utility knife make a slit on the back of the box where the straps will be placed and start cutting out a small rectangle the size of the utility strap. Make sure it’s a tight fit so the strap will be secure and hold the box. Cut 4 rectangular holes for the utility straps to fit through.
3. Using the measurements of the sides of the box, start cutting the brick wallpaper to fit, working around the box covering all sides and the top and bottom. I cut each side, top and bottom separately, trying to be intentional when placing the wallpaper on the box to match up the brick color as best I could so it would look seamless. Measure the inside of the box on all sides and cut the wallpaper to fit inside as well.
4. Make tiny cuts where you made the rectangular holes for the utility straps to fit through. Push the utility straps through the holes, making sure of the placement of the strap latches are positioned correctly.
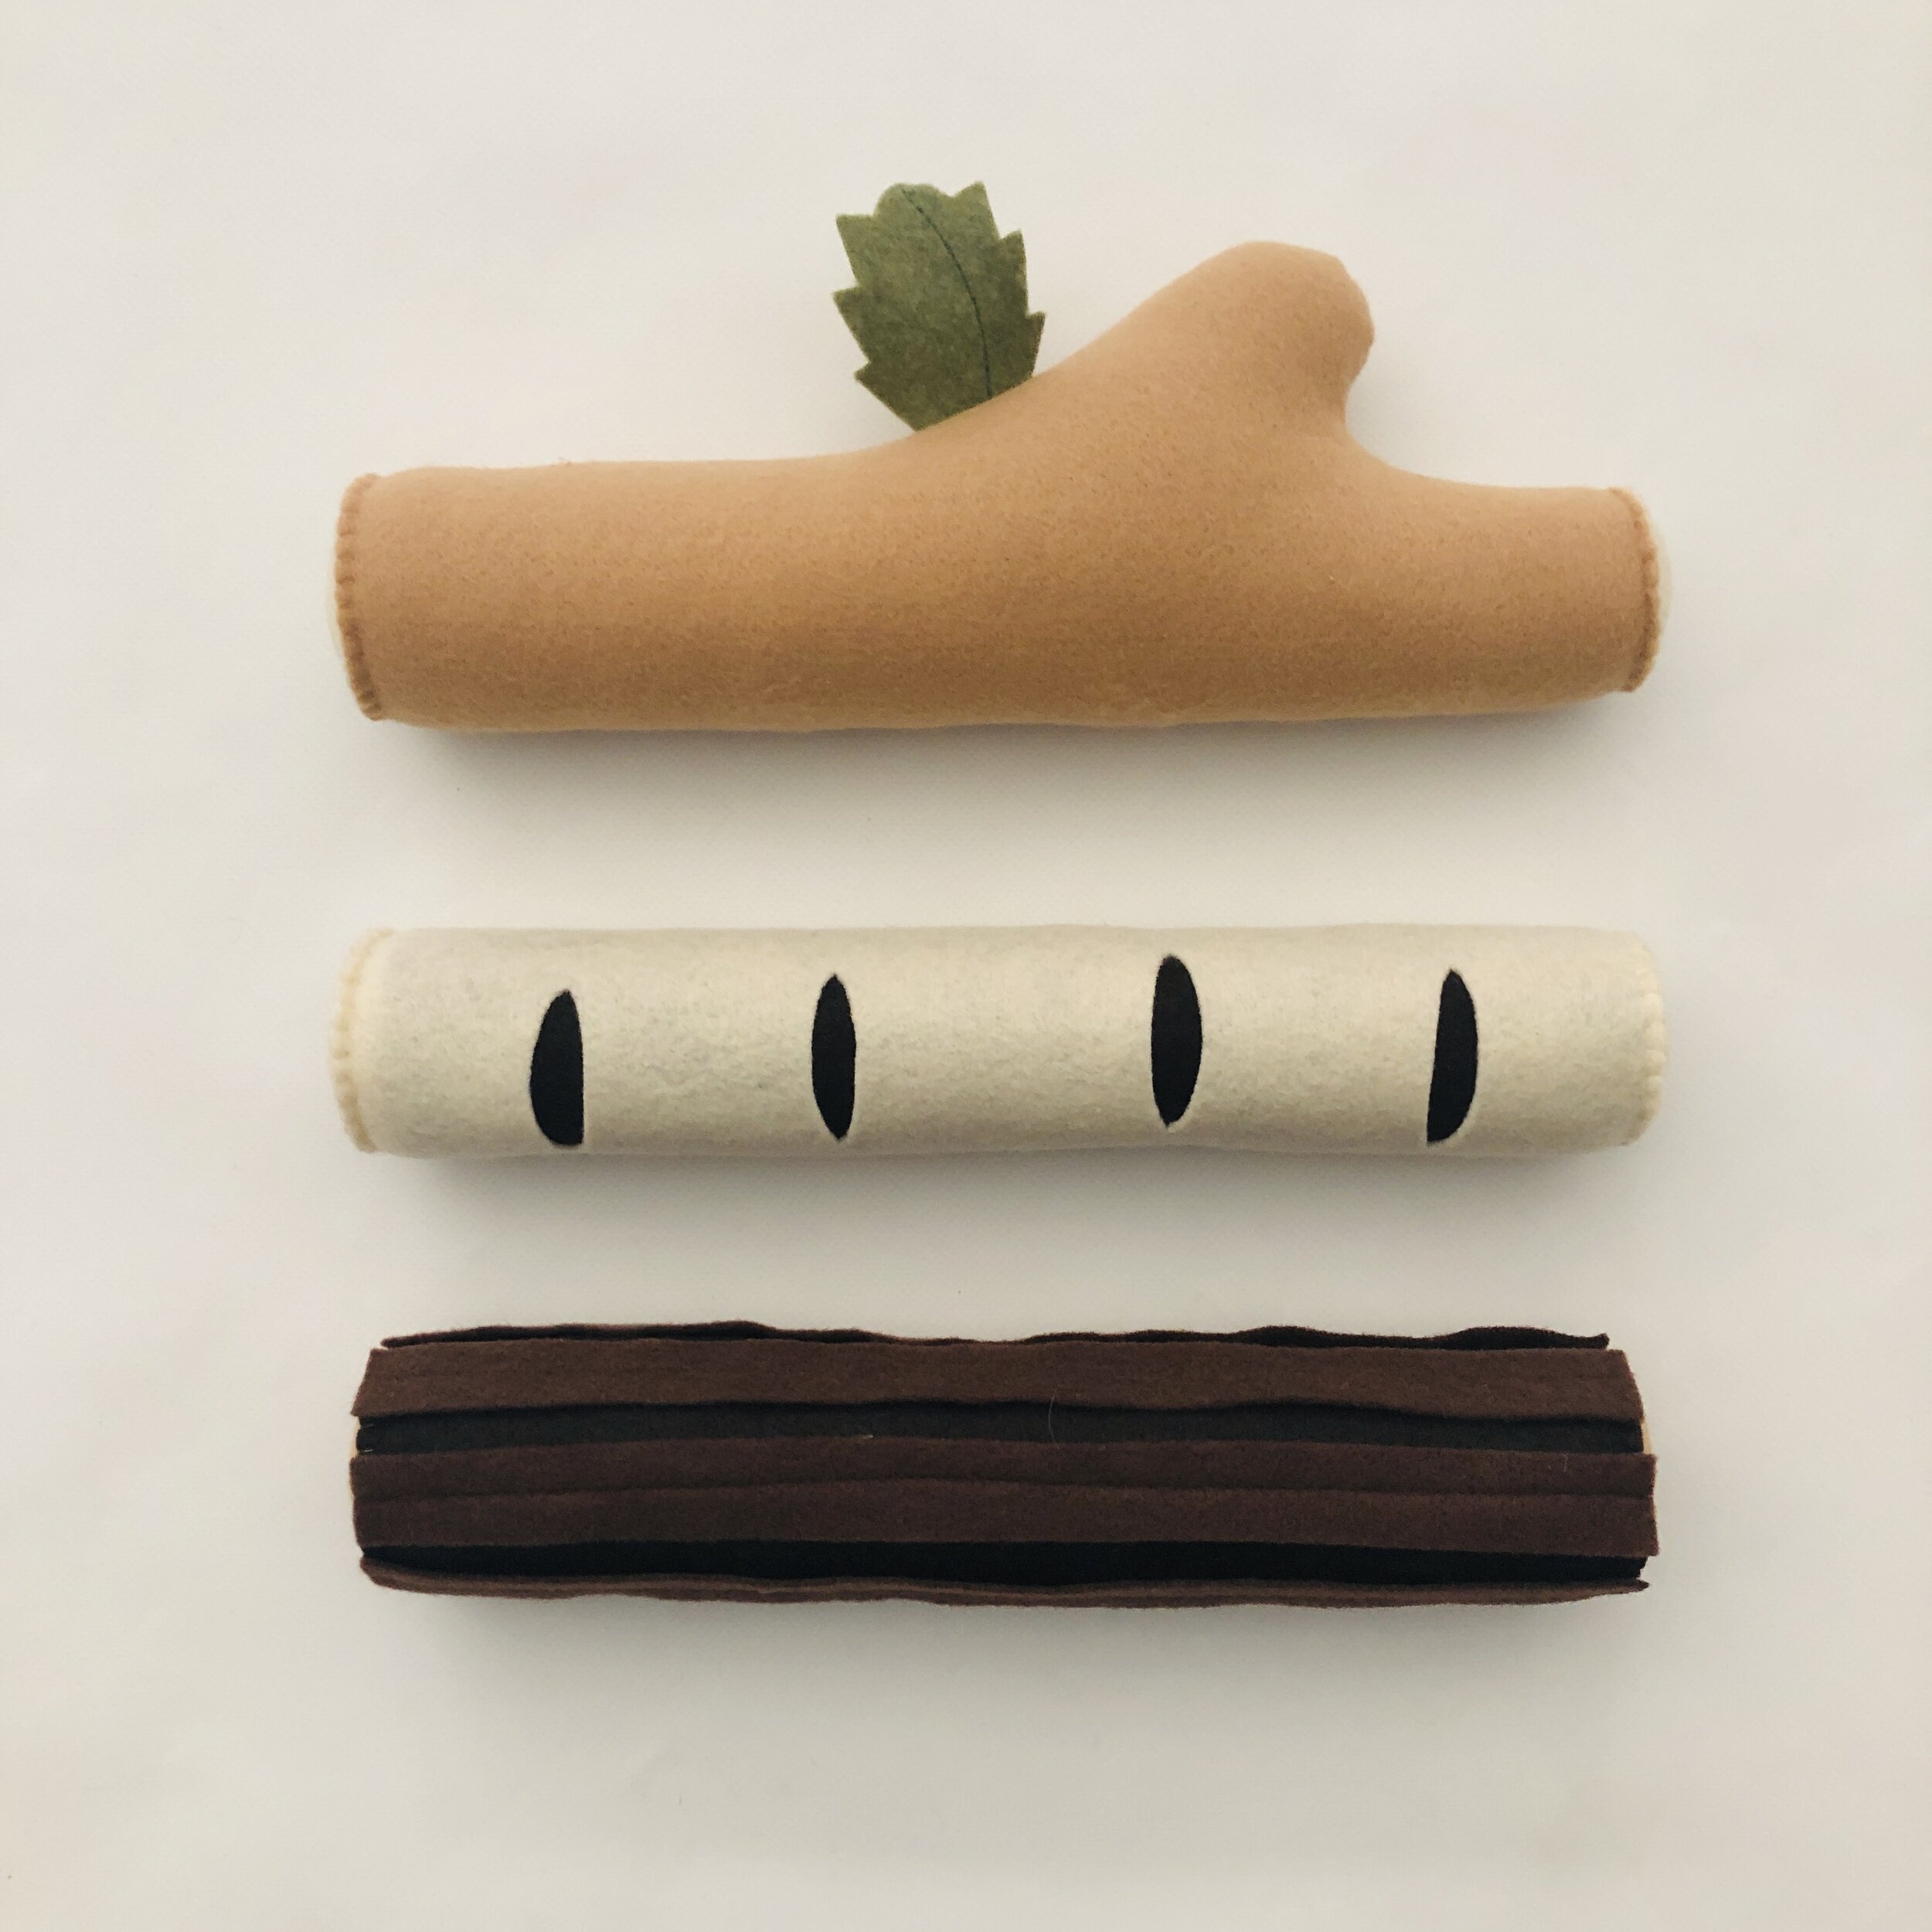
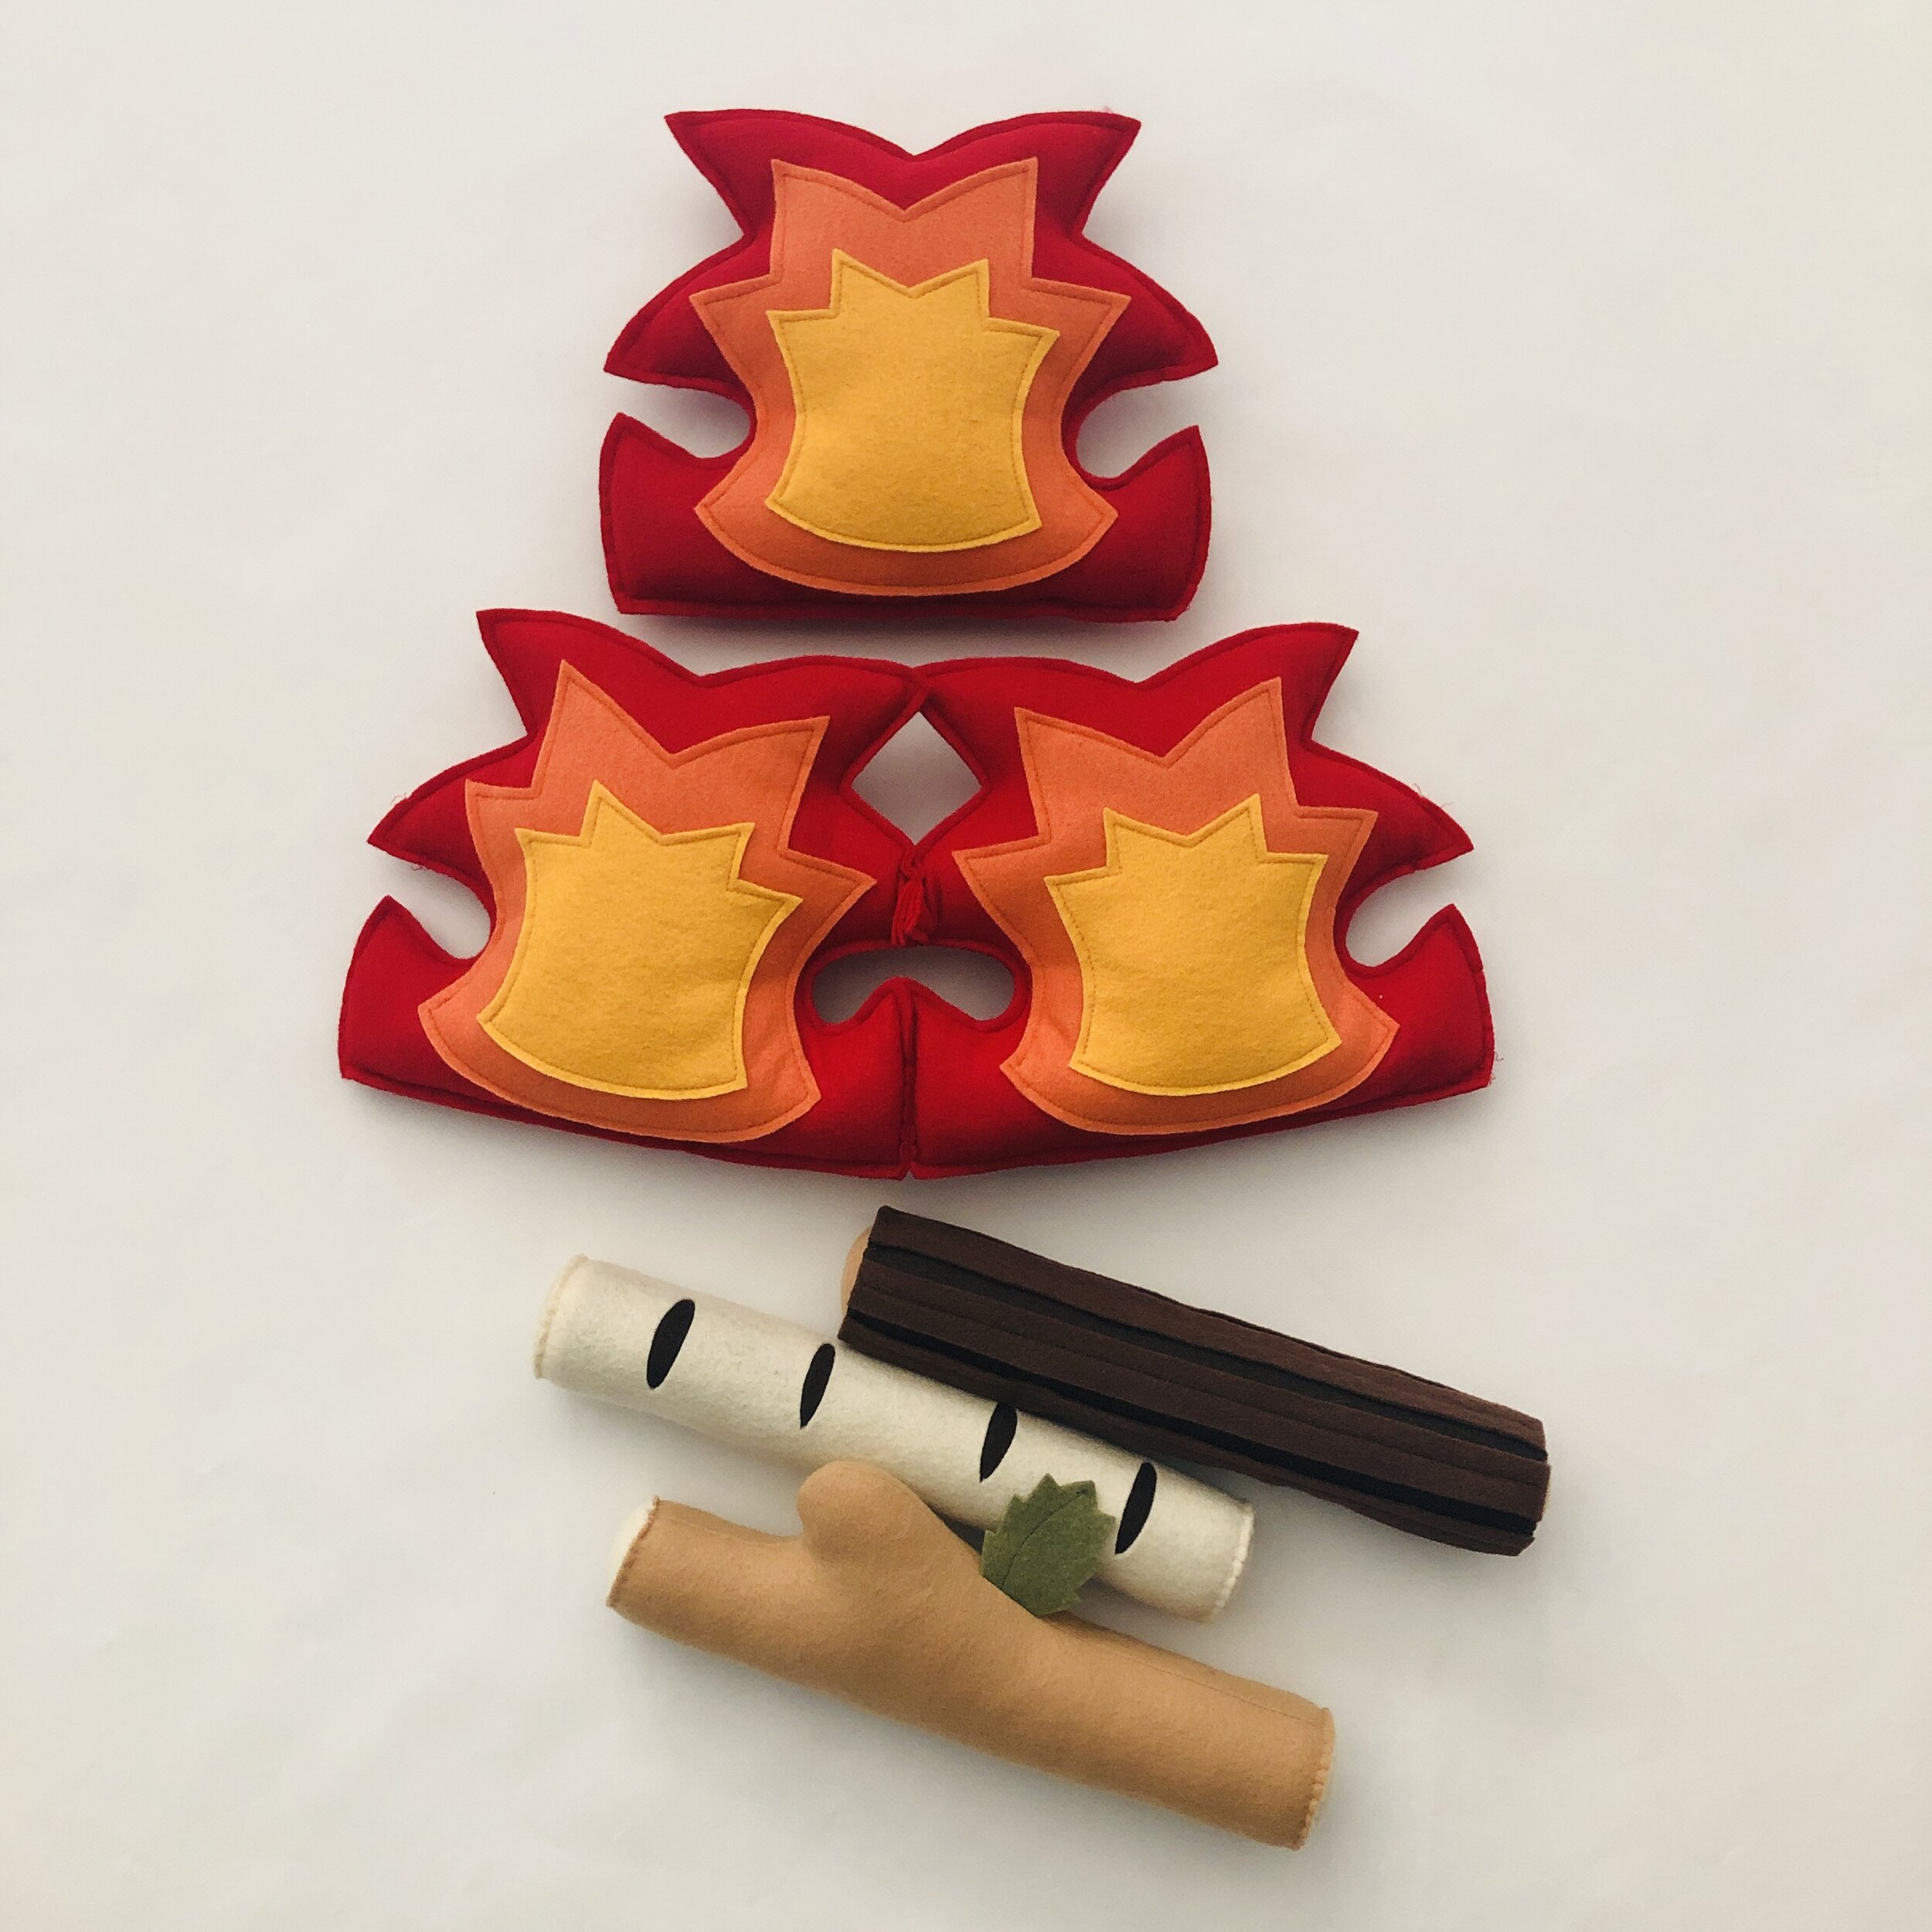
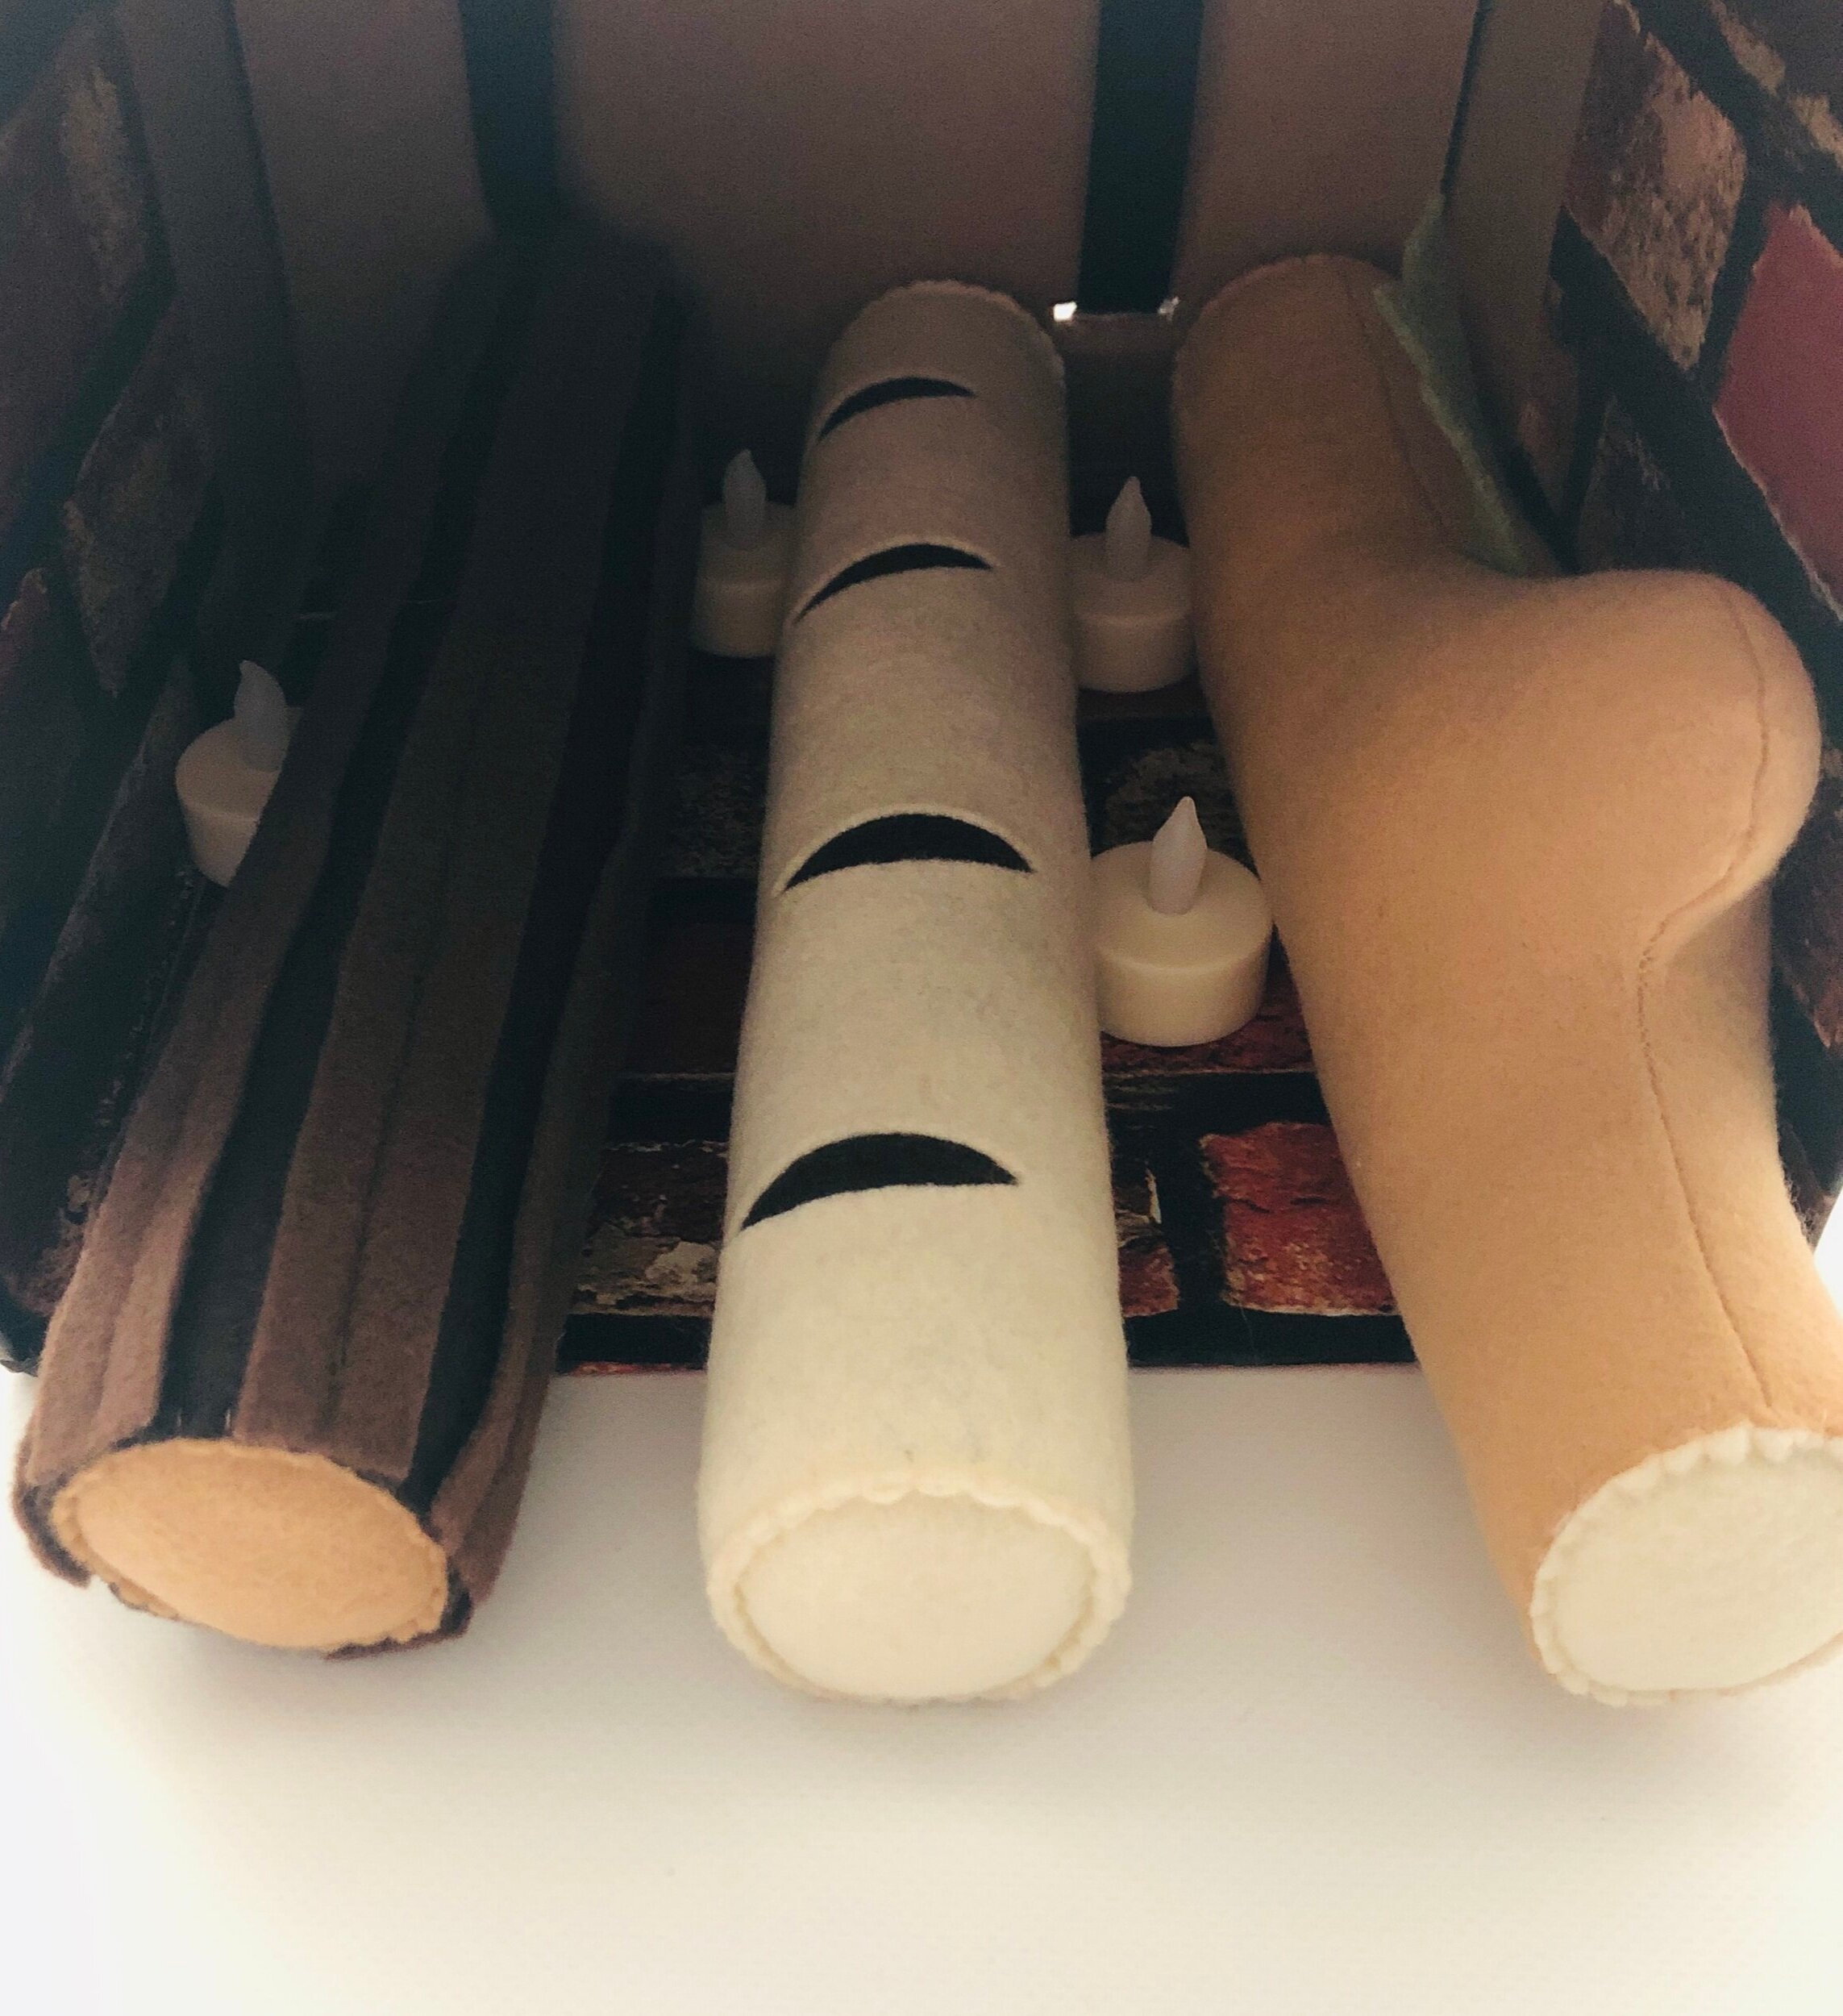
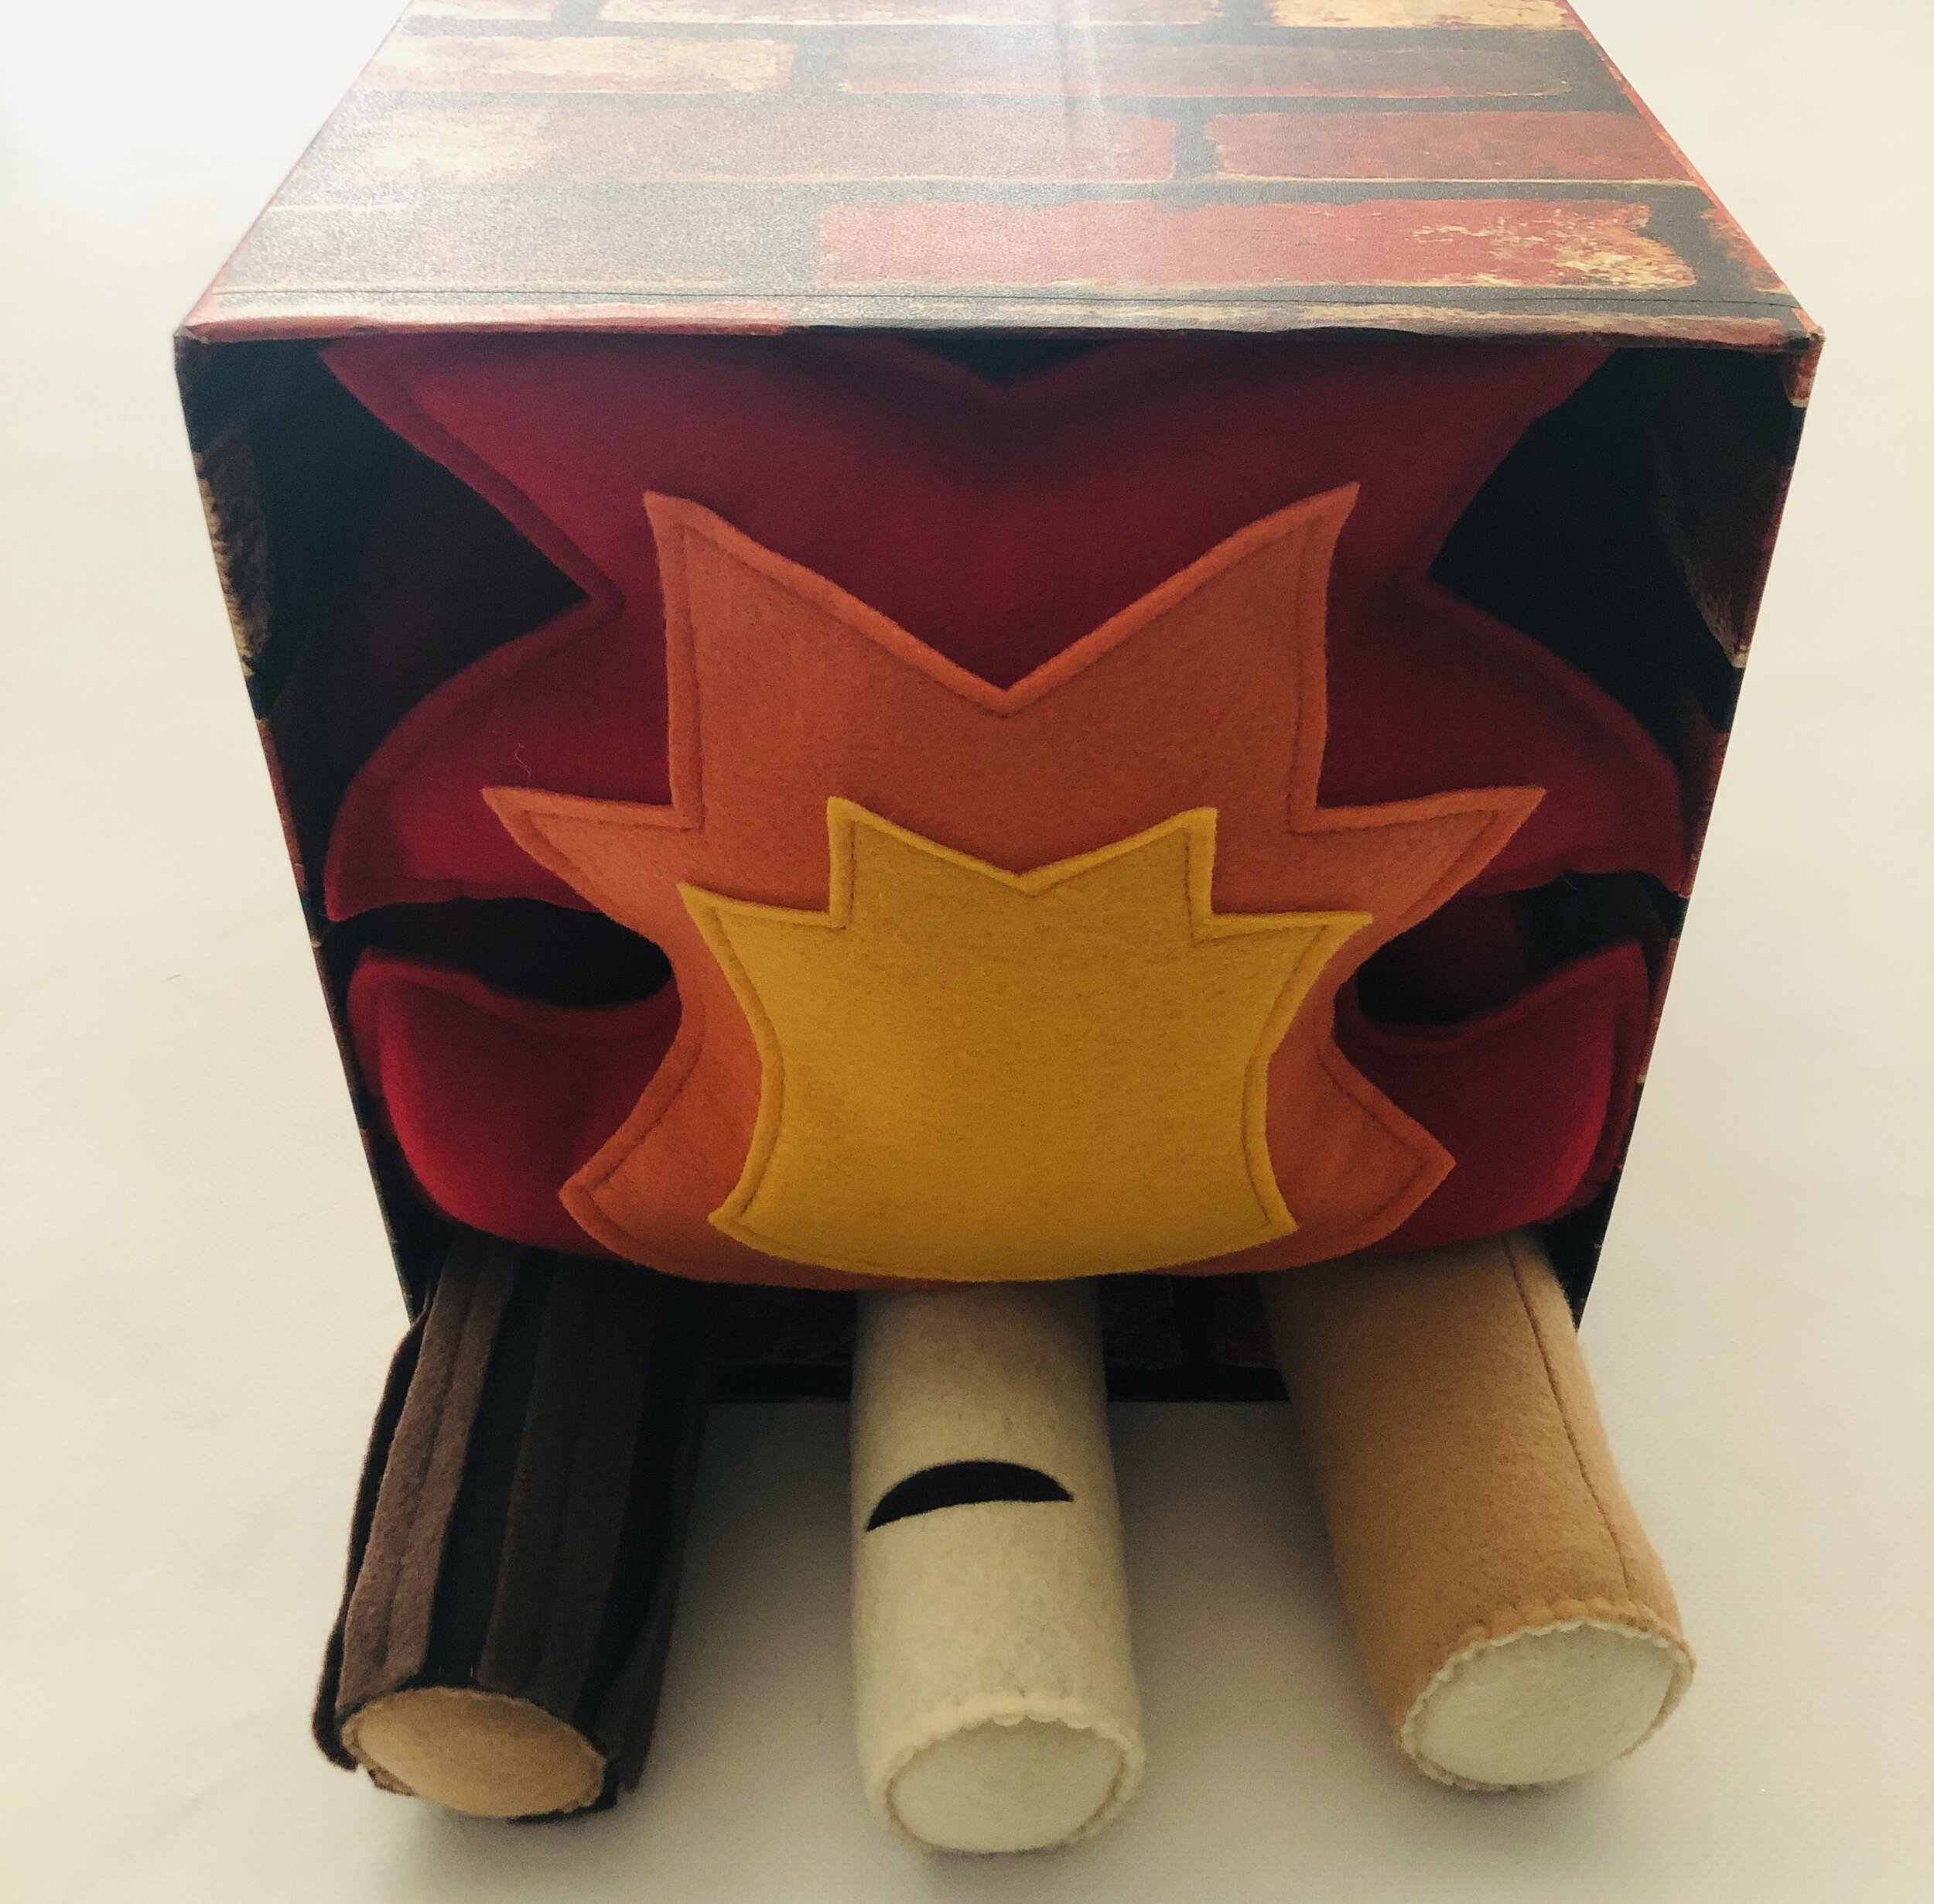
5. After you’ve finished wallpapering the box and cutting the holes for the straps, place the campfire logs inside the box.
6. Take the felt campfire you bought and cut off one of the flames where the flames connect and come together, look for the threads that are attaching the flames together and cut the threads; it fits better into a 12x12 box this way. If using a larger box you might not need to do this step. The 12x12 box fit my 3 year old son and the campfire perfectly. You an choose to use the one flame you cut off from the other two flames or use all three, it depends on how light you want the box to be.
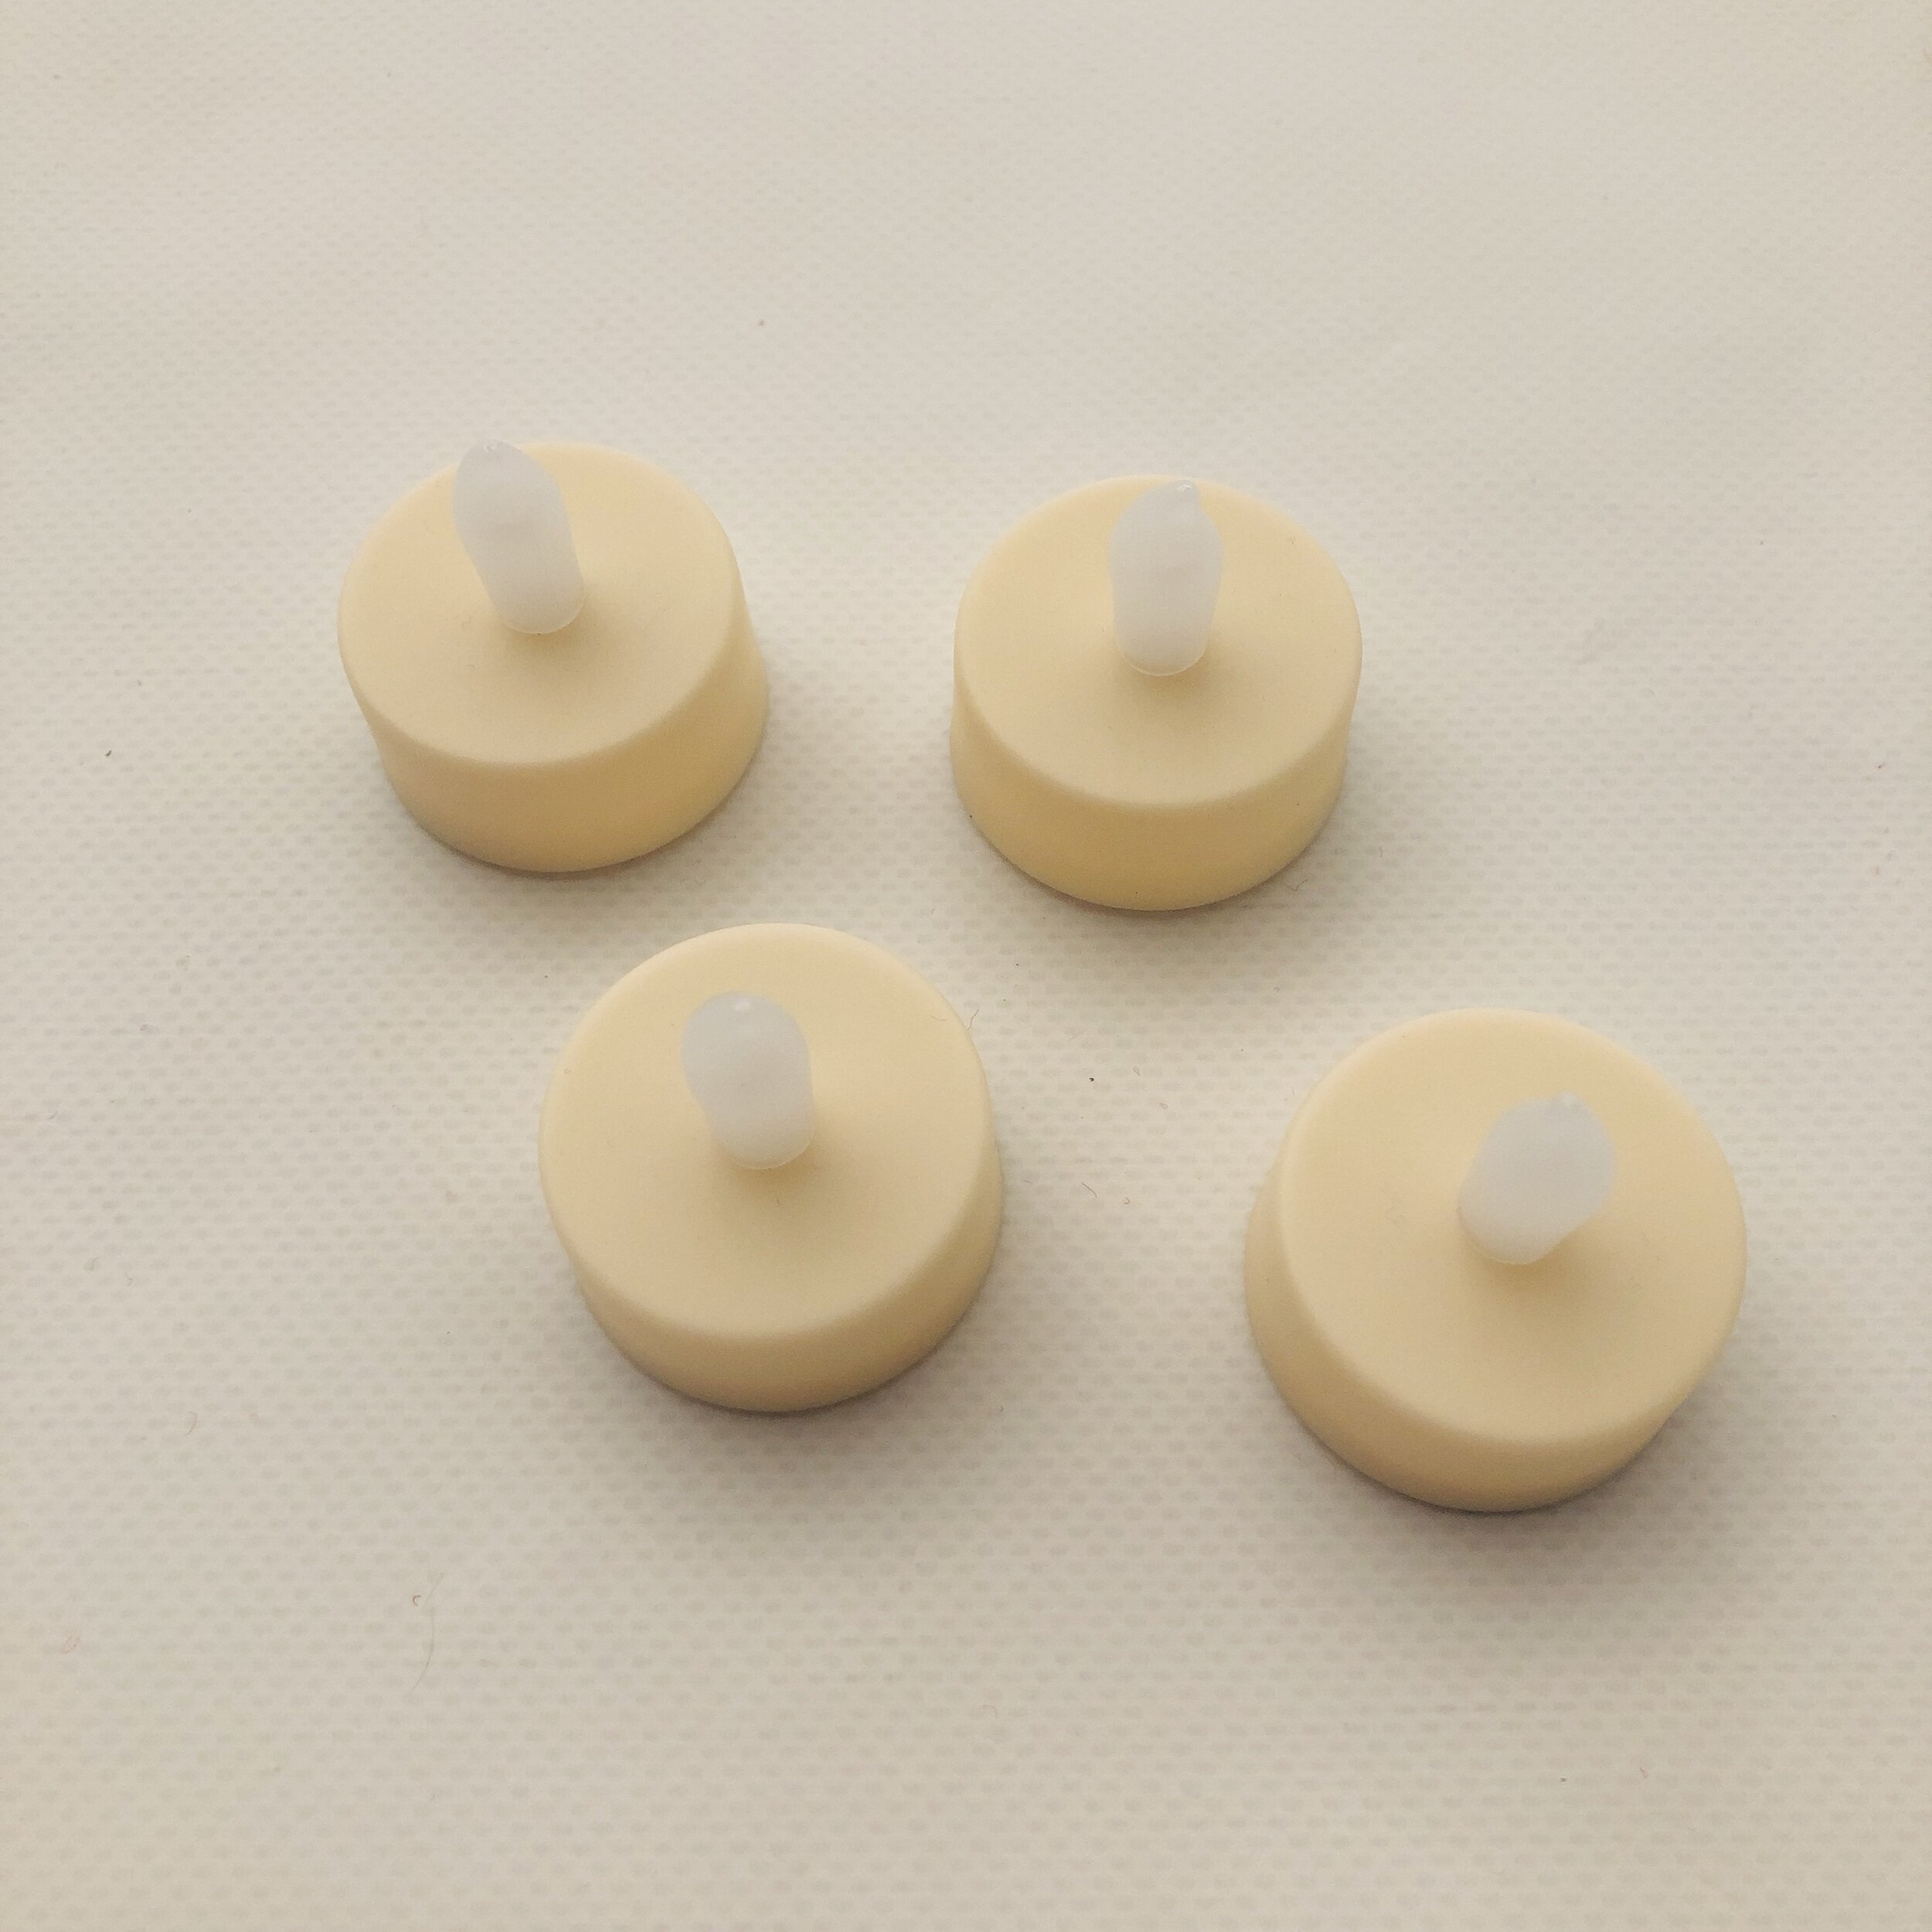
7. Tape the tea lights in between the logs or on the inside back of the box with Gaffer tape so they are secure.
8. Add the flame or flames to the box, placing them on top of the logs. Your fireplace costume is done!
9. Top off your costume with a chimney hat and a brick trick-or-treat-bag! See the DIY below.
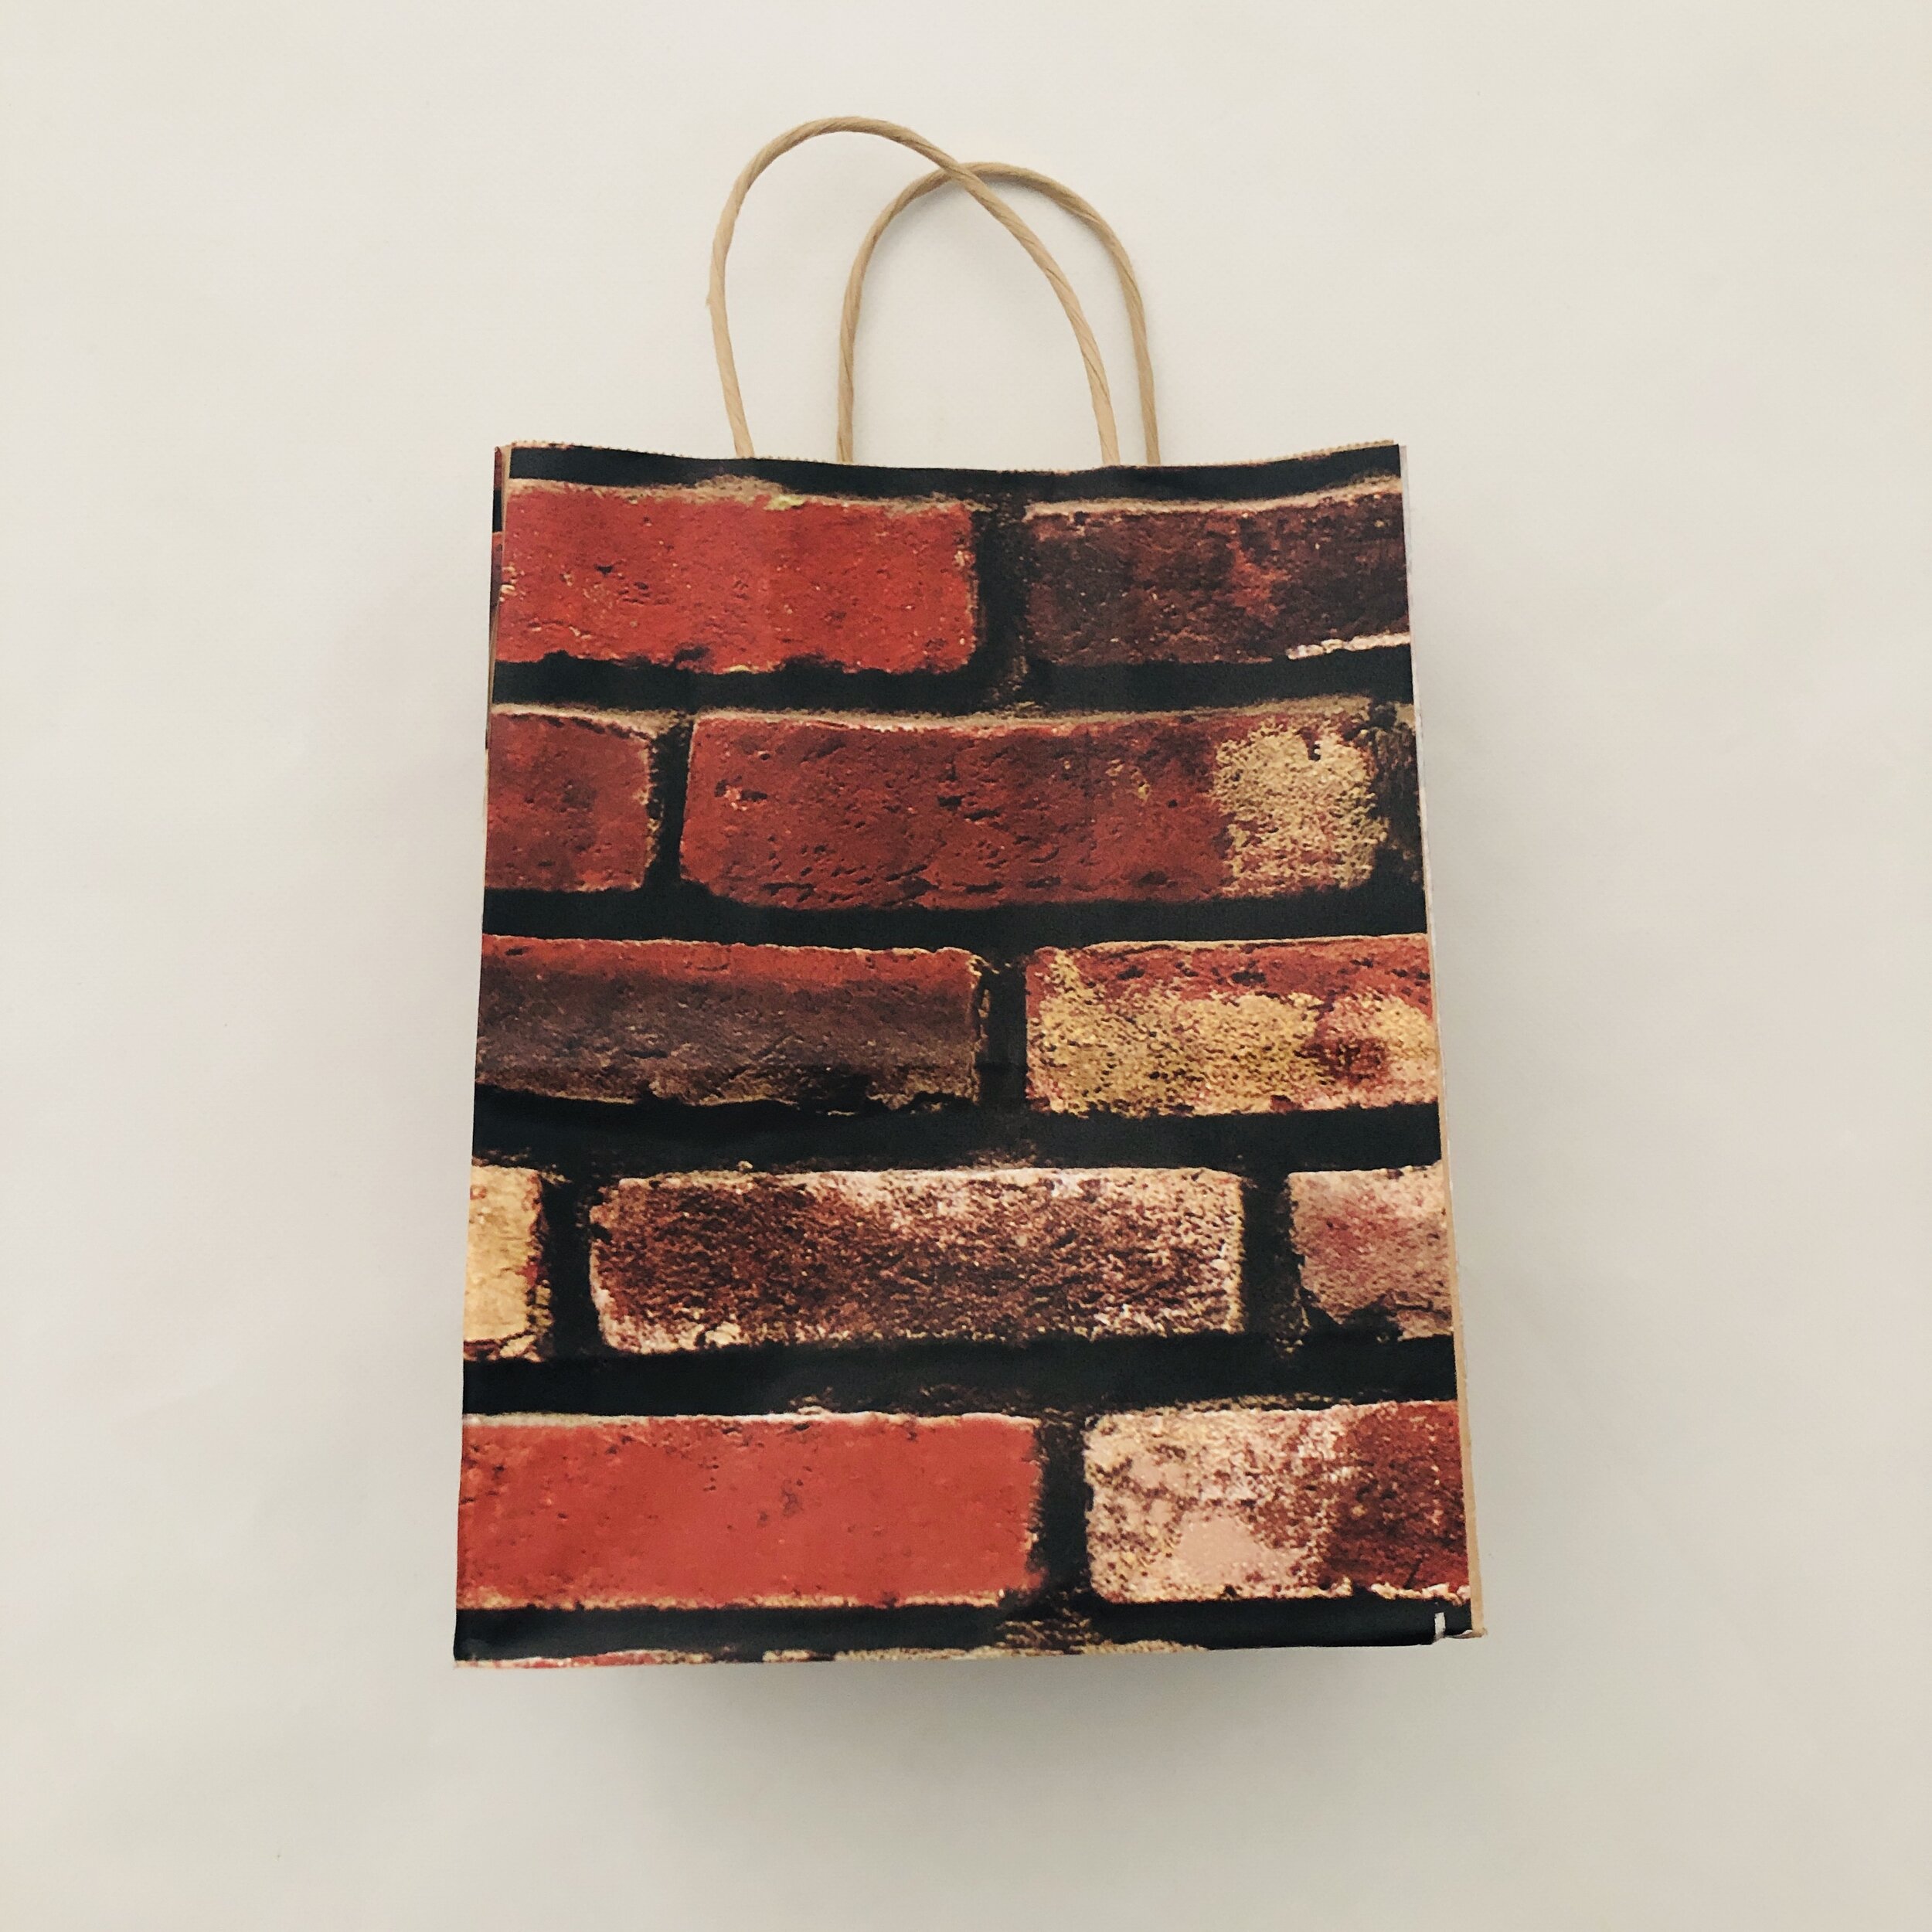
Making The fireplace trick-0r-treat bag
Use a small brown paper bag, wallpaper the entire bag by measuring each side and bottom, cut wallpaper to fit and secure on the bag.
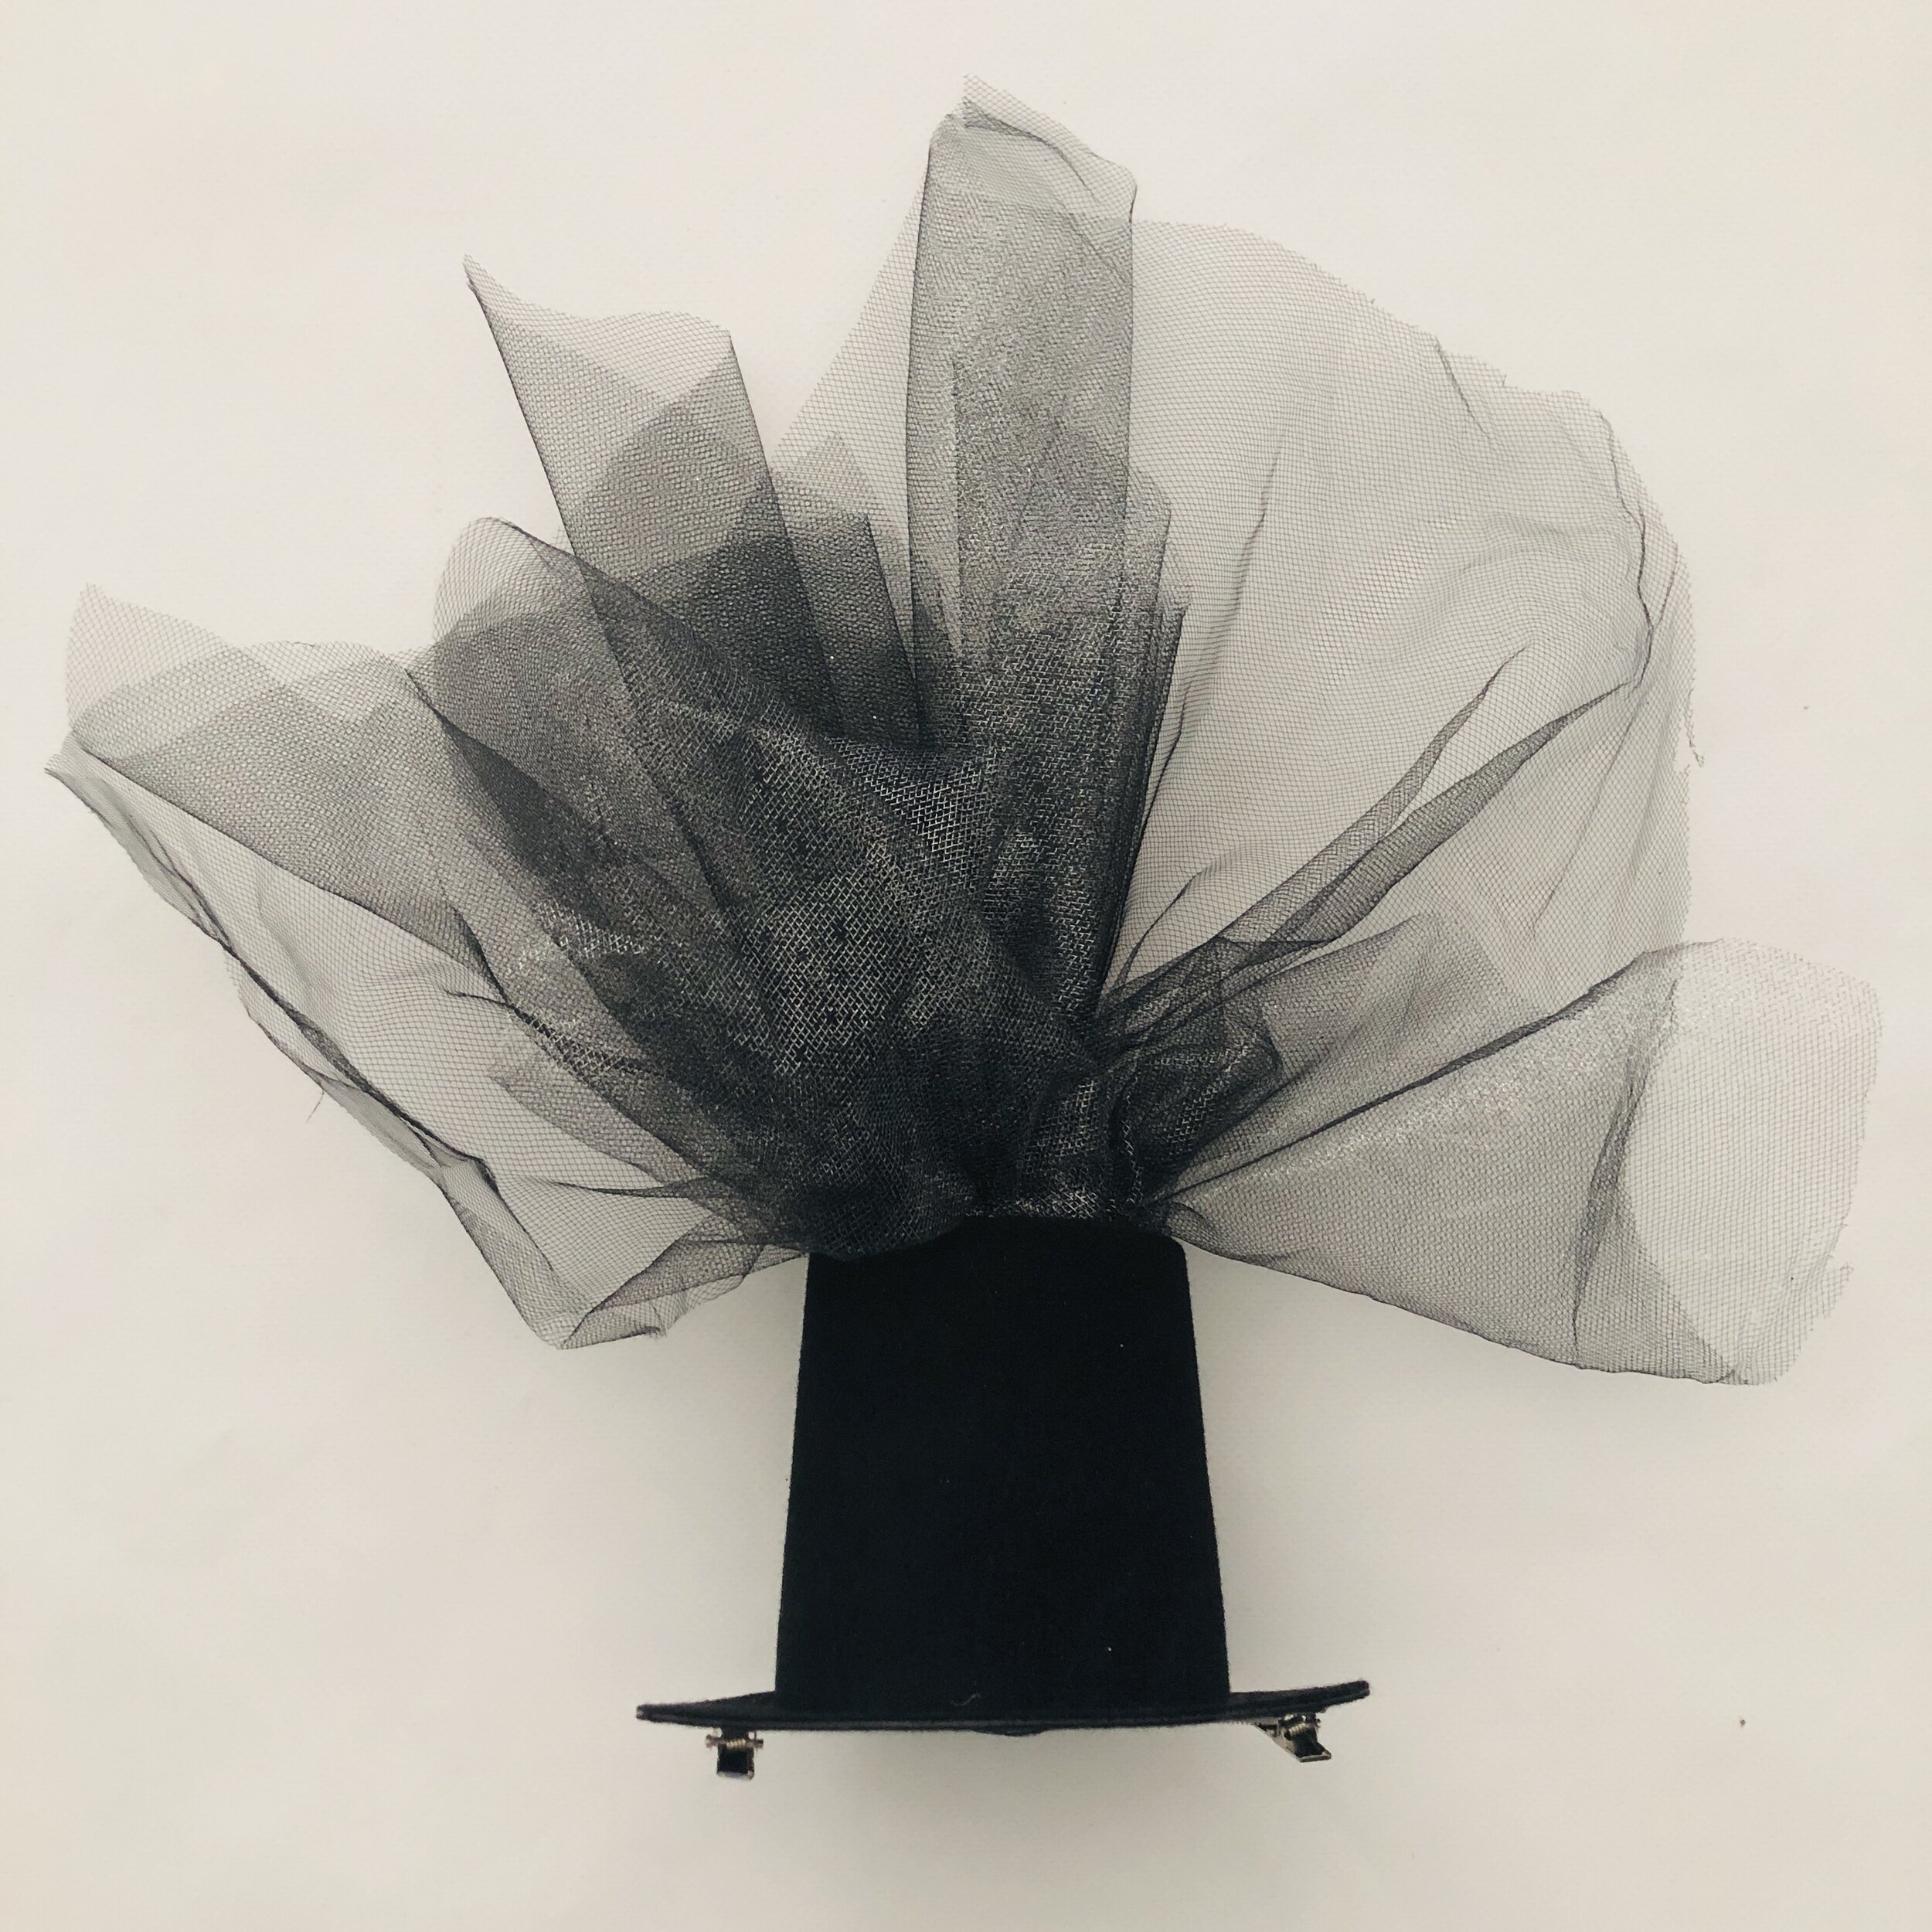
Making The Chimney Hat
Using the utility knife make a slit in the center on the top of the hat, start cutting off the round top part of the hat.
Add a small amount of tulle to the inside of the hat where you cut off the top, fold and fluff the tulle to fit to look like smoke.


DIy Costume Making
Hand-making costumes brings me back to when I was young and my mom would sew Halloween costumes for me and my sisters. Even though I go the no-sew route, there’s still so much nostalgia for me in the creative process, from getting my boy’s costume ideas and figuring out how I can bring them to life, to finding and gathering all my supplies and materials, the process brings me so much joy and reminds me of seeing my mom do the same. Seeing their creative vision come to life, and knowing I helped bridge their creativity into reality, demonstrates for them that what you think of creatively can come to life!
Leave a comment and let me know what you used your eyeball or fireplace costume for? Was it for a Halloween costume, a school play or simply good old kids dress up fun? How did it turn out?
Tag me on Instagram so I can be part of your fun! You can find me on Instagram at @sugarmoonbloom.
Happy Halloween from my family to yours!

PHOTOGRAPHY BY CASSANDRA SMITH PHOTOGRAPHY and Sugar Moon Bloom
Pin your favorite graphic to Pinterest and save it for a DIY day!